![diy 2x2 playhouse frame](https://jaimecostiglio.com/wp-content/uploads/2014/10/2x2playhouseframetml.jpg)
Happy Friday friends! Ana White and I have another fun gift build as part of the Handmade Holiday series. Today we are sharing a fairly simple playhouse made completely from 2×2 pine boards.
![handmade holiday gift build series](https://jaimecostiglio.com/wp-content/uploads/2014/10/handmadeholiday2014final-2.jpg)
![diy open playhouse frame with canopy](https://jaimecostiglio.com/wp-content/uploads/2014/10/2x2playhousetent3tml.jpg)
Of course I couldn’t leave the frame alone. I just had to sew up a quick tent made from a flat sheet.
![diy open playhouse frame](https://jaimecostiglio.com/wp-content/uploads/2014/10/2x2playhouseframe3tml.jpg)
![open playhouse frame](https://jaimecostiglio.com/wp-content/uploads/2014/10/2x2playhouseframe5tml.jpg)
![open playhouse frame chimney detail](https://jaimecostiglio.com/wp-content/uploads/2014/10/2x2playhouseframechimneytml.jpg)
![diy open playhouse frame](https://jaimecostiglio.com/wp-content/uploads/2014/10/2x2playhouseframe2tml.jpg)
![diy open playhouse frame with canopy](https://jaimecostiglio.com/wp-content/uploads/2014/10/2x2playhousetent1tml.jpg)
The tent is a flat twin sheet hemmed at 51″w. I added pom poms at top front and at the bottom four corners. The pom poms act as weights to keep the tent in place but you could also use velcro if necessary.
![playhouse frame with canopy detail](https://jaimecostiglio.com/wp-content/uploads/2014/10/2x2playhousetent2tml.jpg)
![diy playhouse canopy with pom pom trim](https://jaimecostiglio.com/wp-content/uploads/2014/10/2x2playhousetent5tml.jpg)
![diy playhouse canopy with pom pom trim](https://jaimecostiglio.com/wp-content/uploads/2014/10/2x2playhousetent4tml.jpg)
Around the chimney I cut the sheet and zig zag stitched the raw edge. Again the pom pom helps keeps the sheet in place here but it’s not necessary.
![diy kids playhouse frame with canopy](https://jaimecostiglio.com/wp-content/uploads/2014/10/2x2playhousetenttml.jpg)
![diy kids playhouse frame](https://jaimecostiglio.com/wp-content/uploads/2014/10/2x2playhousetml.jpg)
![open frame kids playhouse](https://jaimecostiglio.com/wp-content/uploads/2014/10/2x2playhouseframerooftml.jpg)
![open frame kids play house](https://jaimecostiglio.com/wp-content/uploads/2014/10/2x2playhouseframe6tml.jpg)
![2x2 wood boards with pocket holes](https://jaimecostiglio.com/wp-content/uploads/2014/10/2x2playhouseframepocketholes.jpg)
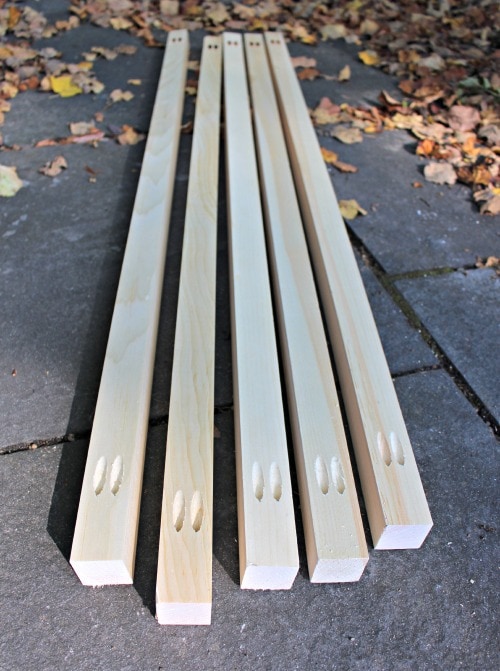
You could also countersink and screw from the exterior if you don’t have a pocket hole jig.
![countersunk screws into sides](https://jaimecostiglio.com/wp-content/uploads/2014/10/2x2playhouseframeendbuild.jpg)
Step 3: Attach the angled roof pieces to the side supports. I choose to countersink my screws from the top.
![finish nail angles together](https://jaimecostiglio.com/wp-content/uploads/2014/10/2x2playhouseframeroofend.jpg)
Step 4: At the roof peak glue and finish nail the 2 angled pieces together. Later the cross support will secure here.
![open frame end built](https://jaimecostiglio.com/wp-content/uploads/2014/10/2x2playhouseframeends.jpg)
Step 5: Finished end piece. Make 2 then take your build to it’s final location and complete attaching the remaining pieces.
![orange kids open playhouse](https://jaimecostiglio.com/wp-content/uploads/2014/10/2x2playhouseframe1tml.jpg)
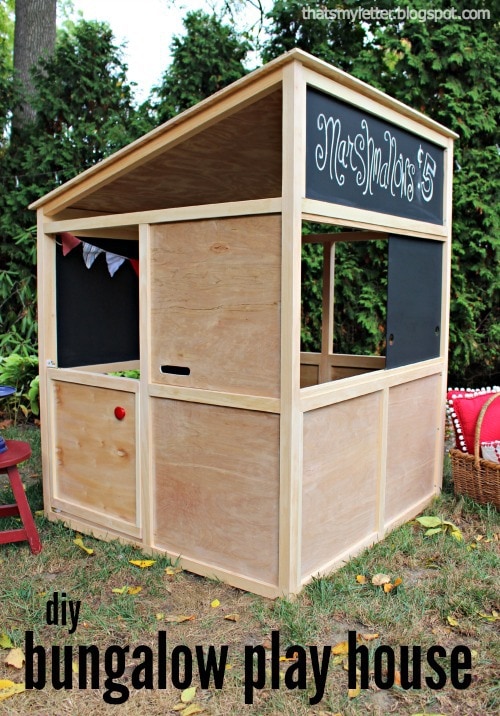
If you’re looking for something more substantial last week Ana and I shared this more involved bungalow play house:
![diy kids bunaglow play house](https://jaimecostiglio.com/wp-content/uploads/2014/10/bungalow3tml.jpg)
Save
Original article and pictures take jaimecostiglio.com site
Комментариев нет:
Отправить комментарий