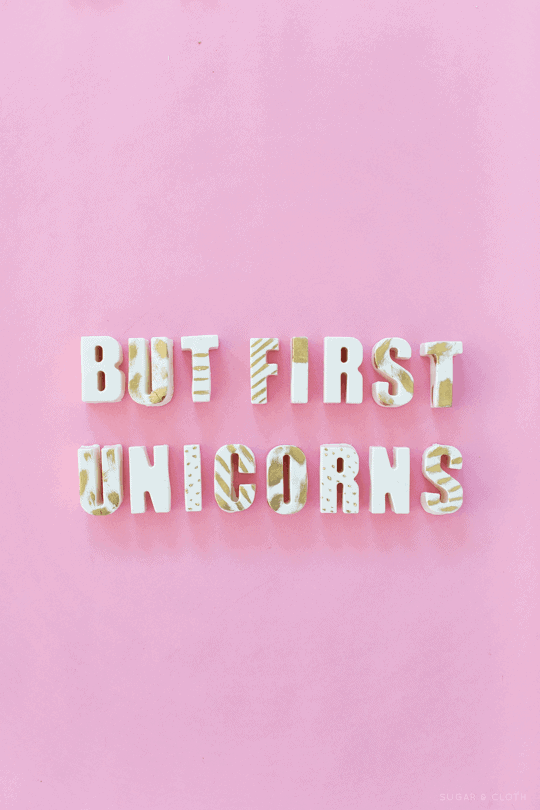
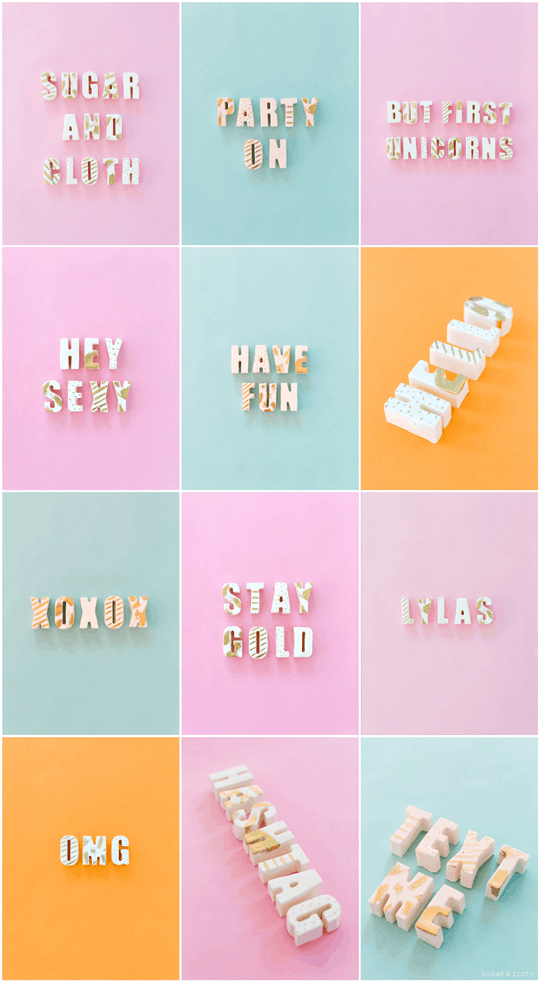
The next time someone asks me what my favorite past time is, I’m going to tell them I color on food just to see what kind of reaction I get. If that doesn’t work, I’m going to go all wallet -sized yearbook photo on them and whip out a mini portfolio from my bag and talk about my food craft projects longer than a crazy cat lady with a new kitten (also, me apparently). Sad part is it’s truer than I’d like to admit (sans the wallet prints for now), but what the hey, you only live once, so I’m going to freakin’ paint my desserts if I want to.
Alas, these DIY edible chocolate messages take a little too long for writing an entire love note (or about your entire love affair with painting food), but they get the short and sweet messages across loud and clear. Also, if you have a Dad like mine, you’ll get to use the most perfect infomercial purchase of all time for them too…
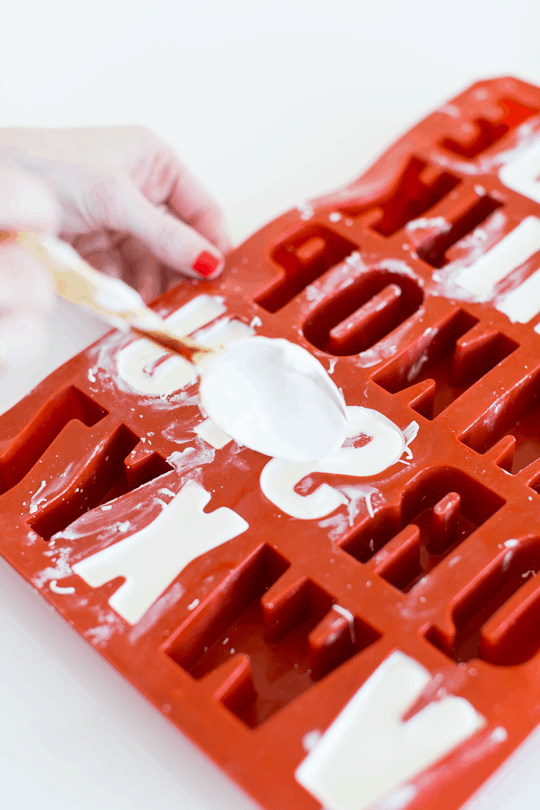
First you’ll need to melt your white chocolate chips either by microwave, double boiling, or tempering the chocolate. This is a great article on the different ways to melt chocolate.
My Dad actually bought me a NuWave Cooktop for the studio since we don’t have full size appliances, and it has been a GAME CHANGER. It’s seriously the easiest way to melt chocolate ever (studio or no studio) because you just set it to low and then it keeps it the perfect temperature forever without it burning. It’s the single greatest thing that has happened to my kitchenette chocolate habit, not even joking.
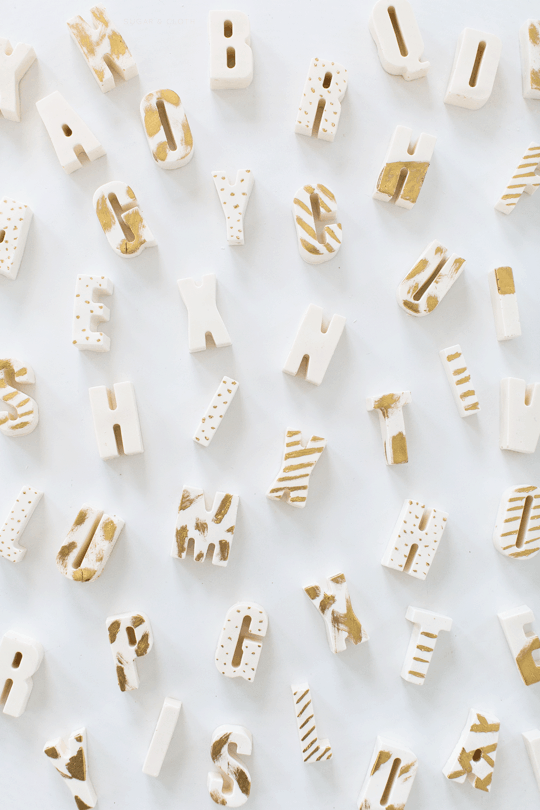
Once your chocolate is evenly melted, you’ll spoon it into each letter you’re going to make. be sure that the chocolate doesn’t go past the top of silicone on each letter or else they won’t lay flat. Also, save yourself some major time by jotting down the phrases you’ll be making first so you know how many T’s, I’s, and Q’s you need or don’t need first.
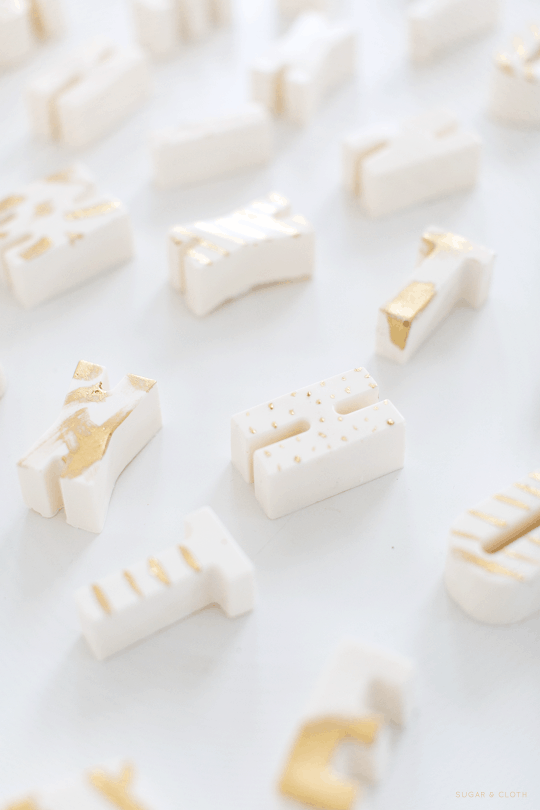
Also, gently wiggling the mat to make sure all of the air bubbles are out of the chocolate you just spooned in is a good idea so that the letters come out uniform instead of like craters on the fronts. Let them cool completely, then take each letter out by peeling the mat back away from the chocolate.
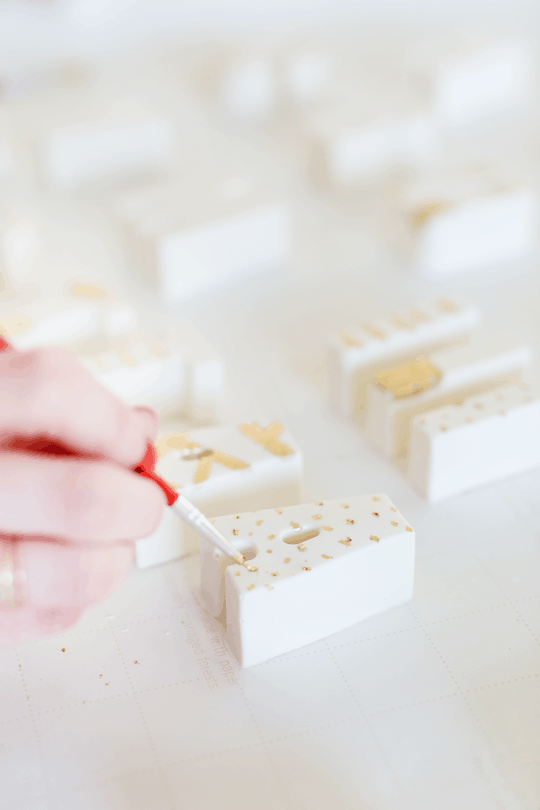
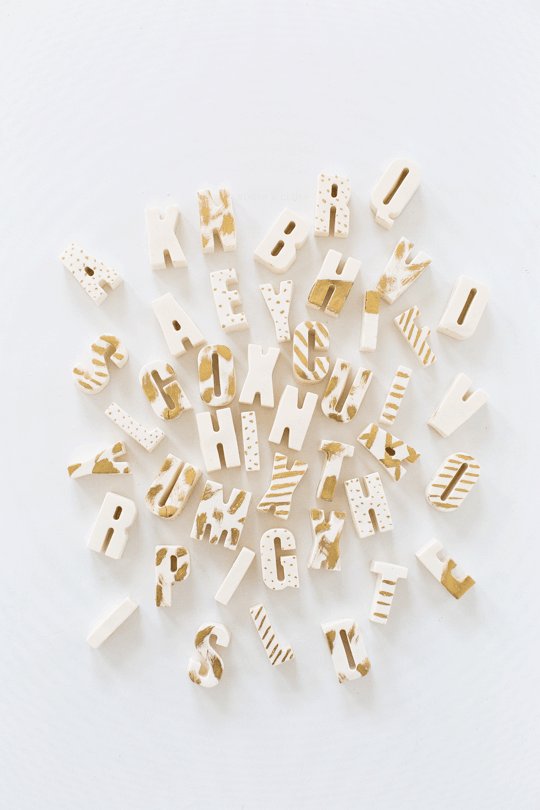
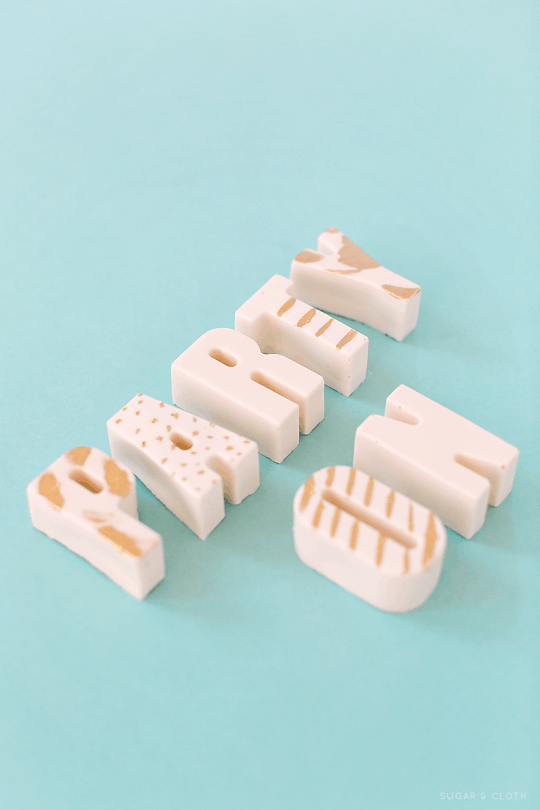
Use your food dedicated brush to make fun watercolor strokes or patterns on each letter, then they’re ready to gift!
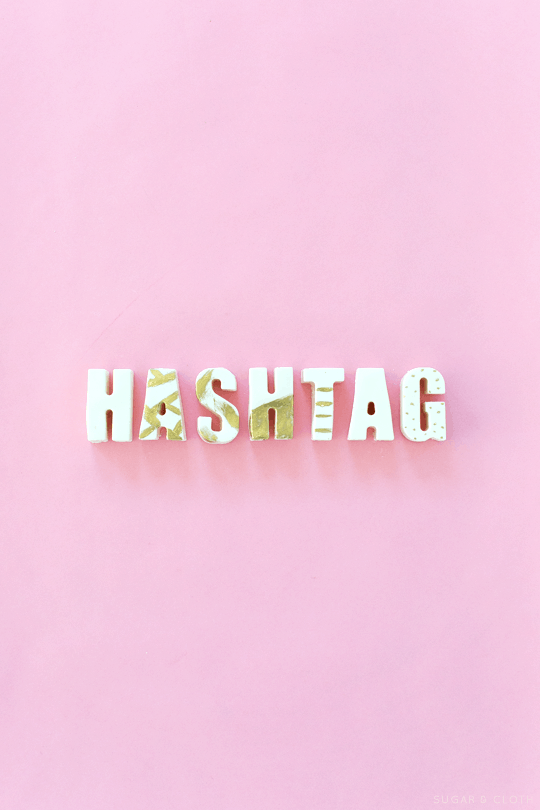
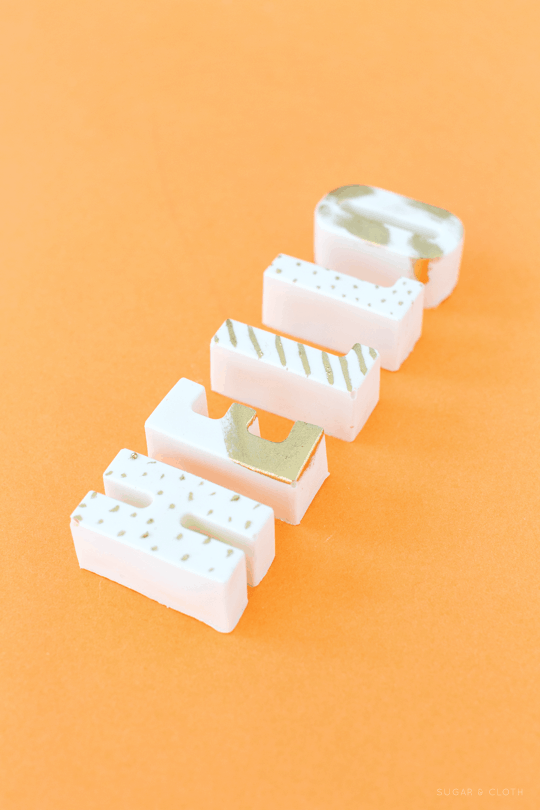
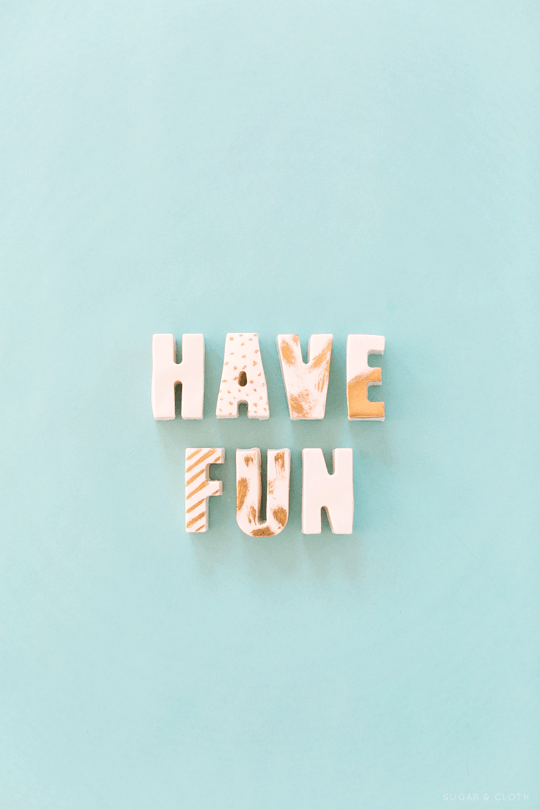
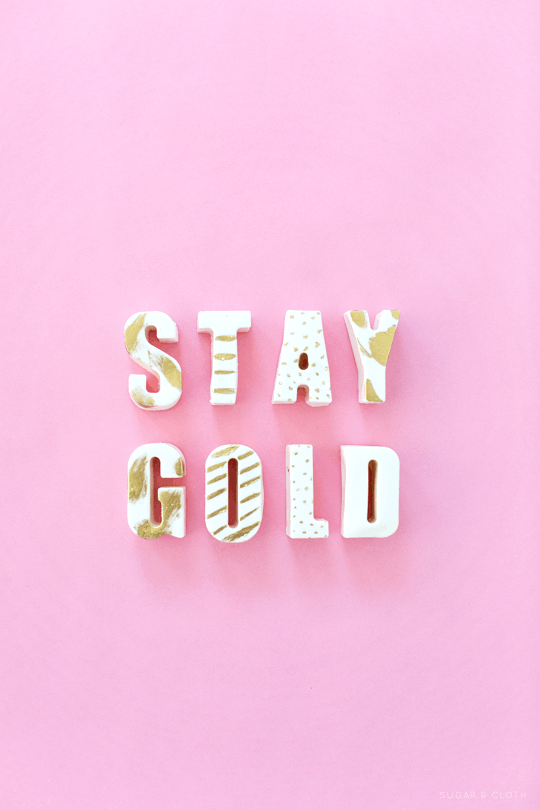
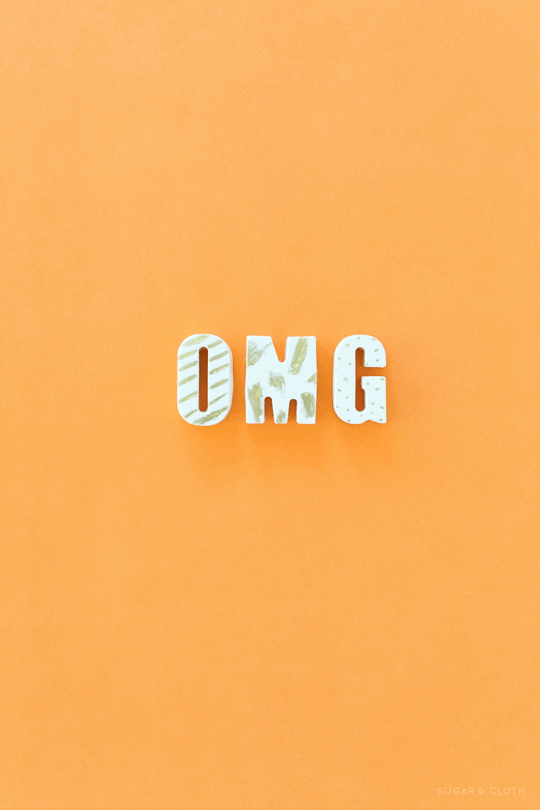
This probably goes without saying, but I’d rethink trying to mail these cute phrases in warm climates or leaving them out in places that are super humid or heat ridden. Otherwise you’ll just be gifting a REALLY time consuming puddle of sparkly white chocolate. But hey, to each his own, right?
Original article and pictures take sugarandcloth.com site
Комментариев нет:
Отправить комментарий