
Happy week-before-Christmas, you guys! I can’t believe how much the holidays have snuck up on me this year, but I’m really excited for the short break that they bring. Can I get an off-work-AMEN?! ;)
Anywho – do you remember my Doctor Who Galaxy Christmas tree? The one I painted blue and pink and purple and white? Well, today I’m sharing the DIY galaxy and planet Christmas ornaments that I created to complement the crazy outer space backdrop of that tree.
Photography for this tutorial is by Alicia Bruce of Love Knot Photo.




DIY Galaxy and Planet Christmas Ornaments
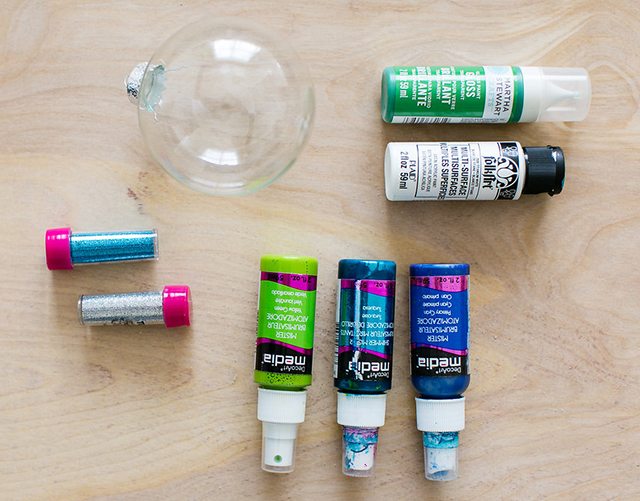
Supplies:
You can really use any combination of paints and glitter that you want because this project gives you an endless set of possibilities for what your little galaxies and planets can look like. I’ll list the exact ones that I used below in case you want to try to recreate this exactly. The supply list contains affiliate links. I’ll link to the main products that I used for the various ornaments pictured above, and then I’m listing the specific colors that I used for the ornament you see in the step-by-step photos.
- DecoArt Media Misters: yellow green, turquoise shimmer, primary cyan
- FOLKART Multi-Surface Acrylic: wicker white
- Tulip Fashion Glitter: silver ultra fine hologram, teal ultra fine
- Glass ball ornaments: 100mm
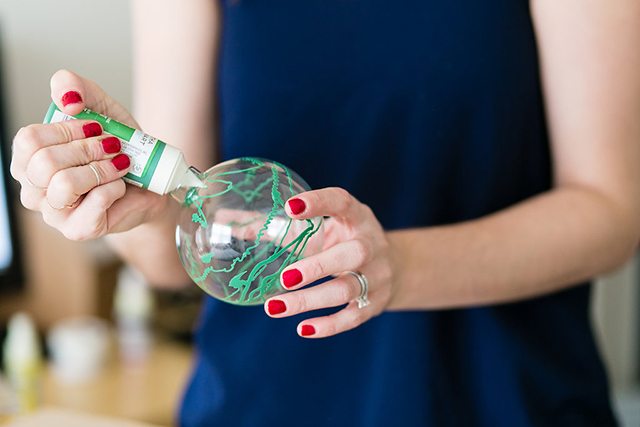
Begin with the thickest paint or product you’re using. In this case, it’s the Martha Stewart Glass Paint. These paints have a pointed squeeze tip, so they’re perfect for the ornaments.
Insert the tip, and squeeze in a thin, steady stream of paint while you rotate the ornament.
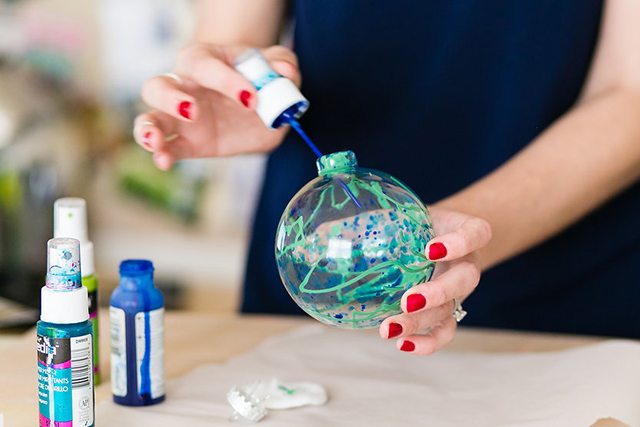
Now we’re going to layer in some fun, crazy color and texture. I used my Media Misters for this part because they’re a liquid acrylic, so they splatter really nicely. Plus, the spray tube fits nicely into the ornament. You could get a similar effect by watering down a regular acrylic paint if you don’t want to buy the Misters. Just keep in mind that the colors won’t be quite as vibrant or intense.
2. Start with your darkest color, and dip the sprayer tube into the ornament. Flick it back and forth while rotating the ornament to splatter the insides. You may need to re-dip into the paint a couple times. Stop before the droplets get too big, or they’ll run together and drip.
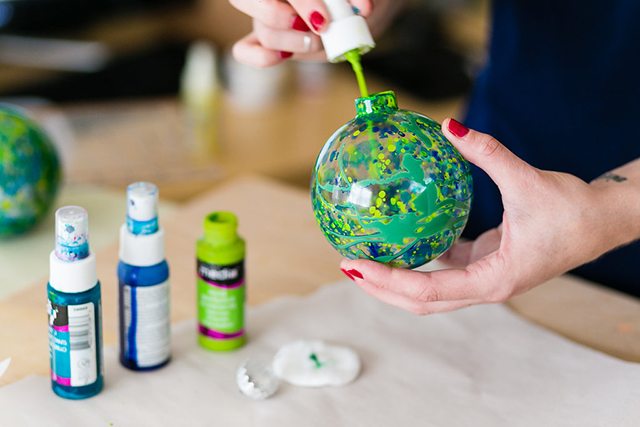
3. Repeat Step 2 with a complementary but different color, like the yellow green in this image.
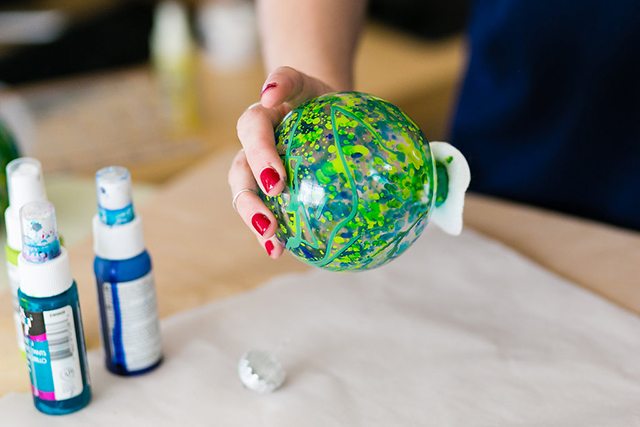
4. Cover the opening of the ornament with a paper towel or cotton ball, and shake the heck out of it. This is a great opportunity to have a dance party with your kiddos if you want to put them to work shaking ornaments!
5. Put the ornament opening-down into a cold oven. Line the shelf under it with foil to catch drips, and turn the oven to 300 degrees Fahrenheit. Leave the ornament for 15-20 minutes to lock in some of the paint and keep it from blending in the next couple steps. Then, just turn off the oven, leaving the door fully open until the ornament cools enough to remove.
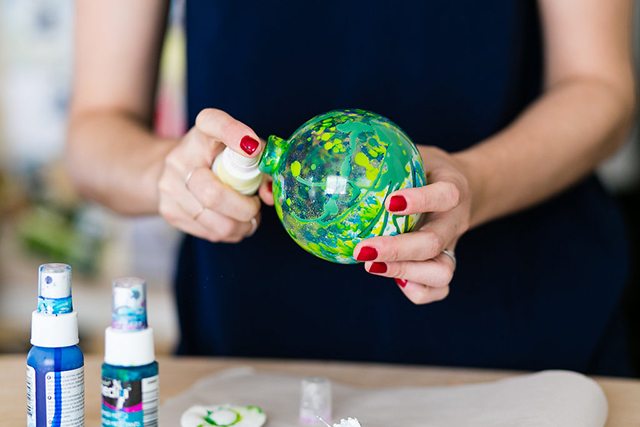
6. When the ornament is cool to the touch, spritz inside it with another mister, perhaps something shimmery. This will add yet another texture/finish to the design so that you get a really nice, swirling, chaotic final product.

7. Now pour in ALL THE GLITTER! Seriously though, dump in a crazy amount of glitter, and shake the heck out of the ornament again. When it’s coated everywhere that’s sticky on the inside, just tap the opening onto a piece of paper until all the excess glitter has come out.
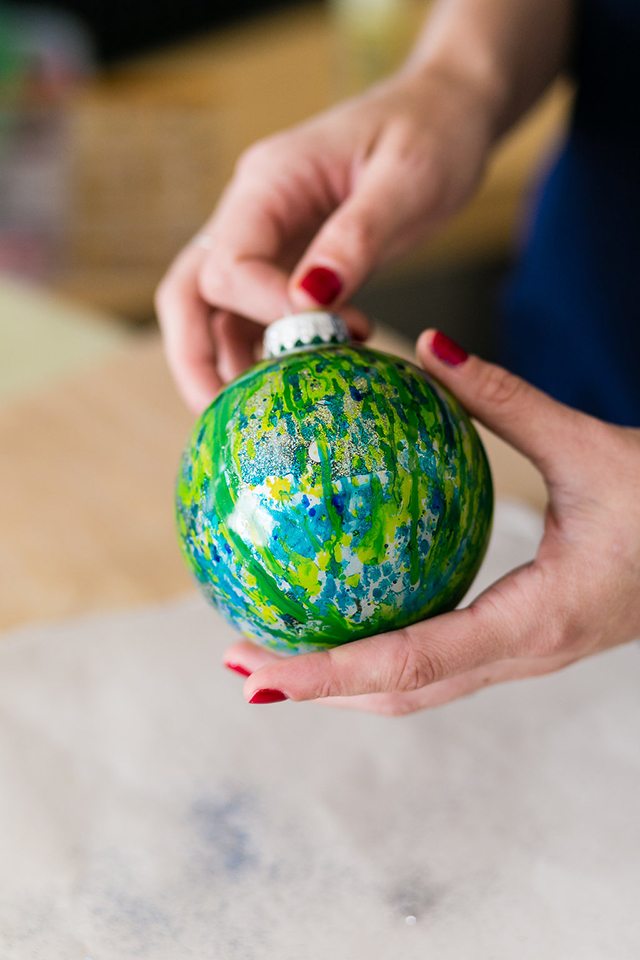
8. To fill in any gaps, water down the regular acrylic paint (a lighter complementary color, like the whitish one I used here) just a little bit. You only need to add a few drops of water to a spoonful of paint to get it to flow a little better. Pour it into the ornament, and shake it up again.
9. Throw the whole thing in the oven one last time to help the drying process. Leave it in for 30-40 minutes, and then let it cool again.
9. Replace the metal ornament cap, and tie on a string.


Original article and pictures take www.shrimpsaladcircus.com site
Комментариев нет:
Отправить комментарий