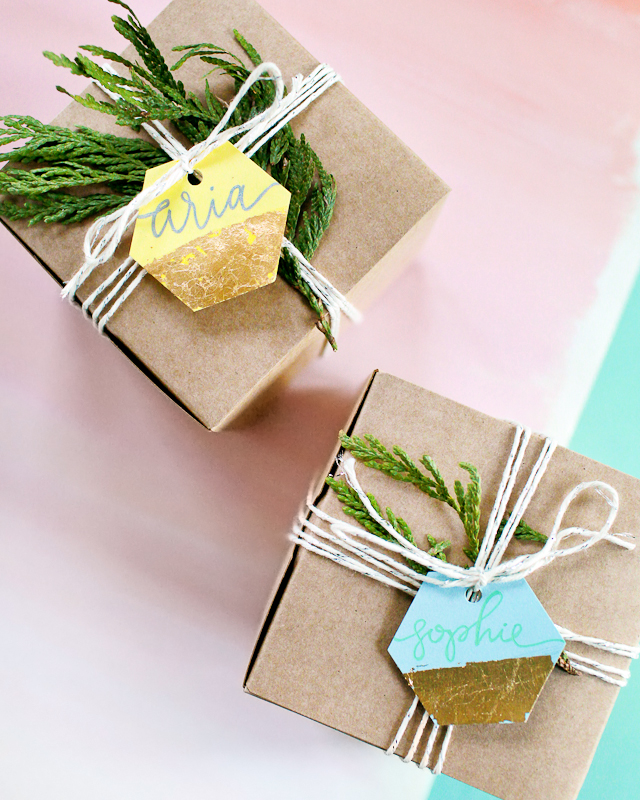
I’m not a super traditional kind of girl when it comes to the holidays. I like to mix things up! And that is especially true when it comes to holiday gift wrap. So today I’m teaming up with Fiskars to create some fun and colorful gift tags for the holidays! I actually saw this extra large Hexagon Squeeze Punch at one of my local craft stores a few weeks ago and thought it would be perfect for creating a non-traditional geometric gift tag – and that’s exactly what I did! Add in some fun colored paper and metallic shimmer and you’ve got a fantastic combination for any time of year!

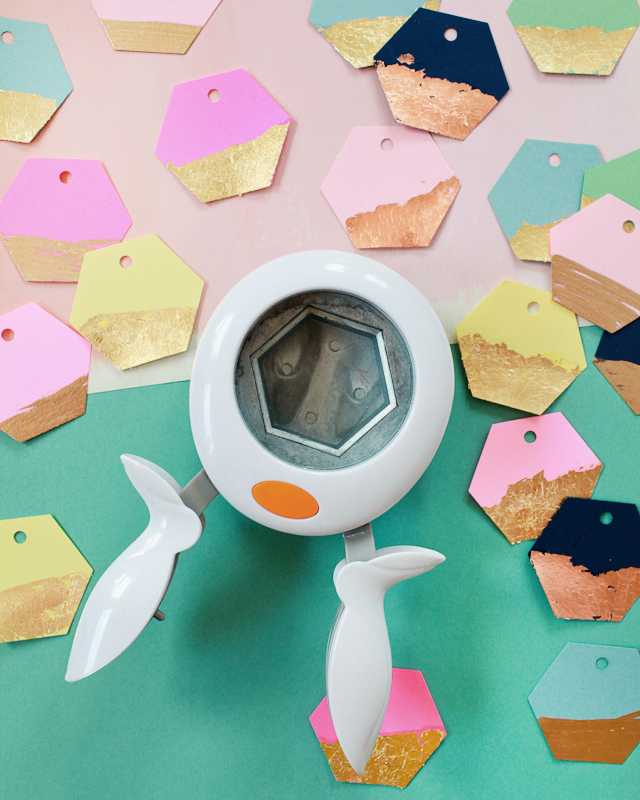
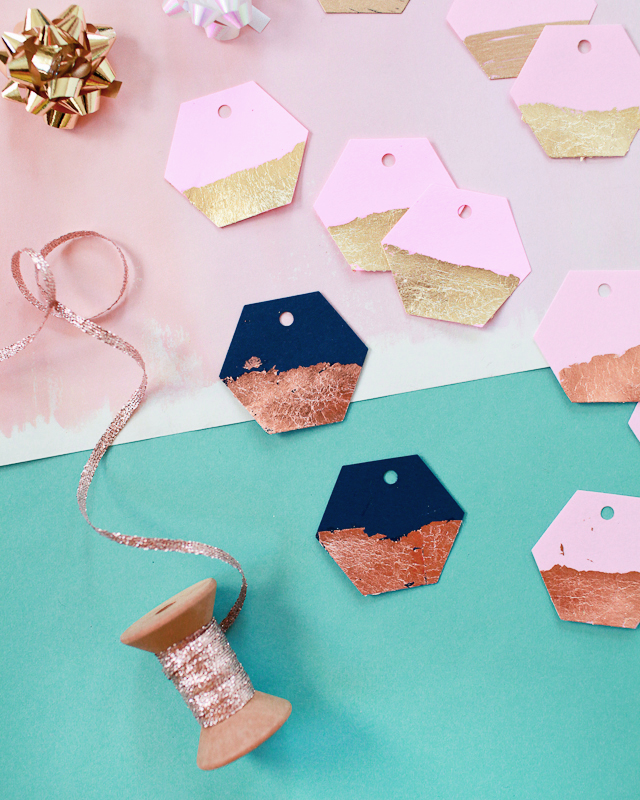
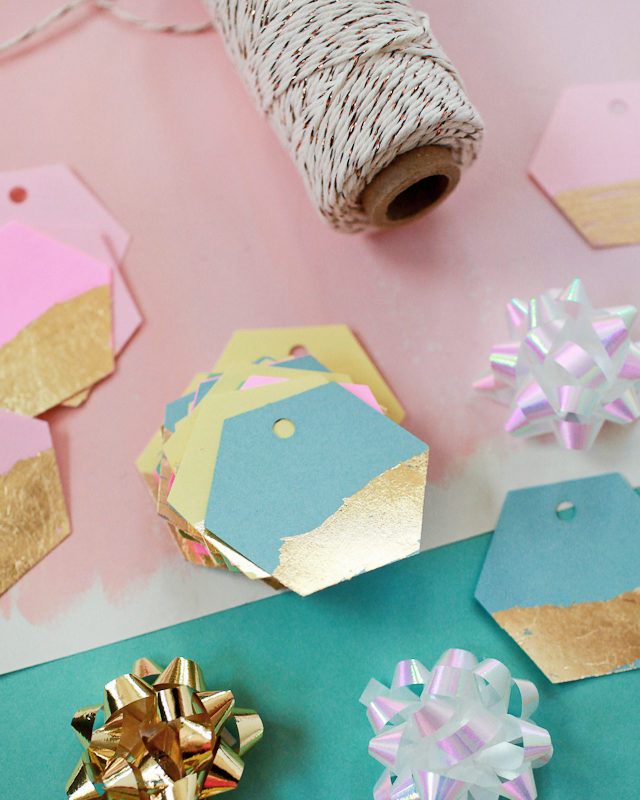
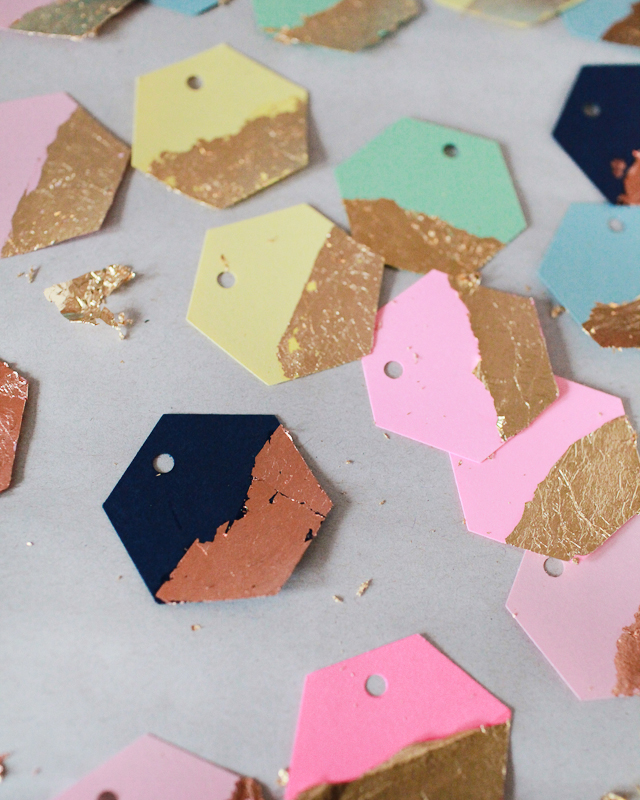
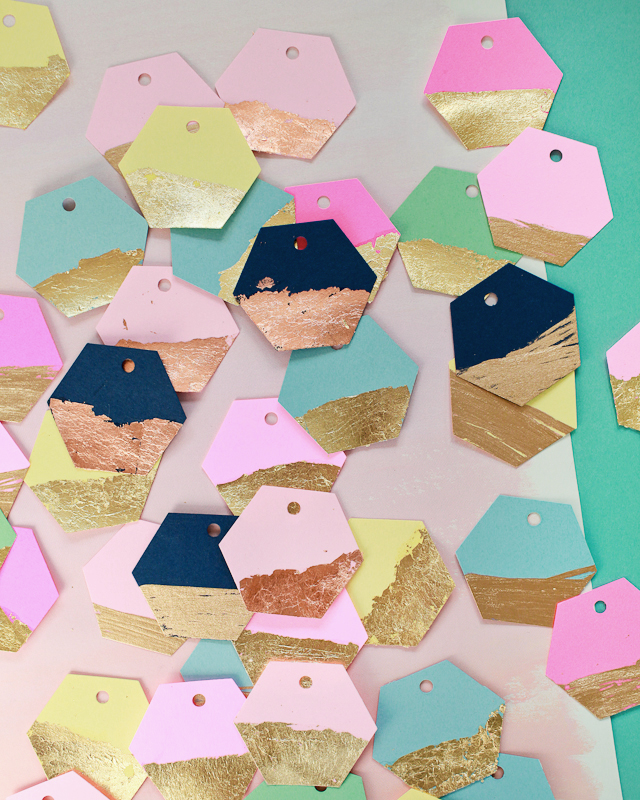
This Hexagon Squeeze Punch is my new crafting best friend. I’ve tried to cut hexagons using only scissors before, and it was SUCH a disaster. The angles were all off and everything looked hopelessly wonky. The Hexagon Squeeze Punch made all my hexagon dreams come true and now I want to punch hexagons out of everything! The extra large Hexagon Squeeze Punch makes 2″ wide hexagons, which is the perfect size for gift tags and place cards. I’ve been loving the combination of metallics and pastels lately, so I used some pretty pastel paper – with some bright pink and dark navy mixed in – to make these hexagon gift tags, then added some gold and copper leaf for extra holiday shine.
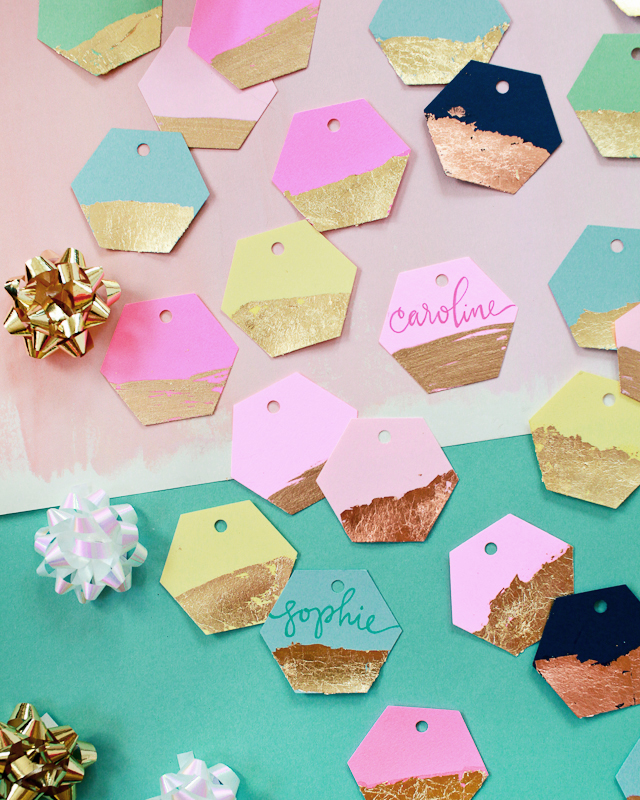

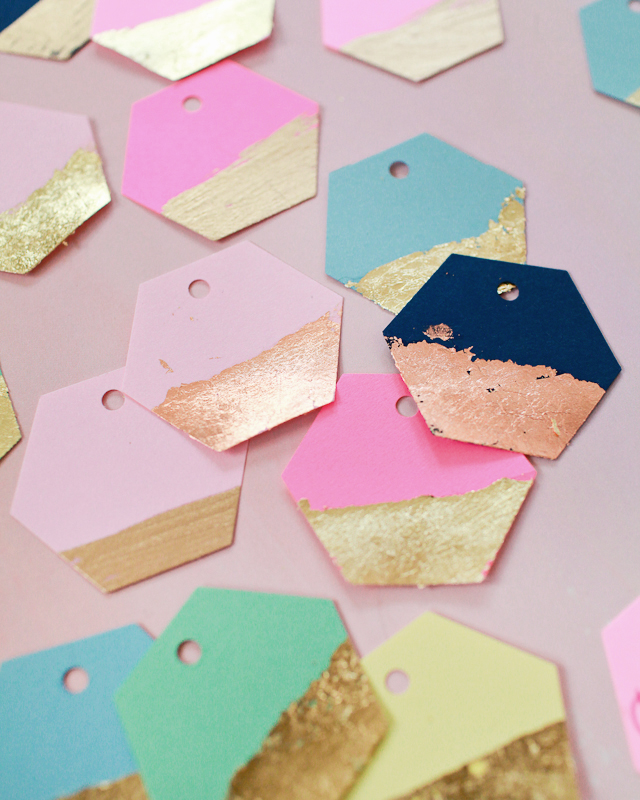
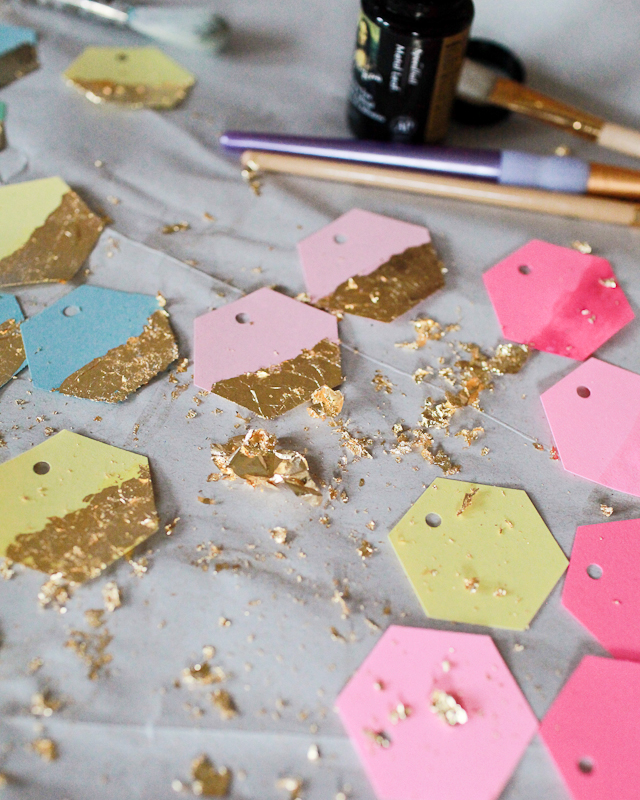
We actually used both gold leaf sheets and liquid gold leaf on the gift tags. The liquid gold leaf has a much smoother look, but I really love the texture of the regular gold leaf! And the copper leaf against pale pink or navy paper? DREAMY.
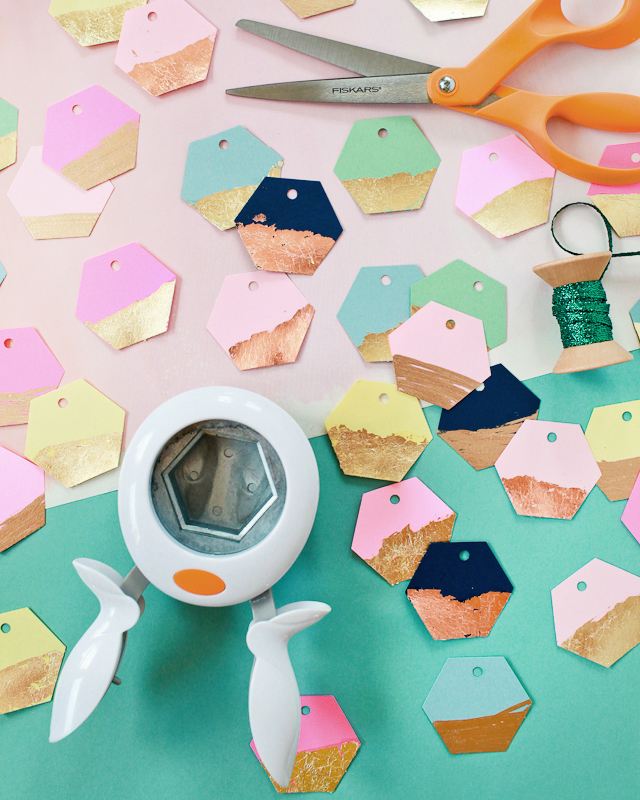
Fiskars Hexagon Squeeze Punch (Extra Large)
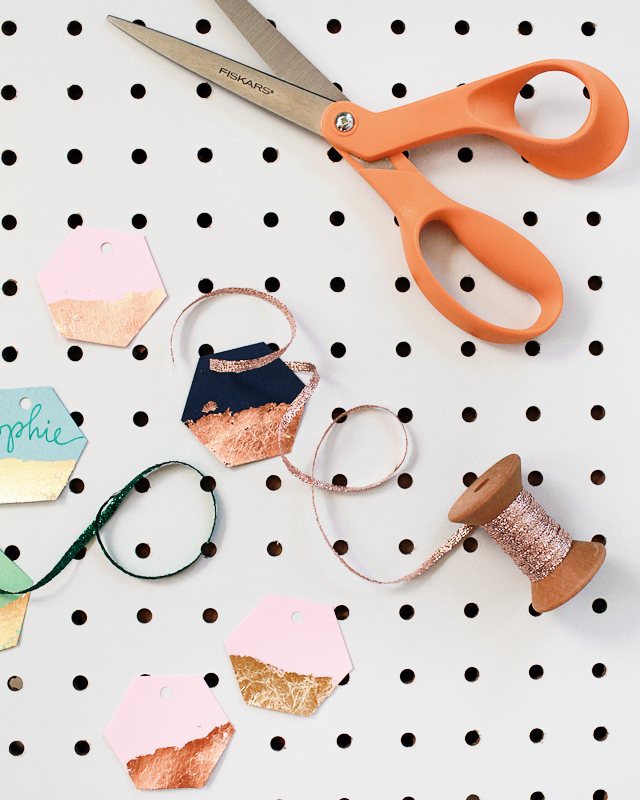
Fiskars Original Orange Handled Scissors
Pastel card stock
Gold and copper leaf
Metallic ribbon or baker’s twine
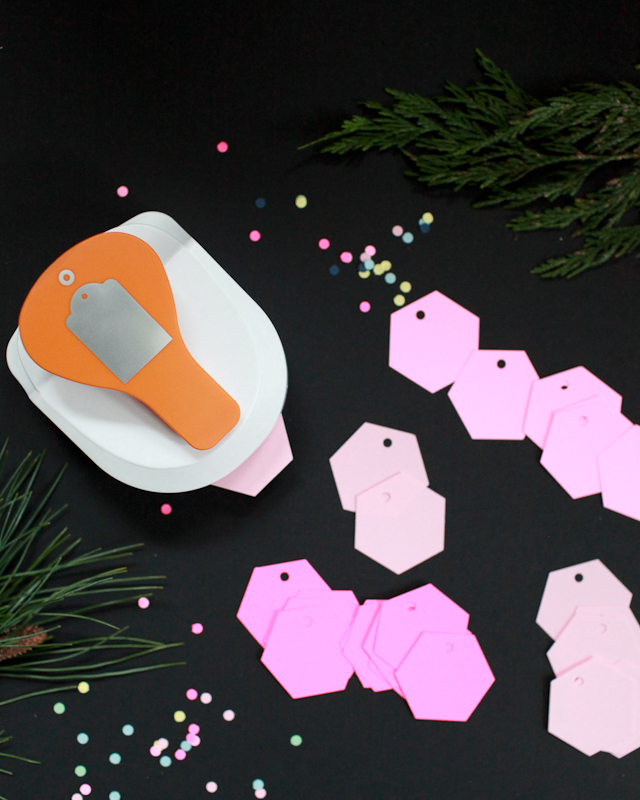
Step 1. Cut sheets of cover weight card stock into 3″ squares, then punch the hexagon shape from those squares using the Fiskars Hexagon Squeeze Punch. Create a small hole for ribbon and twine using the built-in eyelet setter of the Fiskars Standard Tag Maker. You can even keep the little eyelet circles to use as confetti!
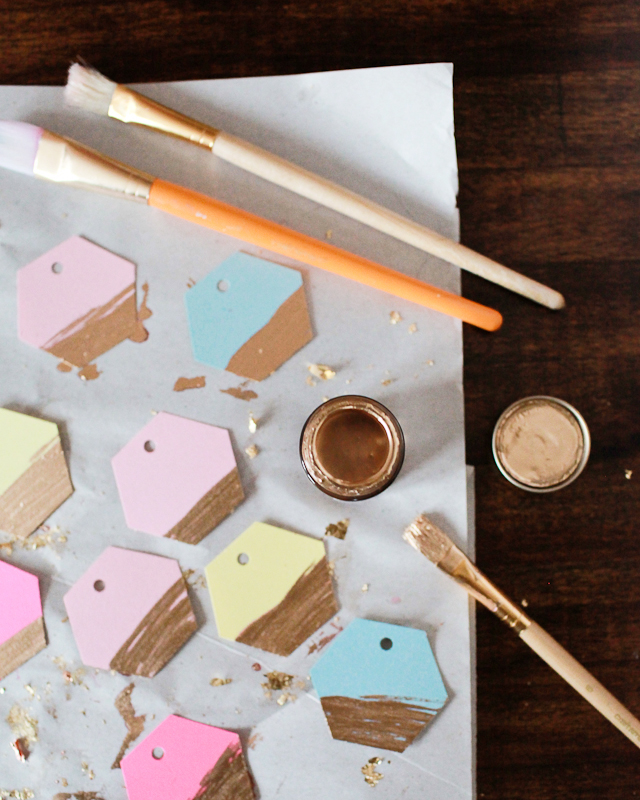
Step 2. Cover your workspace with a protective layer of kraft paper or newsprint, and follow package instructions to apply the gold and copper leaf. This usually involves applying a thin layer of gilding adhesive, allowing it to dry until clear and tacky, applying a small sheet of metallic leaf, then brushing off the excess metallic leaf with a clean brush. I wanted the gift tags to look like the gold and copper leaf was casually painted onto the paper – so we intentionally freehanded the adhesive and liquid leaf application and dry brushed the adhesive so that we wouldn’t get full coverage across the paper. You could also use washi tape to tape off one side of the gift tag for a gold-dipped look.
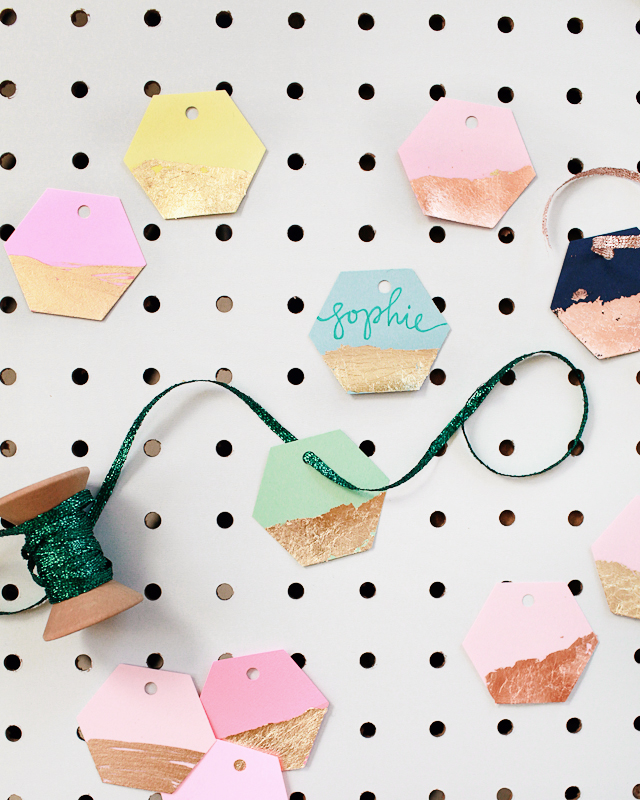
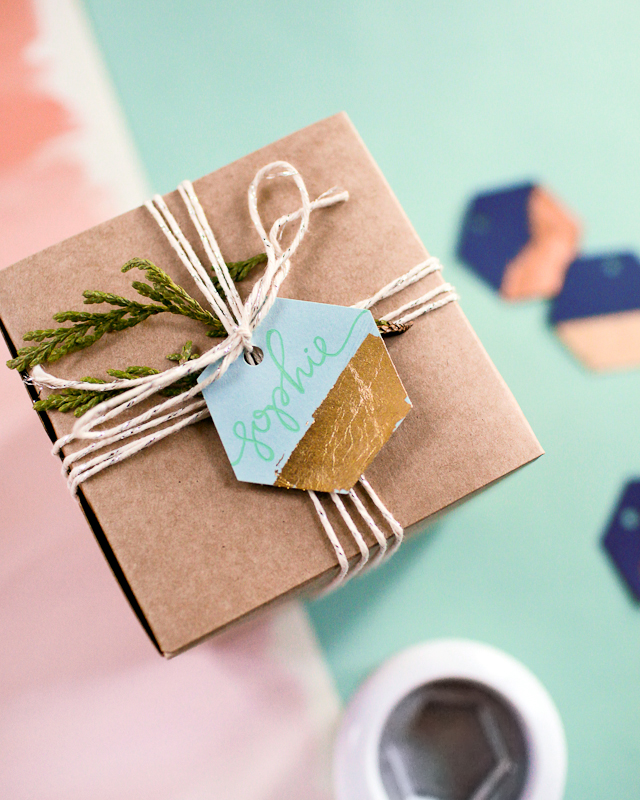
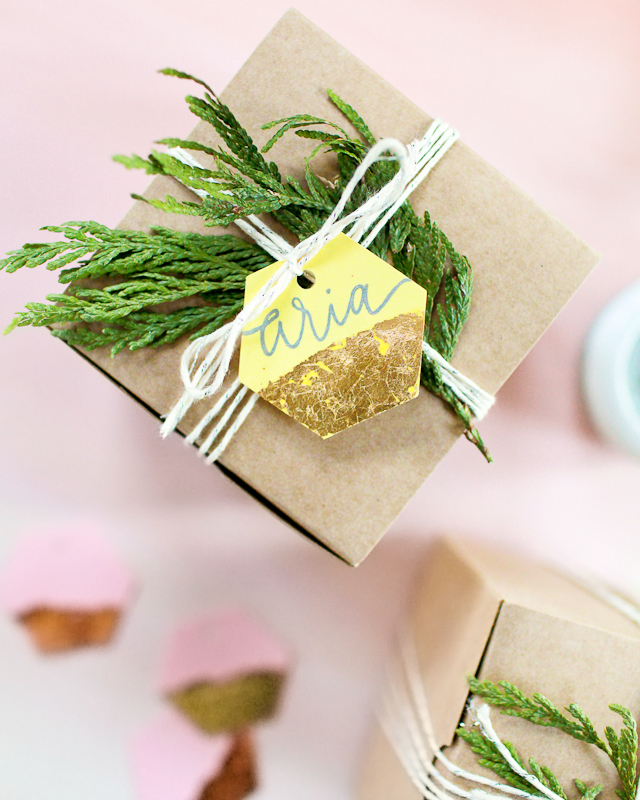
Step 3. Write the name of your gift recipient on the gift tag using pens with metallic ink or bright colors, tie the gift tag to the package using metallic ribbon or baker’s twine, and voila!



This post was created in partnership with Fiskars. All content and opinions are my own. Thank you for supporting the sponsors that make Oh So Beautiful Paper possible!
For more information on Fiskars crafting products, check out their website or follow Fiskars on Facebook, Twitter, Instagram, and Pinterest!
Original article and pictures take ohsobeautifulpaper.com site
Комментариев нет:
Отправить комментарий