
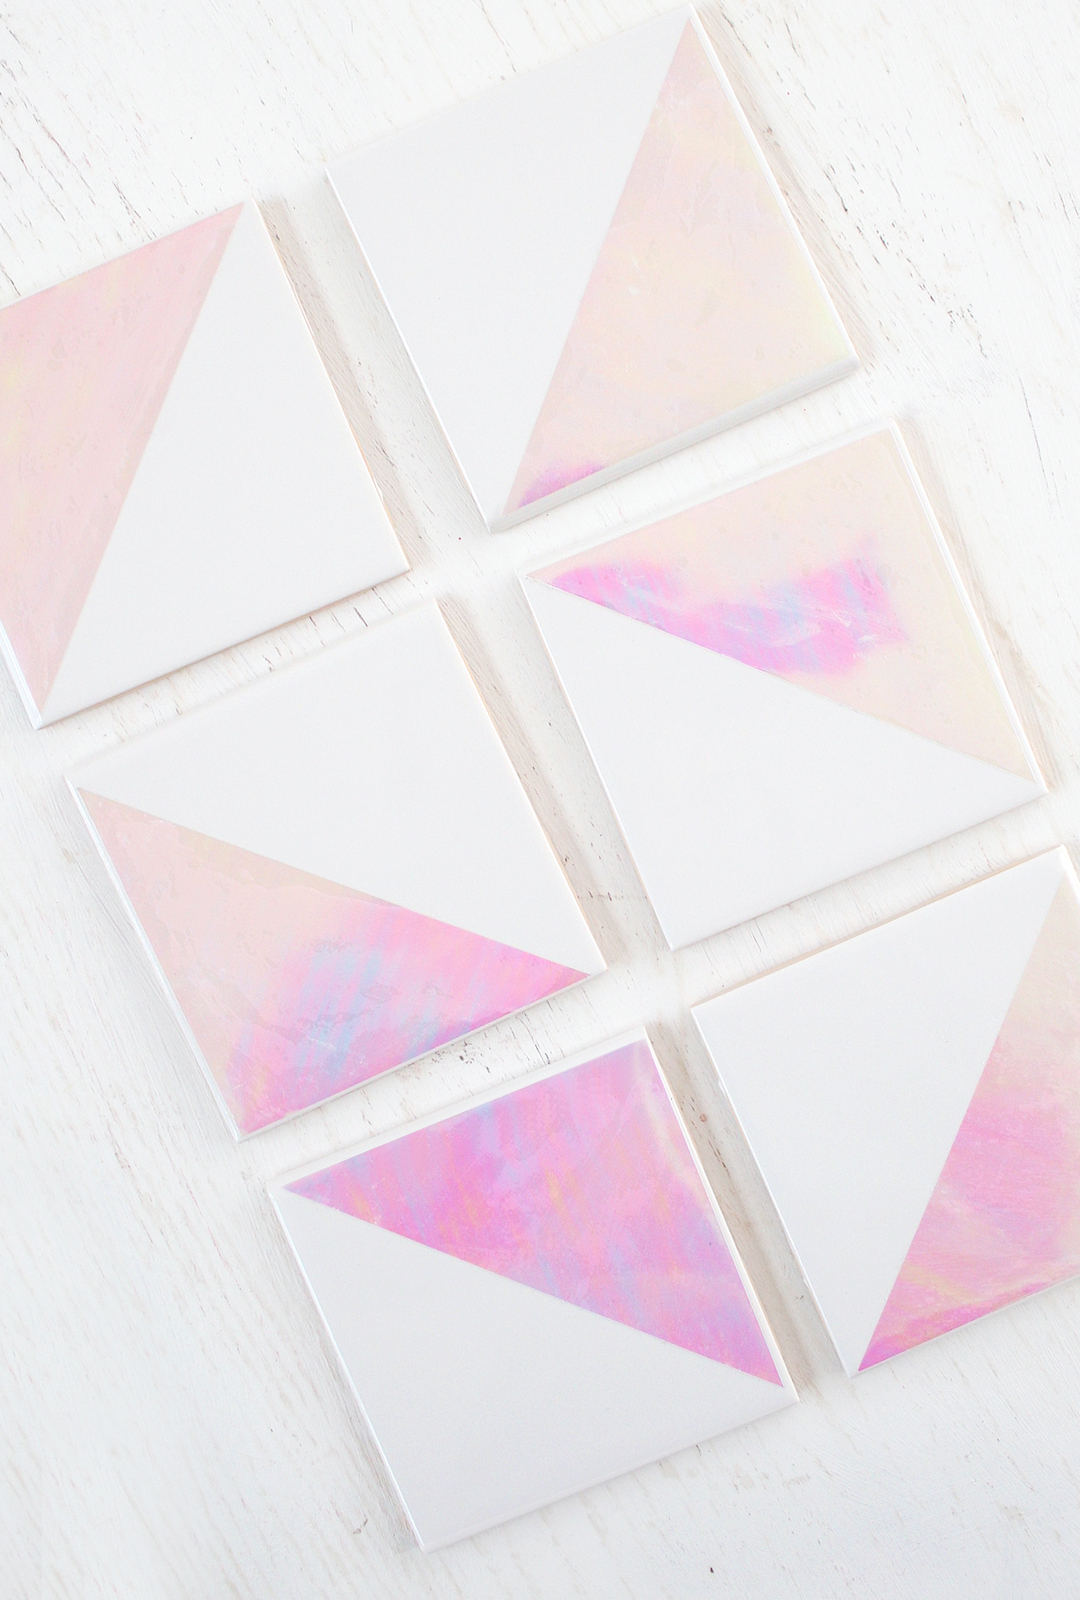
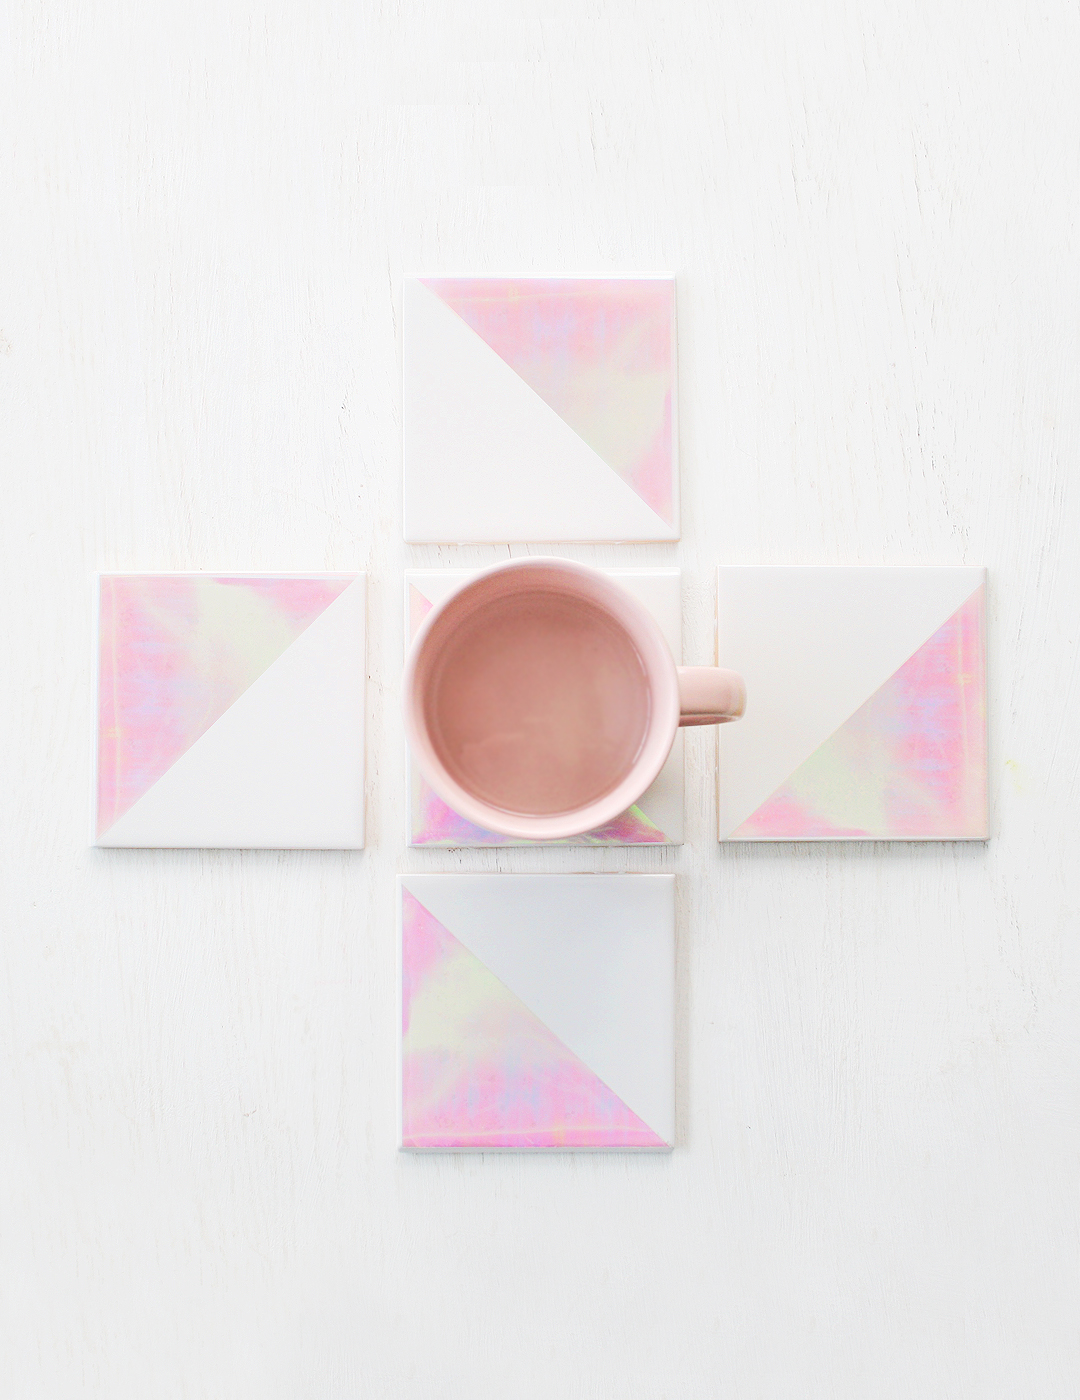
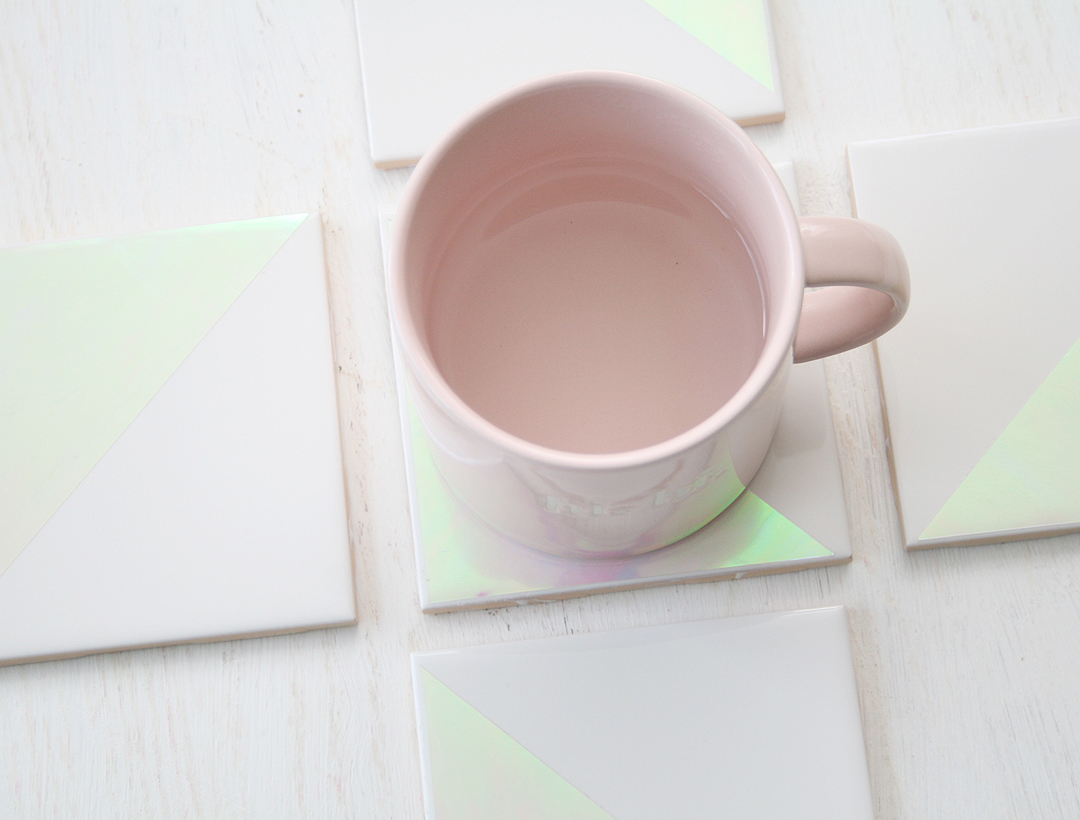
I’m finally getting in on this holographic fad and I’m loving it!! I gave this DIY a try this weekend and am super happy with the end results. This entire project was super budget friendly too! The coasters themselves were only $0.89 each from Home Depot, and the holographic foil was only $1.99 from Michaels: win, win, win! Oh, and I will add that this would make a super cute gift for any of your girlfriends too!
What you need:
• Coasters (I used these ones from Home Depot)
• Foil Paper (I used the color pearl; found here in the scrapbook section at Michaels)
• Clear multipurpose glue
• Xacto knife
• Ruler
• Blue painters’ tape
• Clear acrylic sealer

How to make your holographic coasters:
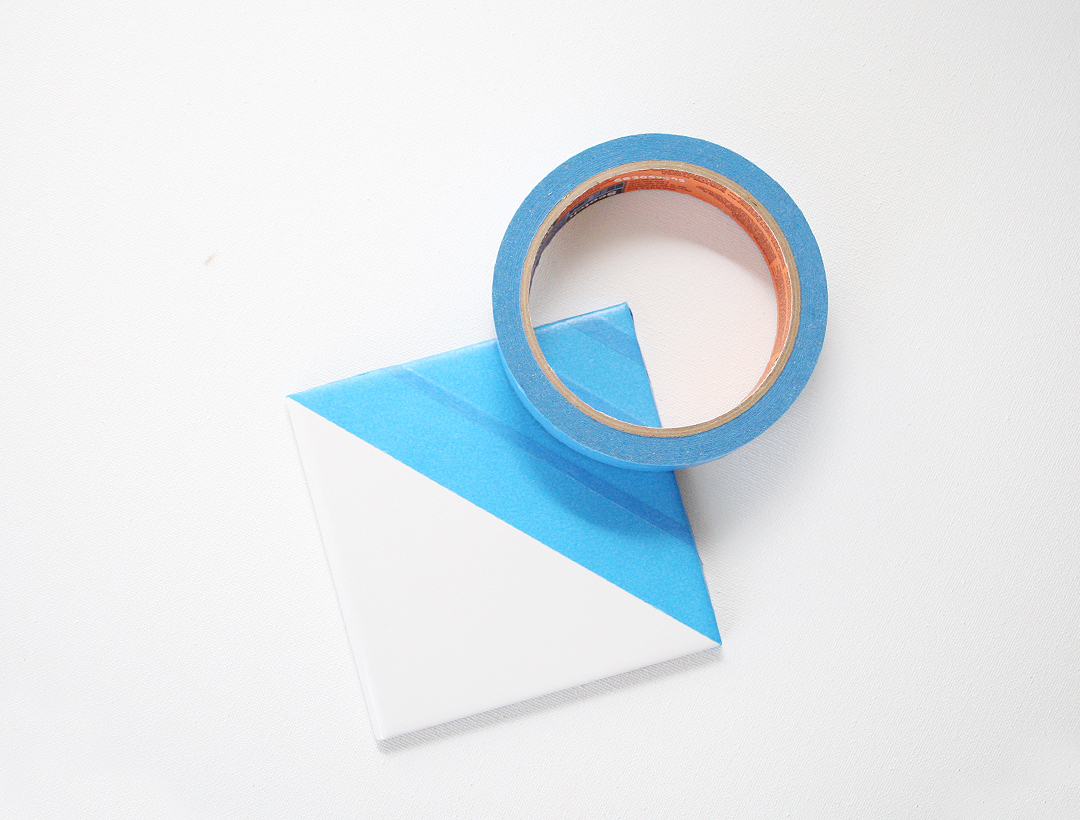
Step 1: Tape half of your coaster(s) using the blue painter’s tape.
Step 2: Measure and cut the correct size needed for your coaster.
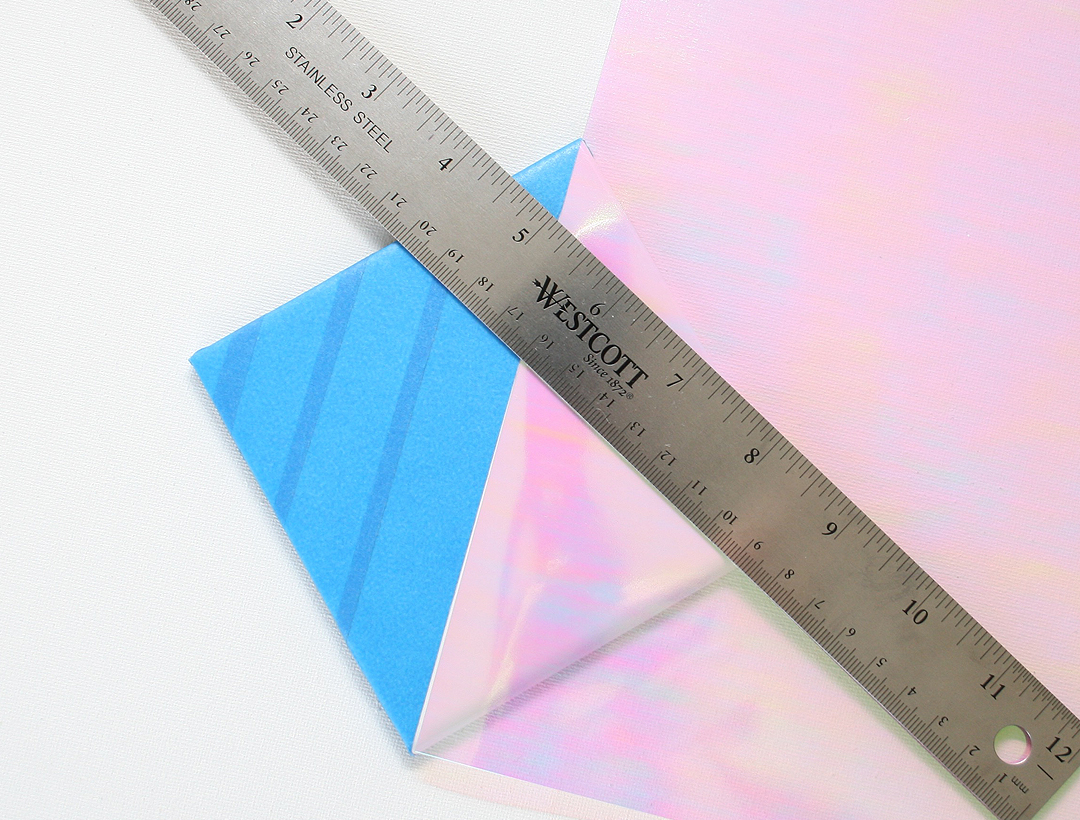
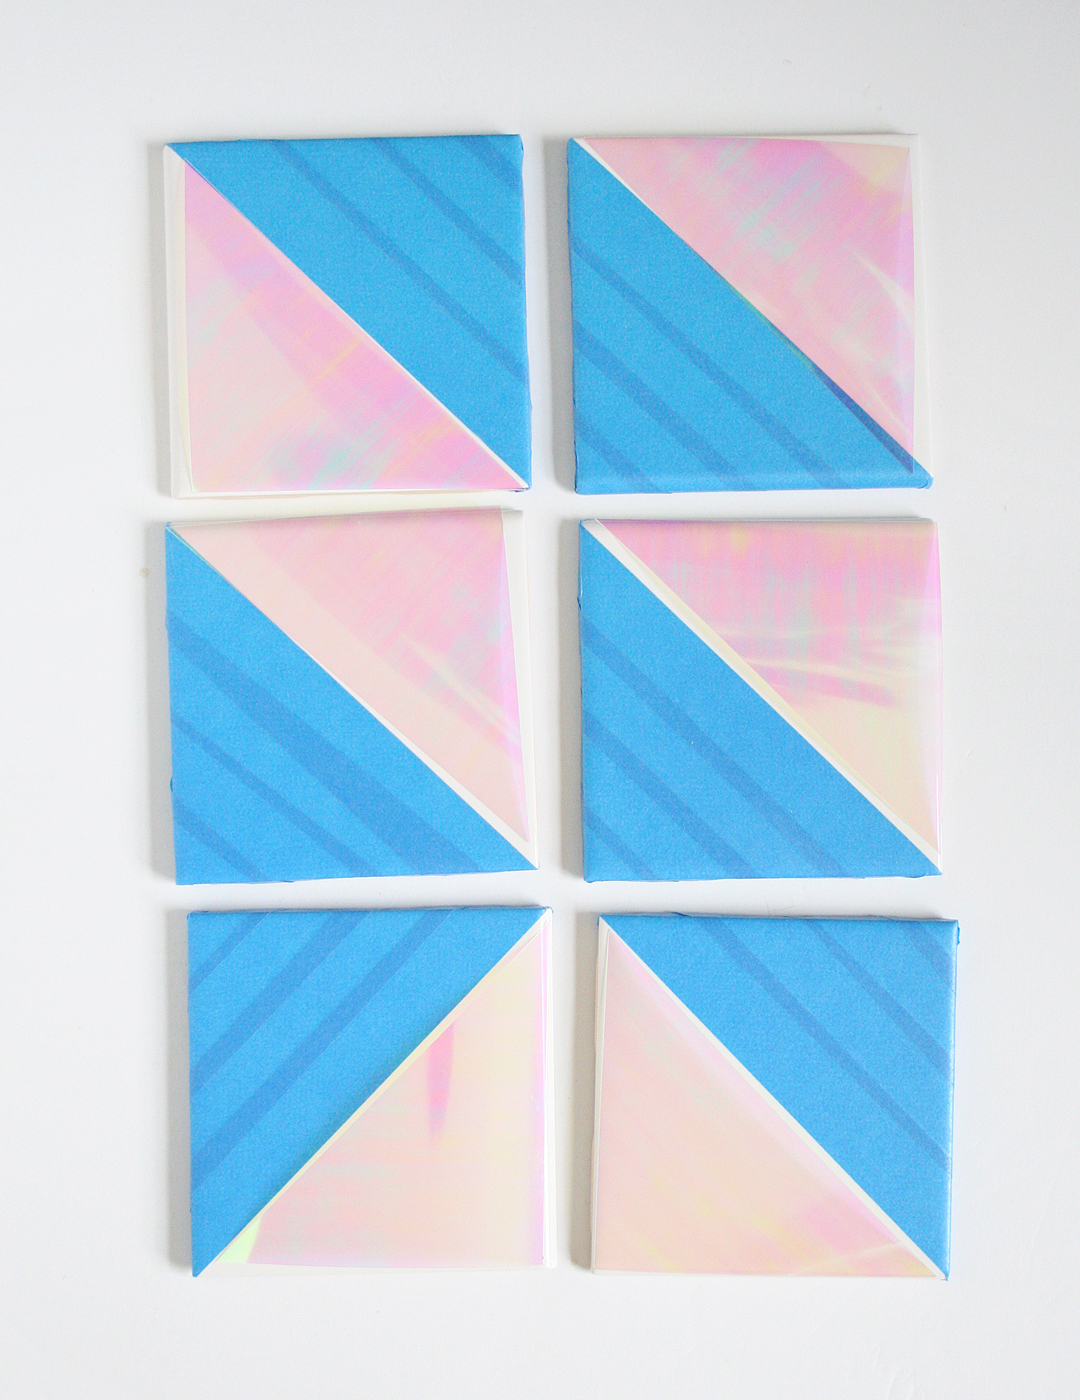
Step 3: Using your multipurpose glue, glue down the holographic foil onto the non-taped side of your coaster. Let Dry.
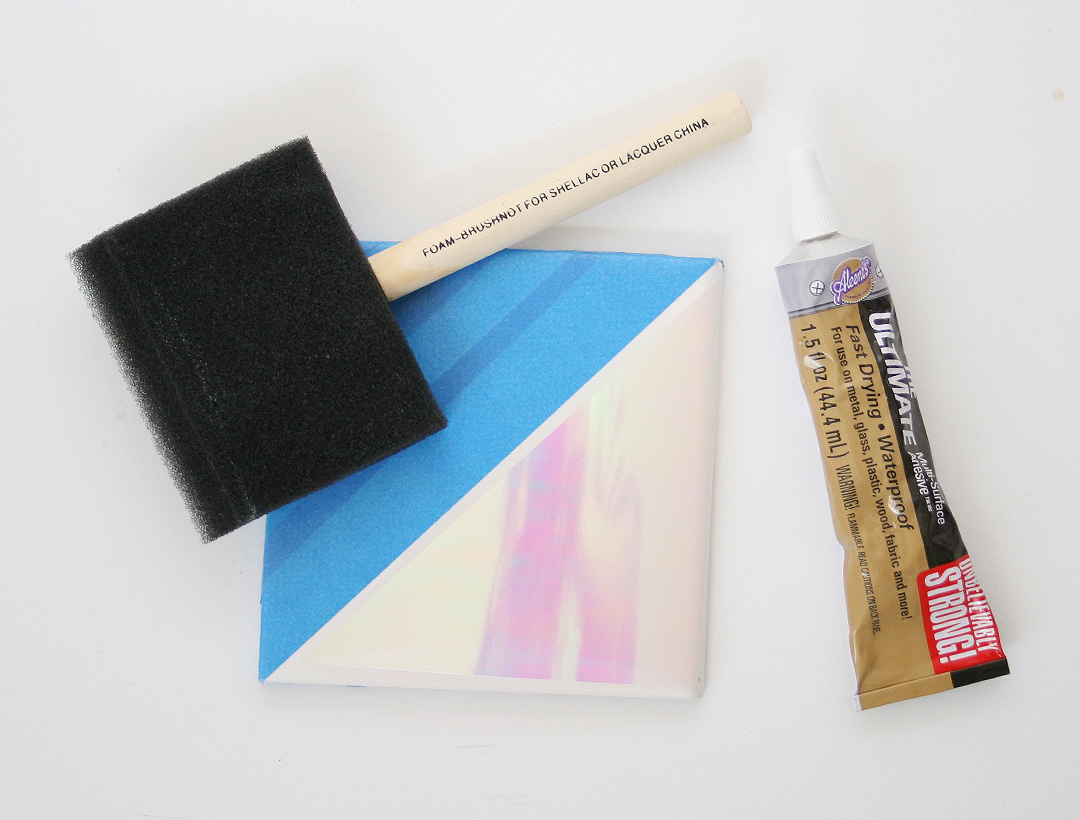

Step 4: Following your instructions on the acrylic sealer bottle, spray your coaster(s) and let dry.
Step 5: Once your coasters have been sealed, you can remove the blue tape.
Step 6: The coasters are ready for use!
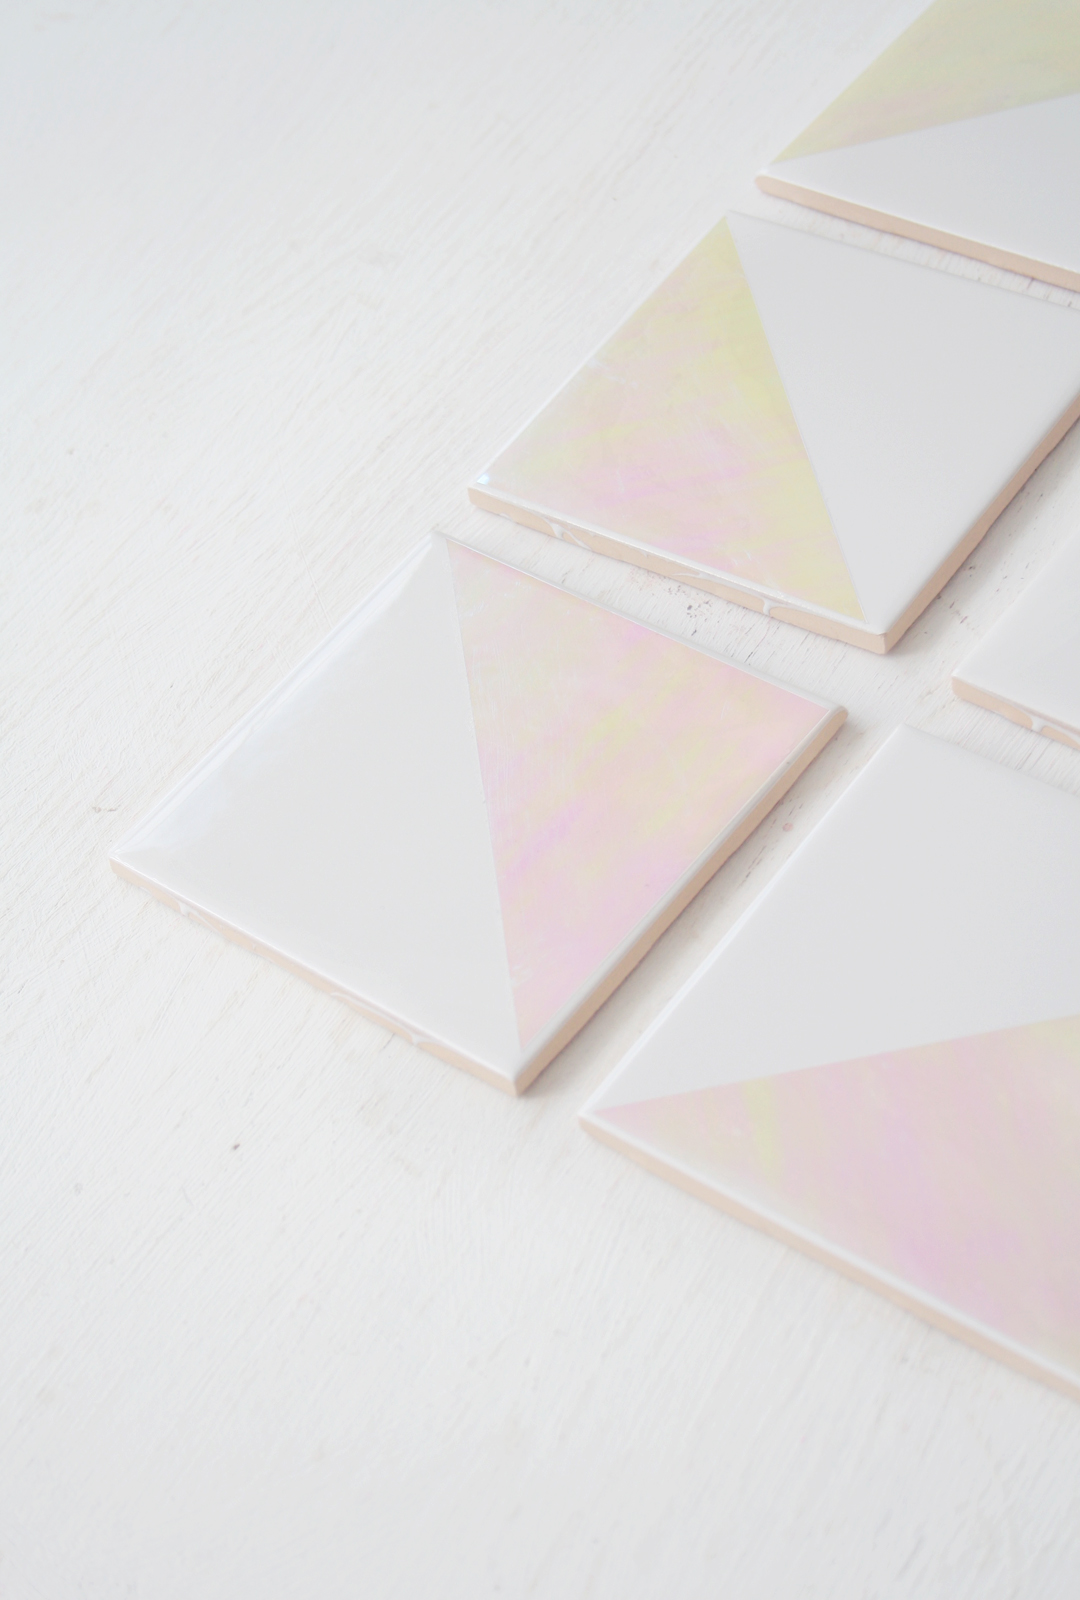


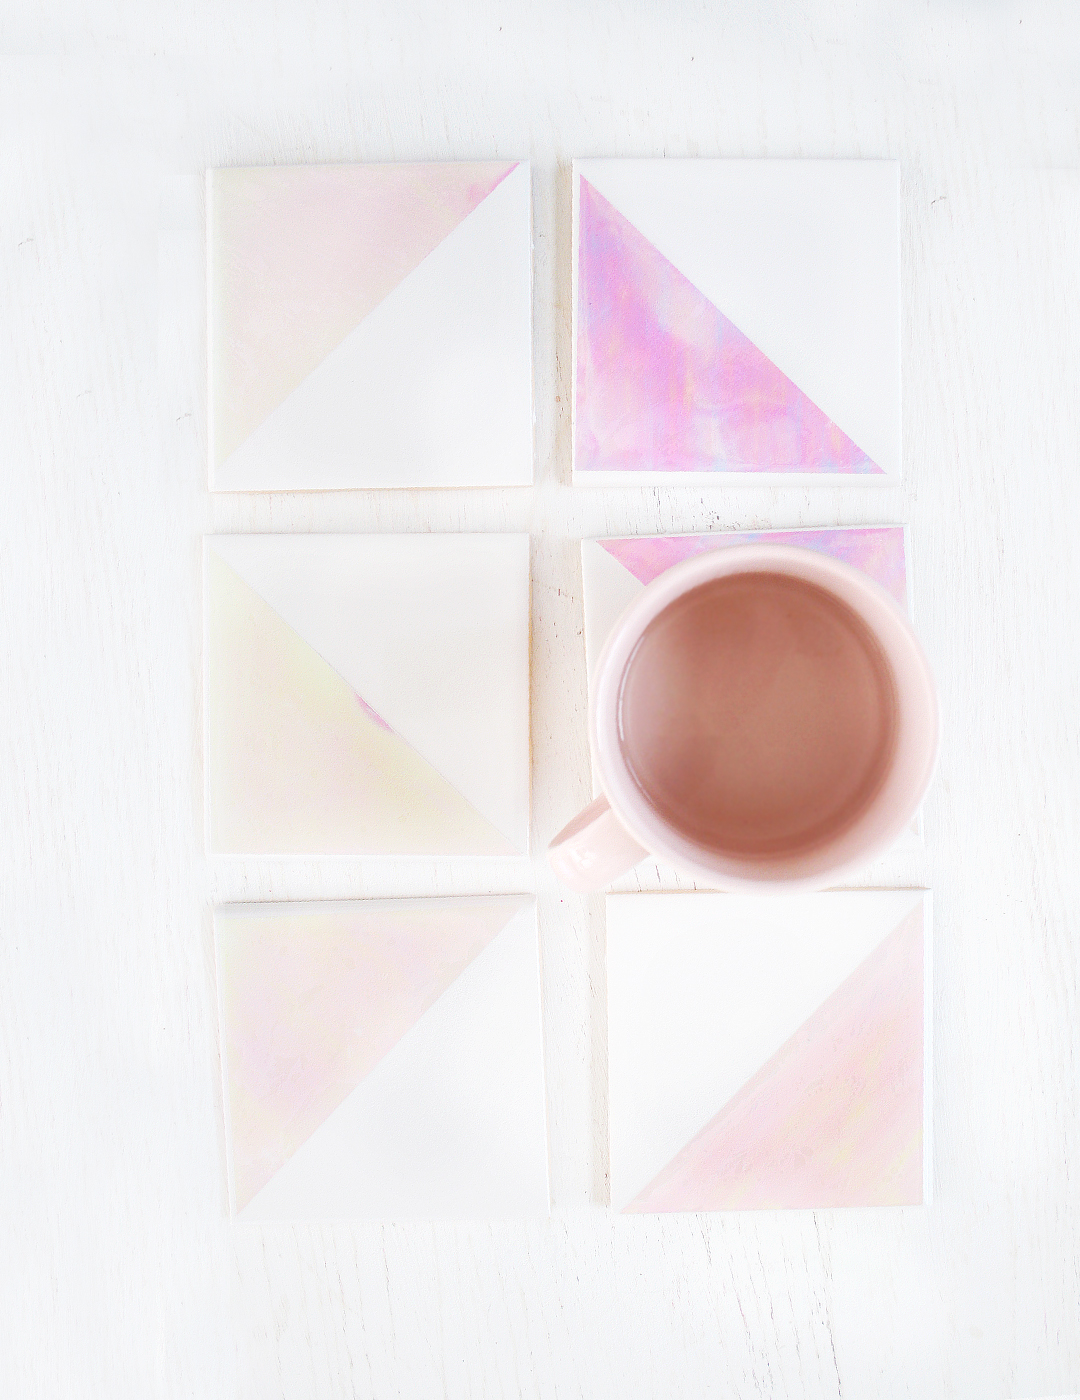
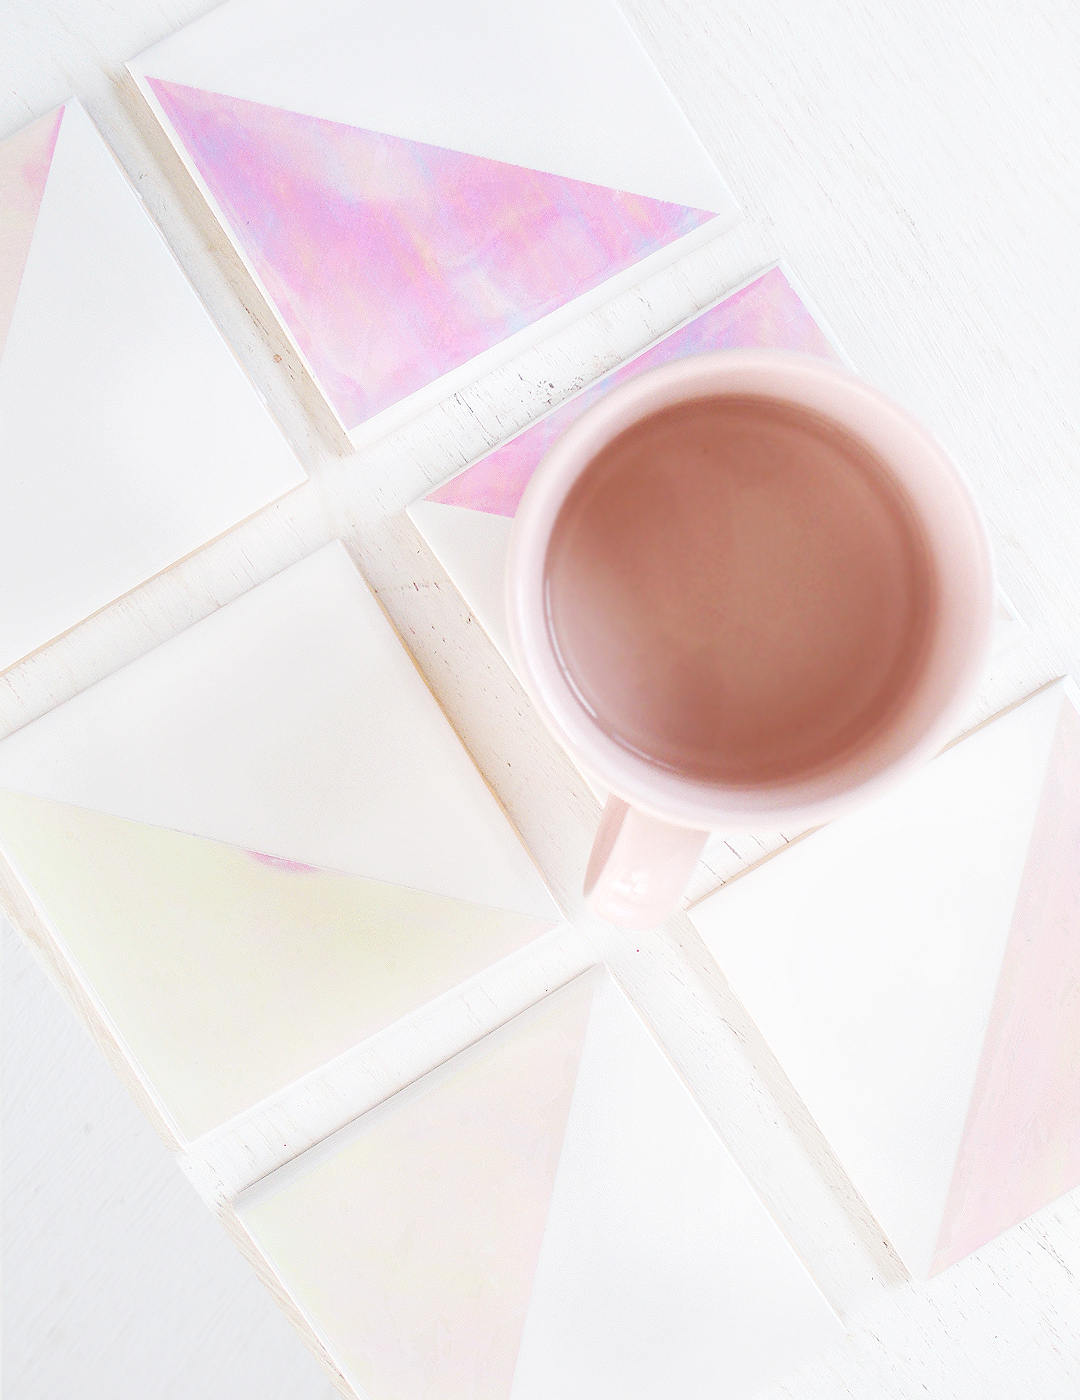
Have you ever seen anything prettier!? My eyes were gushing once they were all finished! What do you guys think? Are you into the holographic look like me?
Original article and pictures take www.lovevividly.com site
Комментариев нет:
Отправить комментарий