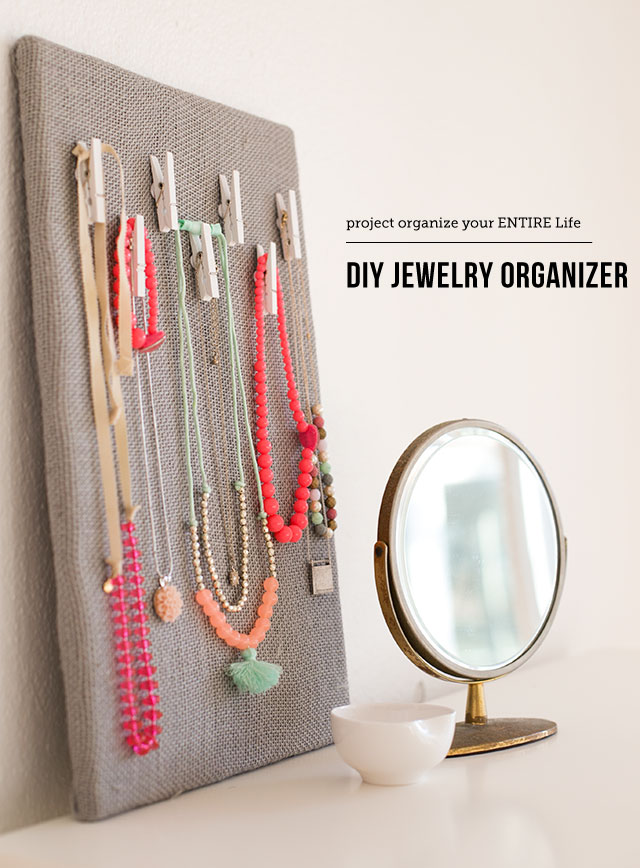
I’m gonna go on record right now and say this is one of my very favorite Project Organize Your ENTIRE Life projects ever!
So cool, so easy, and so perfect for storing your #5RingsToStopYelling and/or a few pieces of “Not Your Mother’s Engravable Jewelry” (both of which will support keeping families out of poverty).
Here’s Julee with the full how-to…
Now that my daughter is six-going-on-sixteen, the number of necklaces, bracelets, rings, hair clips and other accessories in our home seems to be multiplying by the hour.
Our school day morning routine is hectic enough without the added task of tracking down a specific piece of jewelry, so when Steph mentioned the idea of a writing about a jewelry organization board, I couldn’t say ‘yes’ fast enough.
In addition to being helpful in managing my daughter’s growing collection of personal accessories, the jewelry board is also extremely easy to make and the materials cost less than $15.

The selection of materials can vary quite a bit depending on the look you’d like to achieve. I decided on the following:
In addition to the above, I used a staple gun to create the board and a glue gun to create the pins.

After looking at a couple of examples of jewelry organization boards online, I had the idea of making super girly pushpins with adhesive ‘jewels’ from the craft store.
But I ultimately decided on clothespins because they seemed studier (for little hands) and could support multiple pieces of jewelry on a single pin.
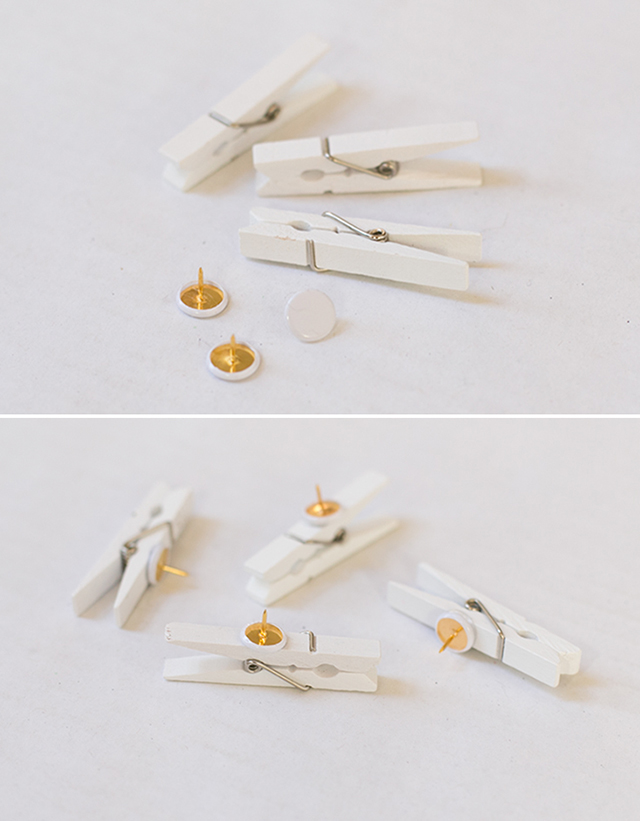
To create the pins, I used a glue gun to attach the pushpins to small size clothespins.

To make the board, I cut the burlap fabric so that it was slightly larger than the dimensions of the bulletin board – approximately 4 inches on all sides.
I pulled the fabric tightly across the board and stapled into the backside of the frame. Once it was stapled, I trimmed the excess fabric and then folded and stapled the corners.
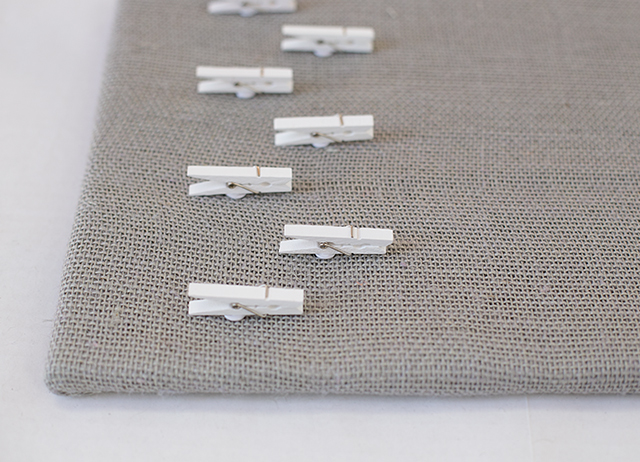
I placed the pushpins along the top of the board, spaced approximately 1 inch apart.

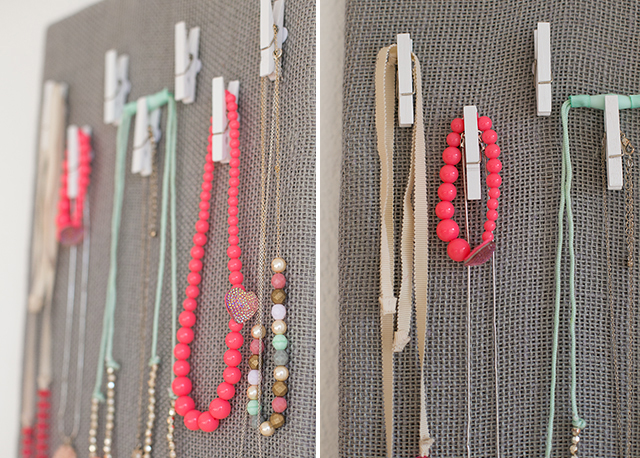
Next, I started adding necklaces and bracelets to the board. Larger beaded necklaces seem to work best draped over the top of the pushpins, while delicate chains can be clasped within the pin itself.

The final display is both beautiful and organized.
It’s currently holding about 90% of my daughter’s necklace collection. When she saw it, I could tell that she was surprised by the number of necklaces on her board – clearly she had forgotten about about a few items in her collection, and now she’s having fun picking out a new piece to wear each day.

*post contains affiliate links
Original article and pictures take modernparentsmessykids.com site
Комментариев нет:
Отправить комментарий