
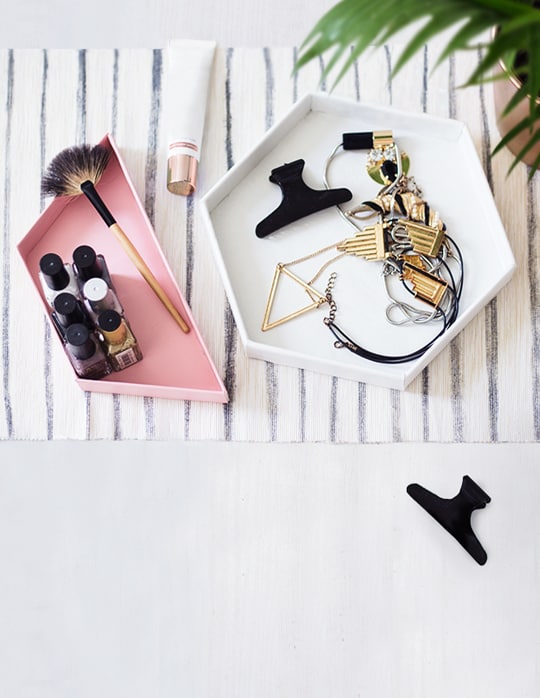
The hunt for our new blog contributor is finally over, and I’m so excited to slowly introduce you to the awesome ladies that will be bringing you even more awesome content, starting with Teri from The Lovely Drawer! While we’re still in LA working on some fun things (be sure to keep up with us here!), Teri is sharing how to make these DIY leather hexagon vanity trays to keep you organized and on trend while you’re getting ready in the mornings, or winding down at night…
Materials:
- 4 x sheets of A4 thick craft card
- Pencil
- Xacto knife
- Tray PDF template printed out (click to download large tray here and inner tray here)
- Leatherette in two colors
- All purpose glue or a glue gun
- Scissors
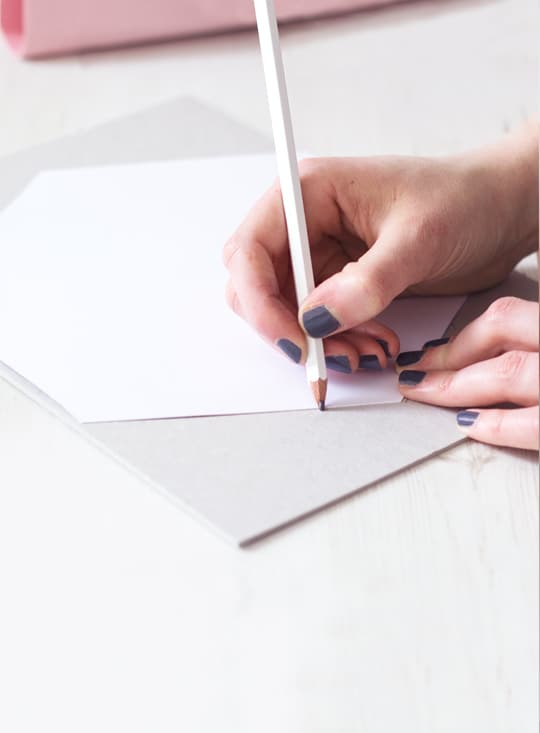
First, print and cut around the template shapes so you have the all the right pieces to draw around. Mark out the shapes with a pencil onto the thick card and cut out with your scalpel.
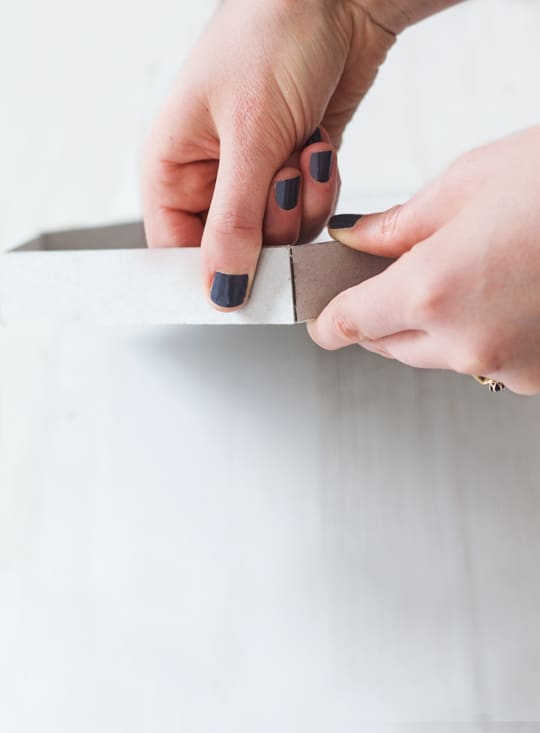
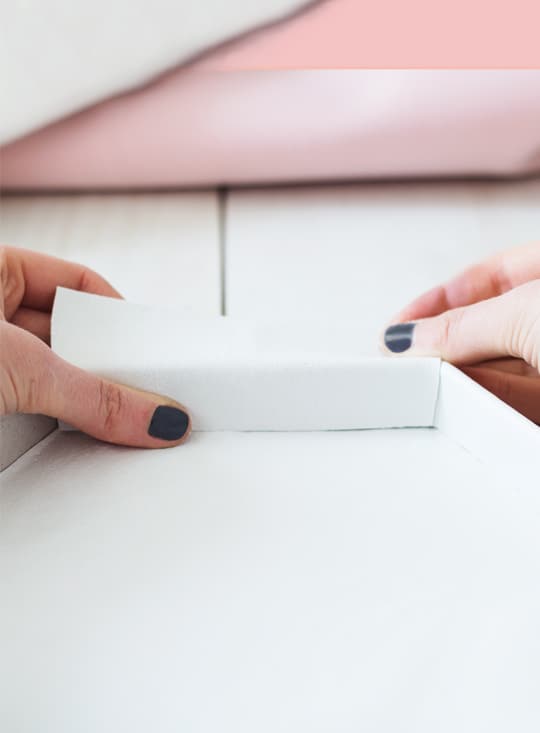
To assemble the trays you’ll need to take each side individually, applying the all purpose glue along the side of the tray bottom first. Hold in place until it’s secured. After the first side you’ll also need to apply a line of glue along one of the tray side edges so that you can gradually join all the sides up. Press together with your fingers but don’t worry too much about it looking a little messy as you’re going to cover this later.
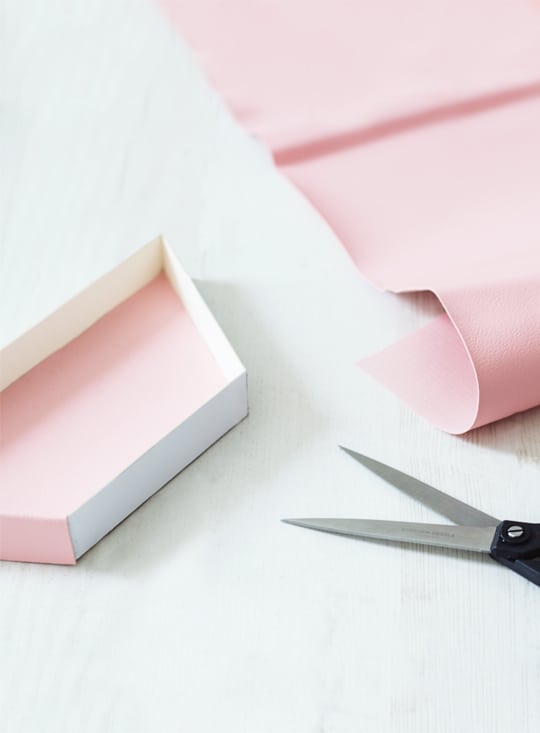
When you’ve done this with both the hexagon tray and the inner tray you can start cutting the leatherette to cover them. You can draw around then template shapes as a guide again, doubling the depth of the sides to cover both the outside and inside of each. The bottom of each tray will be slightly larger than the template now that the sides have been added so simply draw around the bases of your trays to get the right size to cover it.
Put a generous amount of glue on both the leatherette and the side you want to stick, spreading it evenly so there are no lumps. Then fix the leatherette to the card starting inside and then taking it over to the outside. A handy tip is to put a line of glue along the top of each side so that as you bring the leatherette over the top, it creates smooth fold without any air bubbles.
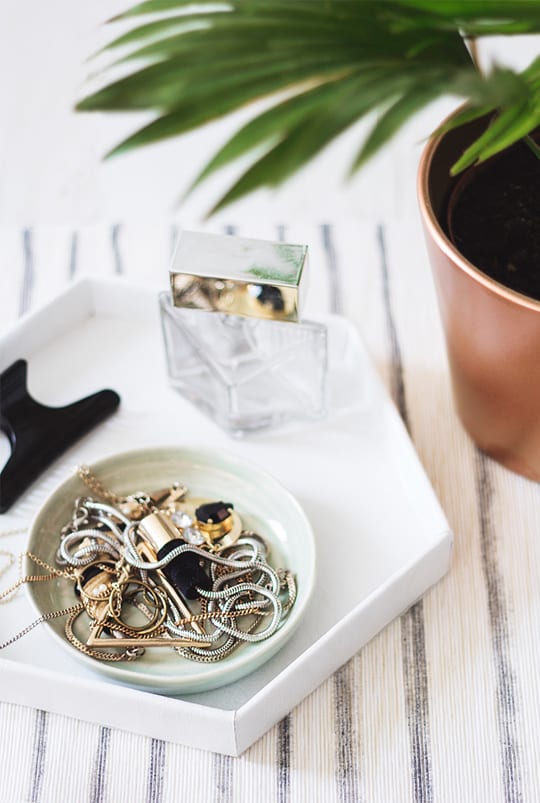
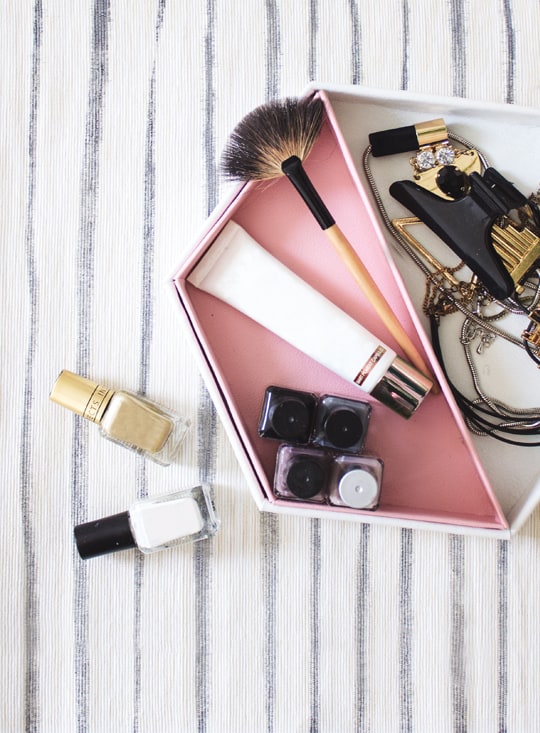
Now you’re ready to fill your trays with whatever you want. The leather covering means it’s wipeable which is handy for beauty products!

Teri is a designer, illustrator, stylist, crafter. Originally trained in print and surface pattern design, she has since had five years experience designing in-house for a greetings card company, and now creates The Lovely Drawer full-time from her little London flat.
Original article and pictures take sugarandcloth.com site
Комментариев нет:
Отправить комментарий