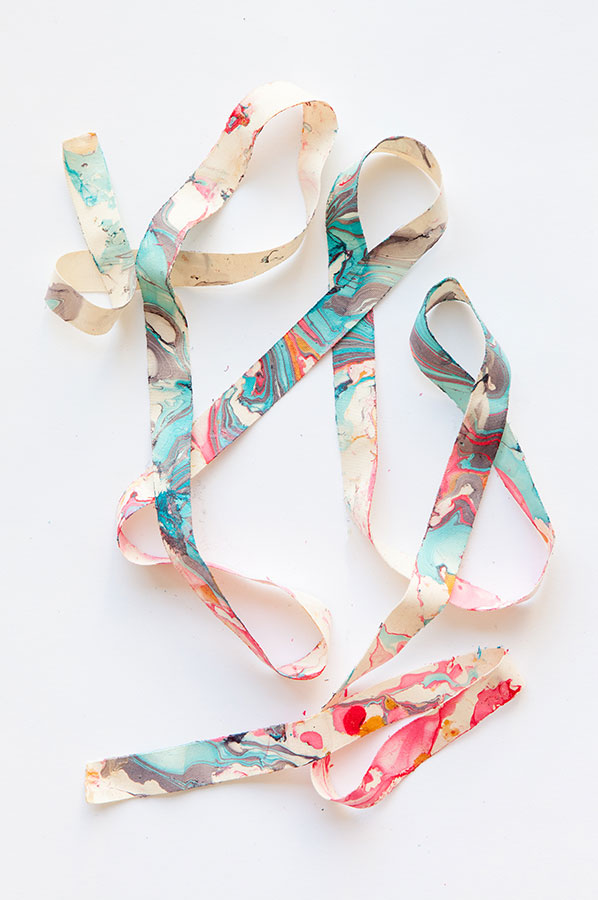
We’ve been playing around with marbling (it’s addicting!) And today we are sharing a project on how to marbleize ribbons. Click through below for all the details! (PS – Marbleized party hats!)

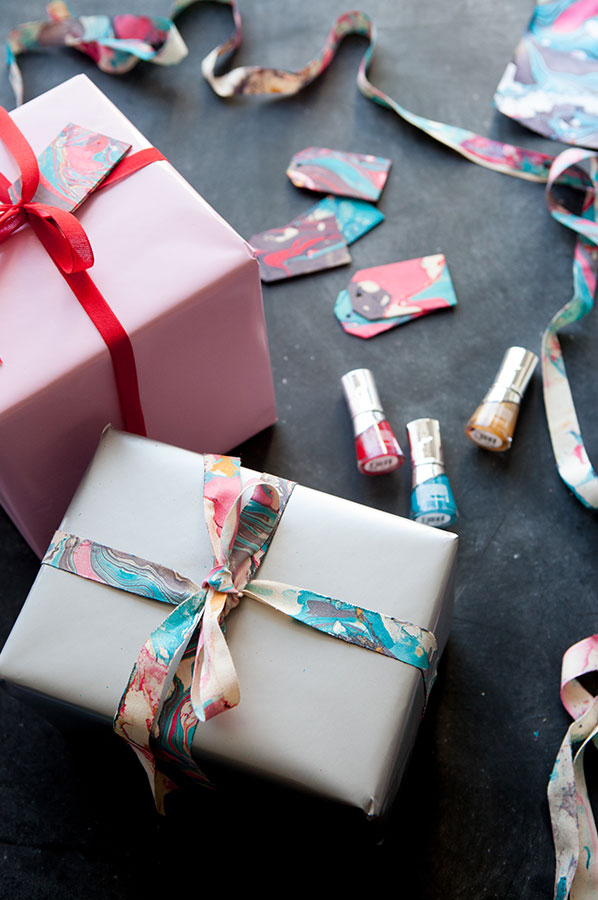

Materials: Water, large tub, at least 4 colors of new nail polish (ours is from the dollar store,) cotton ribbon, skewers, scissors, acetone nail polish remover (for clean up), optional: gloves (so you don’t get nail polish all over your hands)
Step 1: Set up your workspace. Make sure you’re in an area that can get a little wet. You also may want to put down some kraft paper or newspaper to prevent the nail polish from getting on anything around your workspace. Make sure you open lots of windows and have good ventilation (nail polish is stinky!) We also set up stools around the space where we could dry the ribbon once it had been marbled. Fill the tub with 2-3 inches of water.
Step 2: You’ll need to move really quickly when marbling with nail polish. So make sure you have everything ready to go before you start. Open the bottles of nail polish you’re planning to use and set them close by so they’re easy to grab (We found that 4 colors is a good amount.) Make sure you have a long strand of ribbon that’s nearby as well.
Step 3: Pour the nail polish into the water. We did 2 colors at a time. The nail polish starts drying once it hits the water, so make sure you move fast! You want there to be enough color so that it basically covers the surface of the water.
Step 4: Quickly pull a skewer through the nail polish colors to blend them together. We did a few lines horizontal and a few lines vertically.
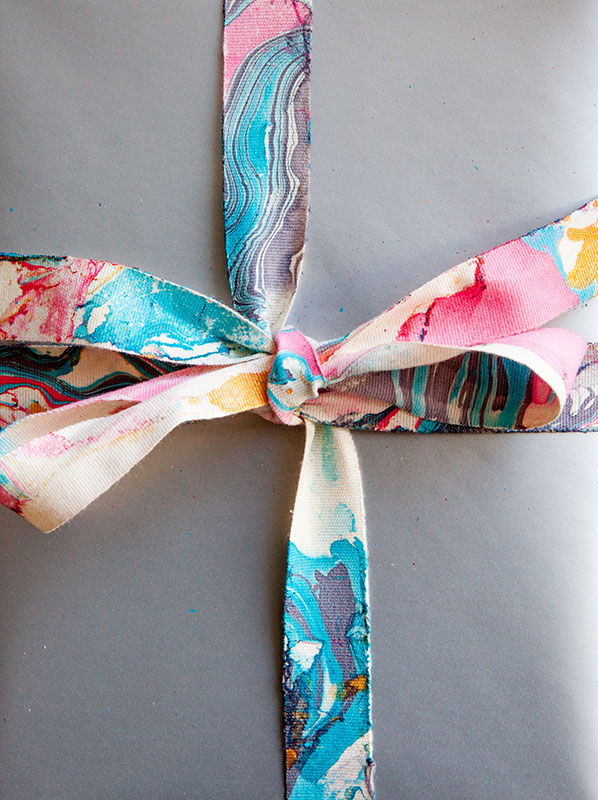
Step 5: Gently place the wide side of the ribbon directly onto the surface of the water so that the pattern transfers to the ribbon. We snaked the ribbon around so that it covered as much for the surface as possible.
Step 6: Gently submerge the ribbon under the water so that the leftover nail polish can cover the backside of the ribbon. Then, pull the ribbon out. (It’s ok if a few stringy pieces are hanging on, these will crumble off once the ribbon fully dries.)
Step 7: The ribbon will be ready to use after a few hours of drying. For clean up, use nail polish remover to scrub away any leftover particles.


Original article and pictures take ohhappyday.com site
Комментариев нет:
Отправить комментарий