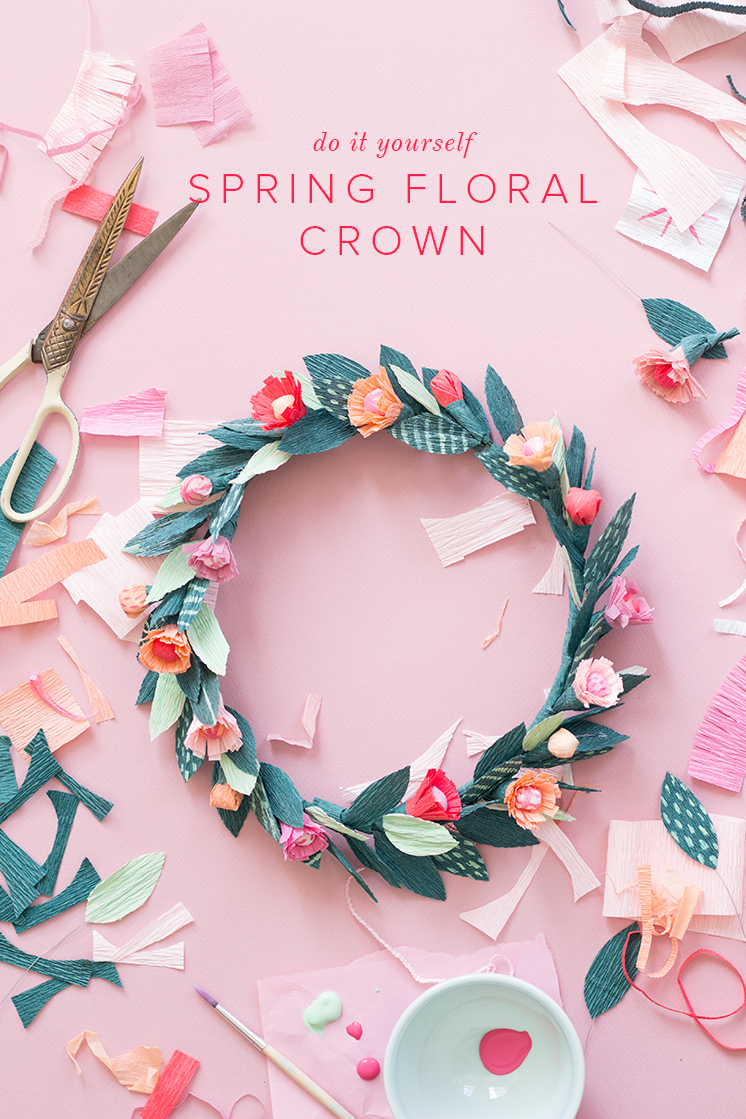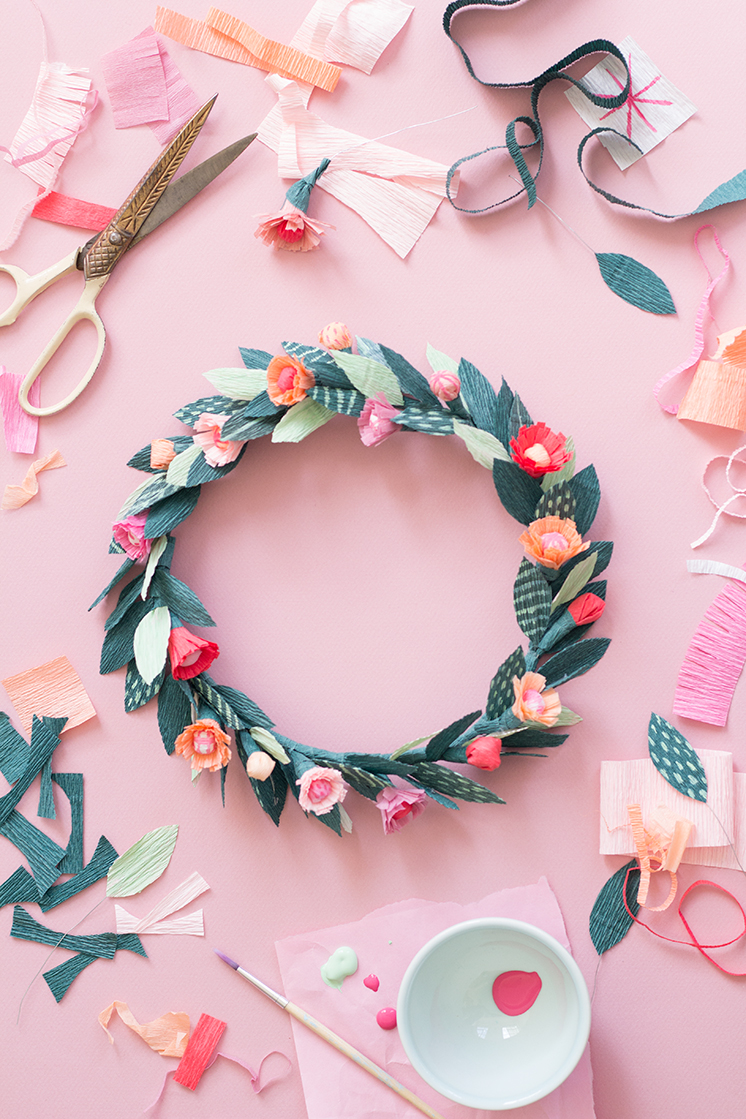
Springtime calls for a celebration and a floral crown is the perfect way to do so. We love creating paper flower crowns because they won’t ever die (as long as you take care of them!). This one we dressed up with some acrylic paint to add in another fun dimension. See the full tutorial after the jump!


Materials:
- stem wire
- 26 gauge floral wire
- wire cutters
- ruler or measuring tape
- crepe paper in various shades of pinks and greens
- scissors
- hot glue gun and glue
- cotton balls
- craft paint and small paint brush (optional)
Crown Instructions:
1. Use stem wire to make a circle base for your crown. We used one stem wire + an additional 1/3 of a wire and twisted them together.

2. Make your paper floral elements (instructions for each element below). We used about 6 buds, 11 flowers, and 65 leaves.
3. Cut .5 inch wide strips of green crepe paper against the grain (meaning you will cut across the linear ridges of the crepe paper). Hot glue the end of one of these strips to your wire circle and wrap the wire for about 3 inches.

4. Start adding in leaves. Wrap the wire stem of a leaf around the wire circle and then wrap your .5 inch strip of green paper around the wire circle once or twice to start covering the wire stem. Add in another leaf and repeat. Repeat these steps as you add in more leaves, buds, and flowers around the entire crown. When you have completely filled the circle, secure the end of your green crepe paper strip with hot glue.


See the next page for the leaf instructions
Leaf Instructions:
1. Cut a 4 inch piece of floral wire.
2. Cut a 2.5 inch strip of green crepe paper against the grain (meaning you will cut across the linear ridges of the crepe paper). Stretch the strip out a bit. Cut the strip into 1.5 inch sections. Layer 3-4 of these rectangles and cut out a leaf shape. The long dimension of the leaf should be going with the grain (meaning the linear ridges of the crepe paper will be going in the same direction as the longer dimension of the leaf).

3. Run a strip of hot glue from tip to tip of your leaf. Secure the 4 inch piece of floral wire along this glue to give the leaf structure and a stem.

4. Repeat process to create about 45 leaves.
5. Paint patterns on some of your leaves and allow to dry (optional).
See the next page for the bud instructions
Bud Instructions:
1. Cut 2 inch strips of various shades of pink crepe paper. Stretch the strip out a bit. Cut the strip into 2 inch sections (forming 2 inch squares). Paint patterns on some of the squares and allow to dry (optional).
2. Cut a cotton ball into 4 pieces. Roll one of theses pieces in your hands to form a smaller cotton ball.

3. Cut a 4 inch piece of floral wire. Squeeze a dab of hot glue onto one end of the wire. Secure the small cotton ball onto this end. Place the cotton ball into the center of one of your pink squares of crepe paper. Wrap the paper around the cotton ball by bringing the edges and corners of the square down and tucking and twisting it around the wire stem. Wrap additional floral wire around the base of the cotton ball, pulling it fairly tightly to create a little bud shape.

4. Cut a .5 inch wide strip of green crepe paper against the grain (meaning you will cut across the linear ridges of the crepe paper). The strip should be about 3 inches long. Hot glue the end of the strip around the base of the bud and wrap around and down a few times to cover the floral wire.

5. Repeat process to create about 6 buds.
See the next page for the flower instructions
Flower Instructions:
1. Use steps 1-3 of bud instructions to create about 11 centers for your flowers.
2. Cut 1 inch wide strips of various shades of pink crepe paper against the grain (meaning you will cut across the linear ridges of the crepe paper). The strips should be about 9 inches long. Use scissors and cut .5 inch slits along the long side of the pink crepe paper strips. This fringe creates the petals for your flowers.

3. Glue one end of a fringed strip at the base of your flower center as shown in the picture. Continue to wrap the strip around the base of the flower and secure with a dab of hot glue every few centimeters. When you have wrapped and glued the entire strip around the center, use your fingers to fluff out the fringe away from the center of the flower.


4. Cut a .5 inch wide strip of green crepe paper against the grain (meaning you will cut across the linear ridges of the crepe paper). The strip should be about 3 inches long. Hot glue the end of the strip around the base of the flower and wrap around and down a few times to cover the base of the flower and top of the floral wire stem.

5. Repeat process to create about 11 flowers.


Photos by Ashley Isenhour and Brittany Jepsen | Crafting by Ashley Isenhour
Original article and pictures take thehousethatlarsbuilt.com site
Комментариев нет:
Отправить комментарий