I had to pinch myself when Home Depot recently asked me to take part in a DIY Challenge. I was all like, “Who? Me? For real?!”
As it turns out, they were for real, and I (obviously) jumped at the chance to take part in such a cool opportunity!
They challenged 6 bloggers to use piping in a DIY Project. I quickly decided that I wanted to make a DIY Piping Table for my photography studio/work space.
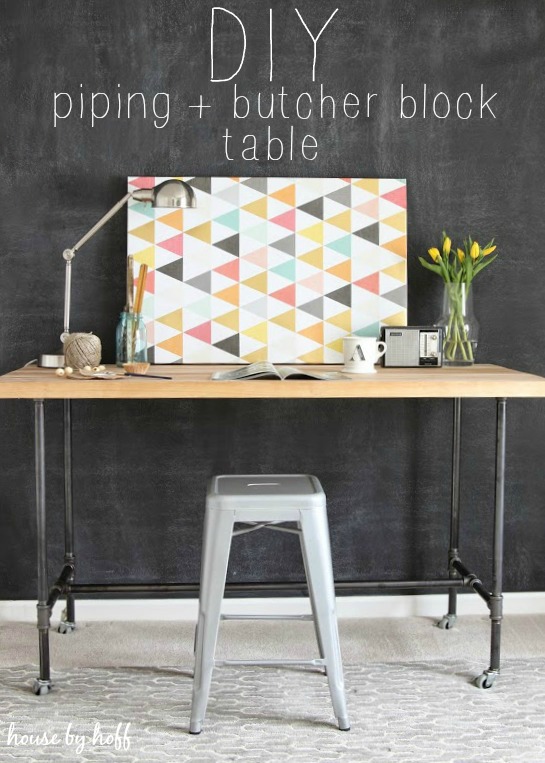
This room has changed A LOT in the past few months. It went from being our spare bedroom, to Miss L’s playroom, to my photography studio and work space within like a month. I really wanted a work table in this space, and I wanted it to be on casters so that I could easily move it out of the way when indoor photography jobs arose.
So, without further ado, here is the tutorial for the DIY Piping Table
Supplies for this Butcher Block and Pipe Work Table:
– Level
– Cordless Drill
– File
– Pipe Wrench (optional)
– 5 ft Butcher Block Workbench Top
– 3/4″ Piping
– (4) 3/4″ Flanges
– (6) 3/4″ Tees
– Wood Screws
– (4) Casters
– 3/4″ Dowel Rod
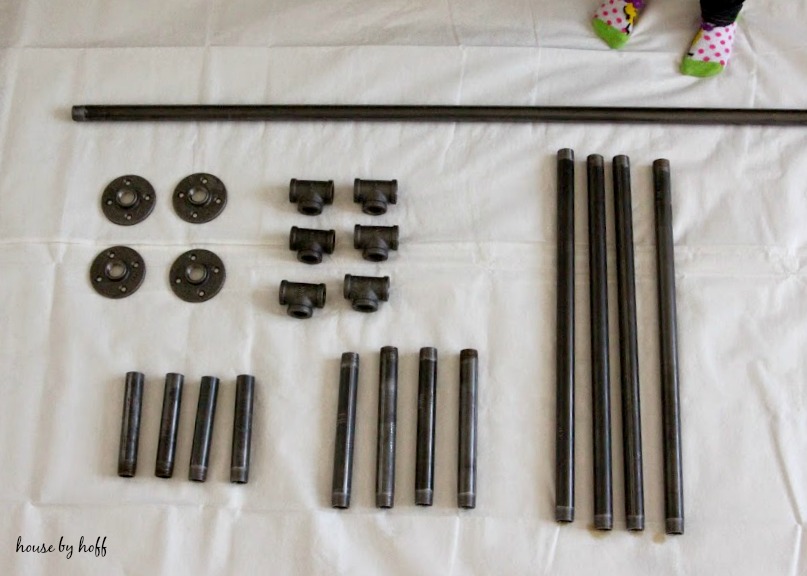
Cute little feet are not part of the supply list!
3/4 inch piping cut list:
4 @ 6″ (one end threaded)
4 @ 22.5″ (both ends threaded)
4 @ 9″ (both ends threaded)
1 @ 48″ (both ends threaded)
Instructions:
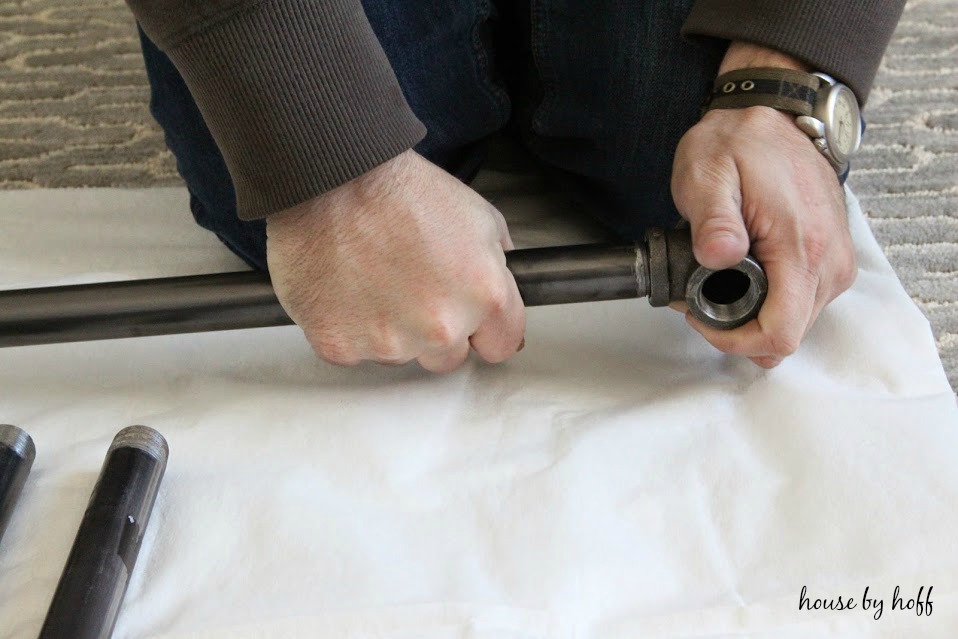
Once we had worked out the logistics of the table, and had the pipes cut at Home Depot (for free!), putting it together took like 40 minutes. First we screwed two of the tees to each end of the 48″ pipe. Next we attached 9″ pipes to the ends of the tees. This created the “I” section at the base of the table.
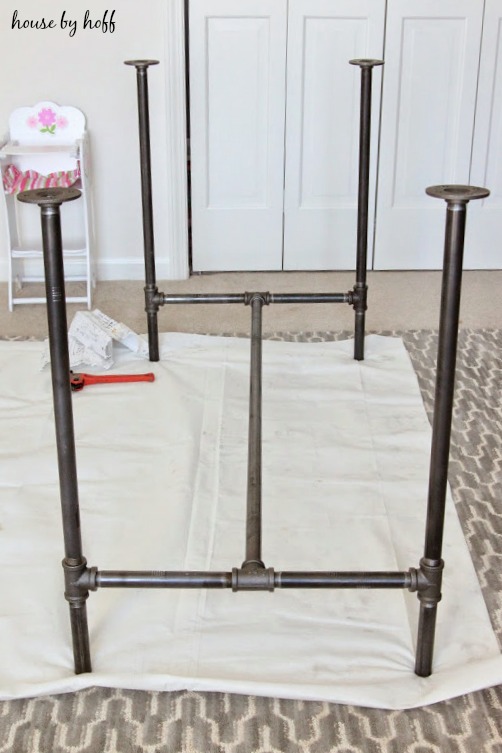
We attached tees to the end of each 9″ pipe and added the the 6″ pipes to the bottom, and the 22.5″ pipes to the top. I am sure that looking at this picture below explains it a lot better than I just did.
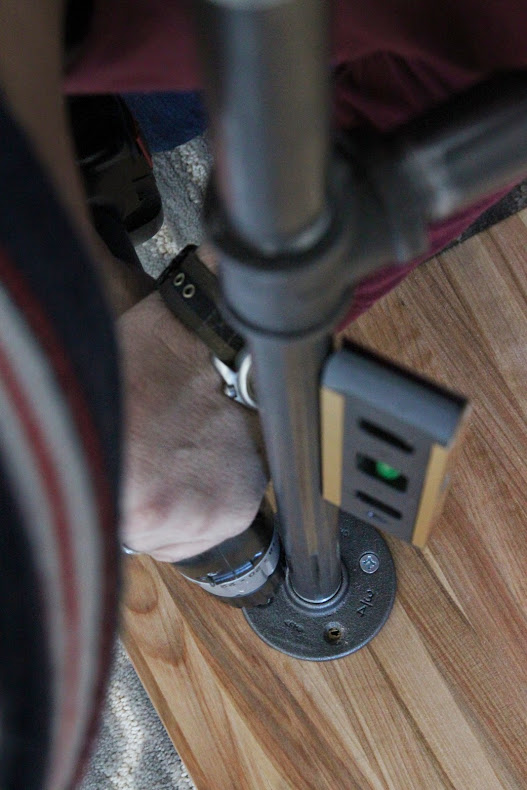
To attache the piping base of the table to the butcher block top, we used 3/4″ flanges.
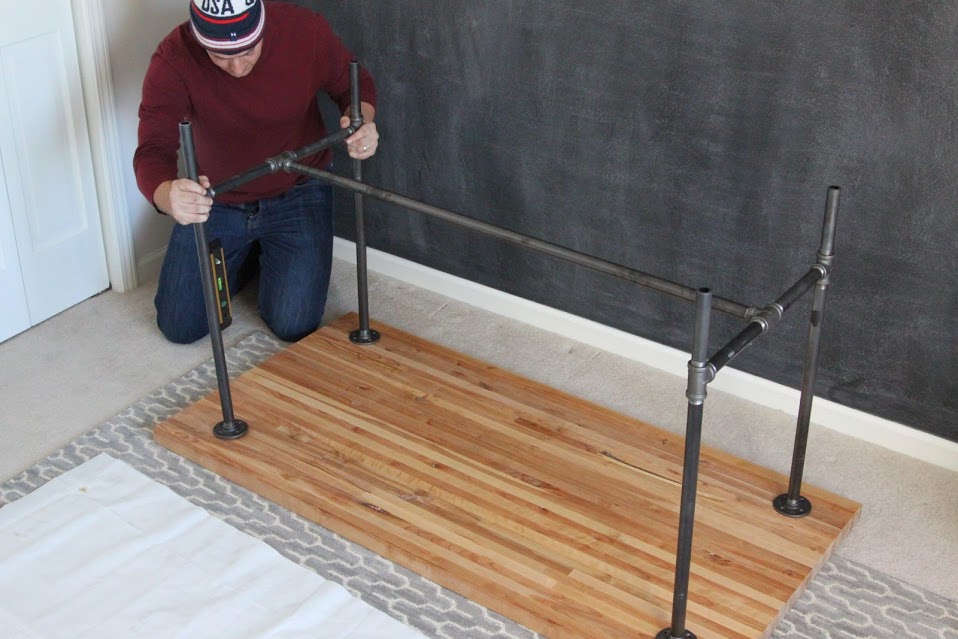
It was quite easy to screw the base to the butcher block top.
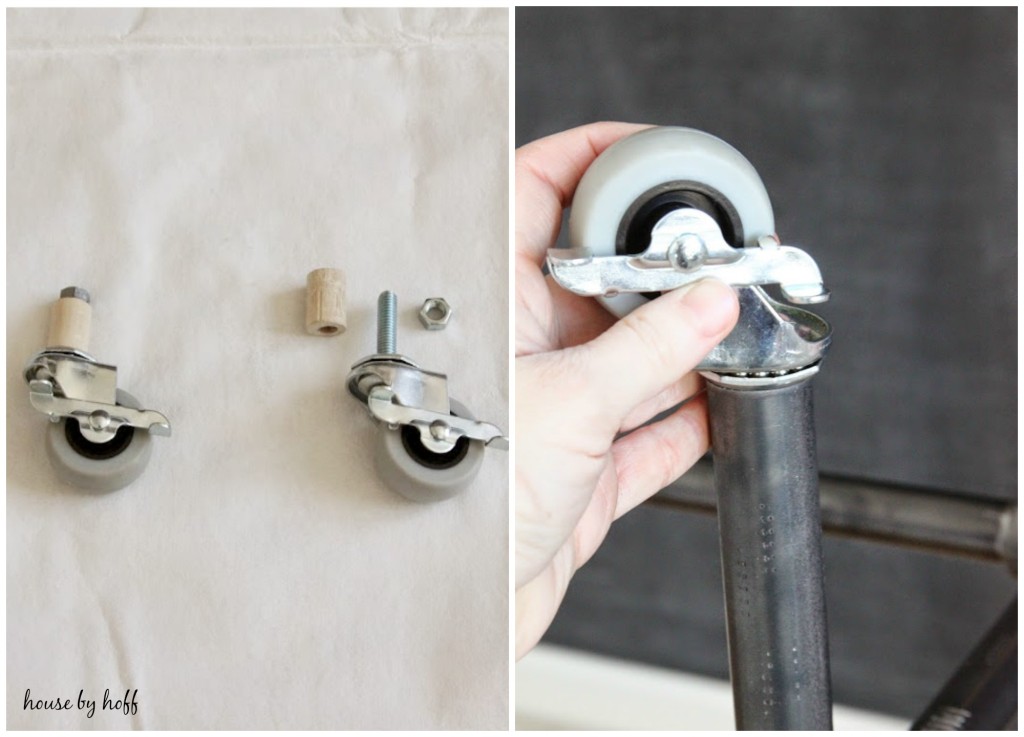
We needed to be creative to get casters on the bottom of this table. I have to give credit to my dad for figuring it out. We ended up cutting 1.5″ sections from a 3/4″ dowel rod and drilling holes in each piece. We screwed the dowel rod pieces onto casters, and topped each one with a nut. Finally, we placed them into the ends of each piping leg. (We did have to file the inside of each leg down a bit to get the dowel rod casters to fit.)
…and that is how you make a DIY Piping Table!
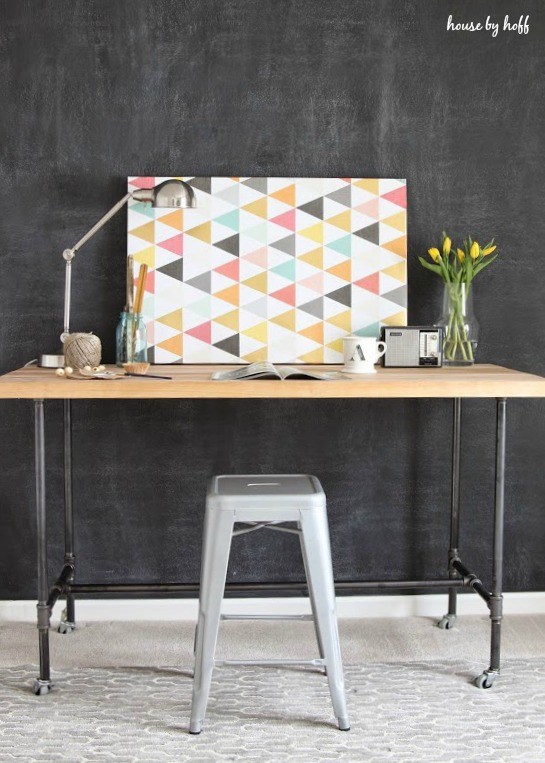
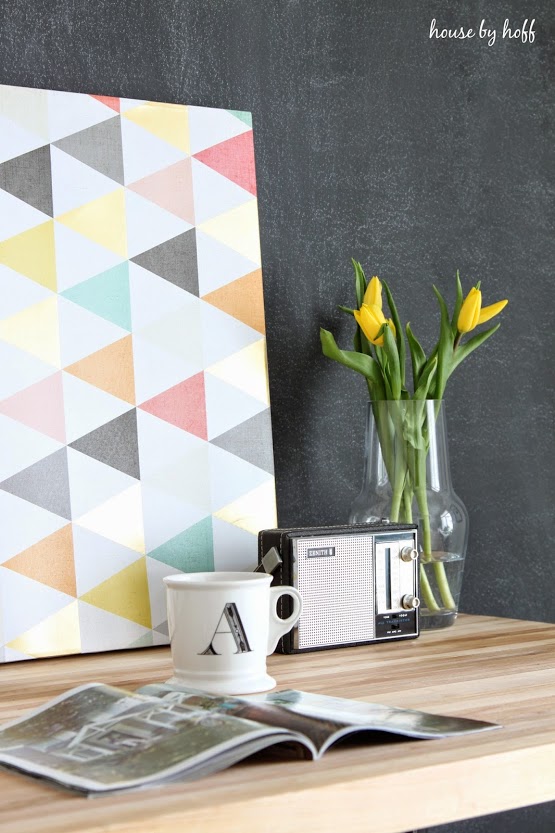
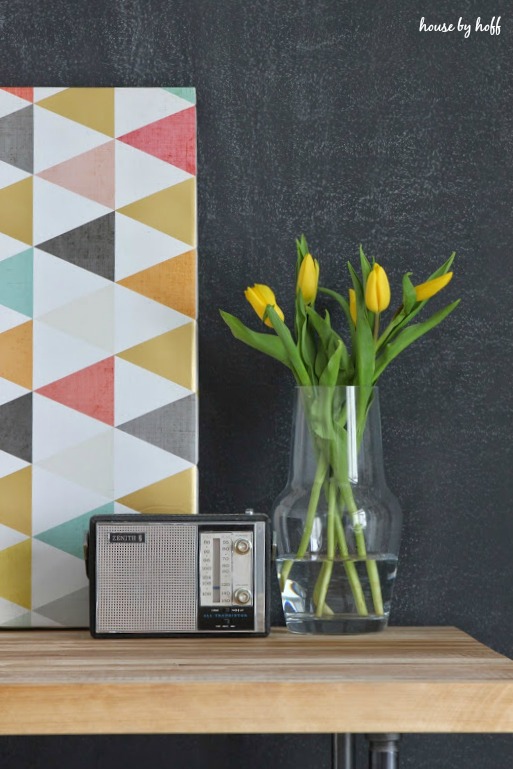
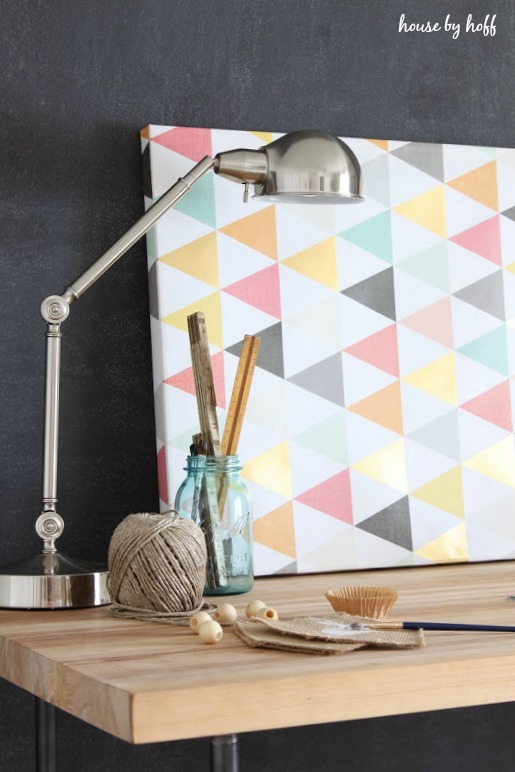
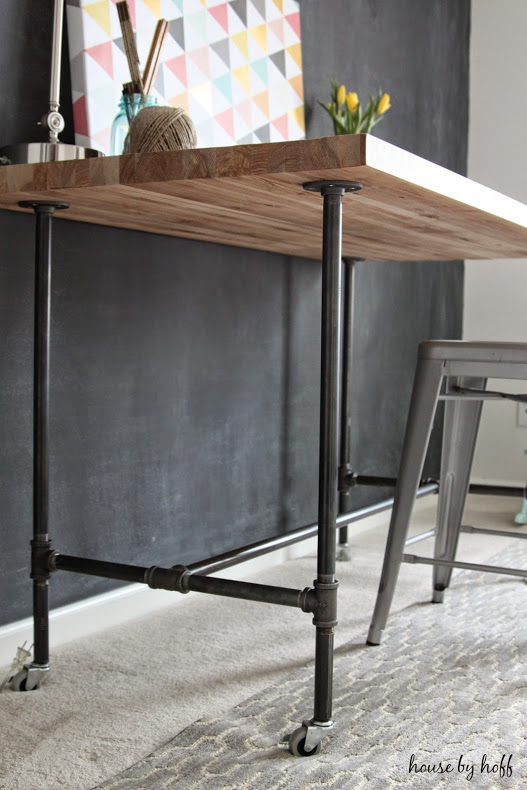
Now I want to make a piping coffee table, a piping shelf, etc, etc….
Be sure to check out my tutorial for Home Depot, here.
Have a great day!
I’m linking up at: Link Party Palooza, Furniture Feature Friday
Original article and pictures take www.housebyhoff.com site
Комментариев нет:
Отправить комментарий