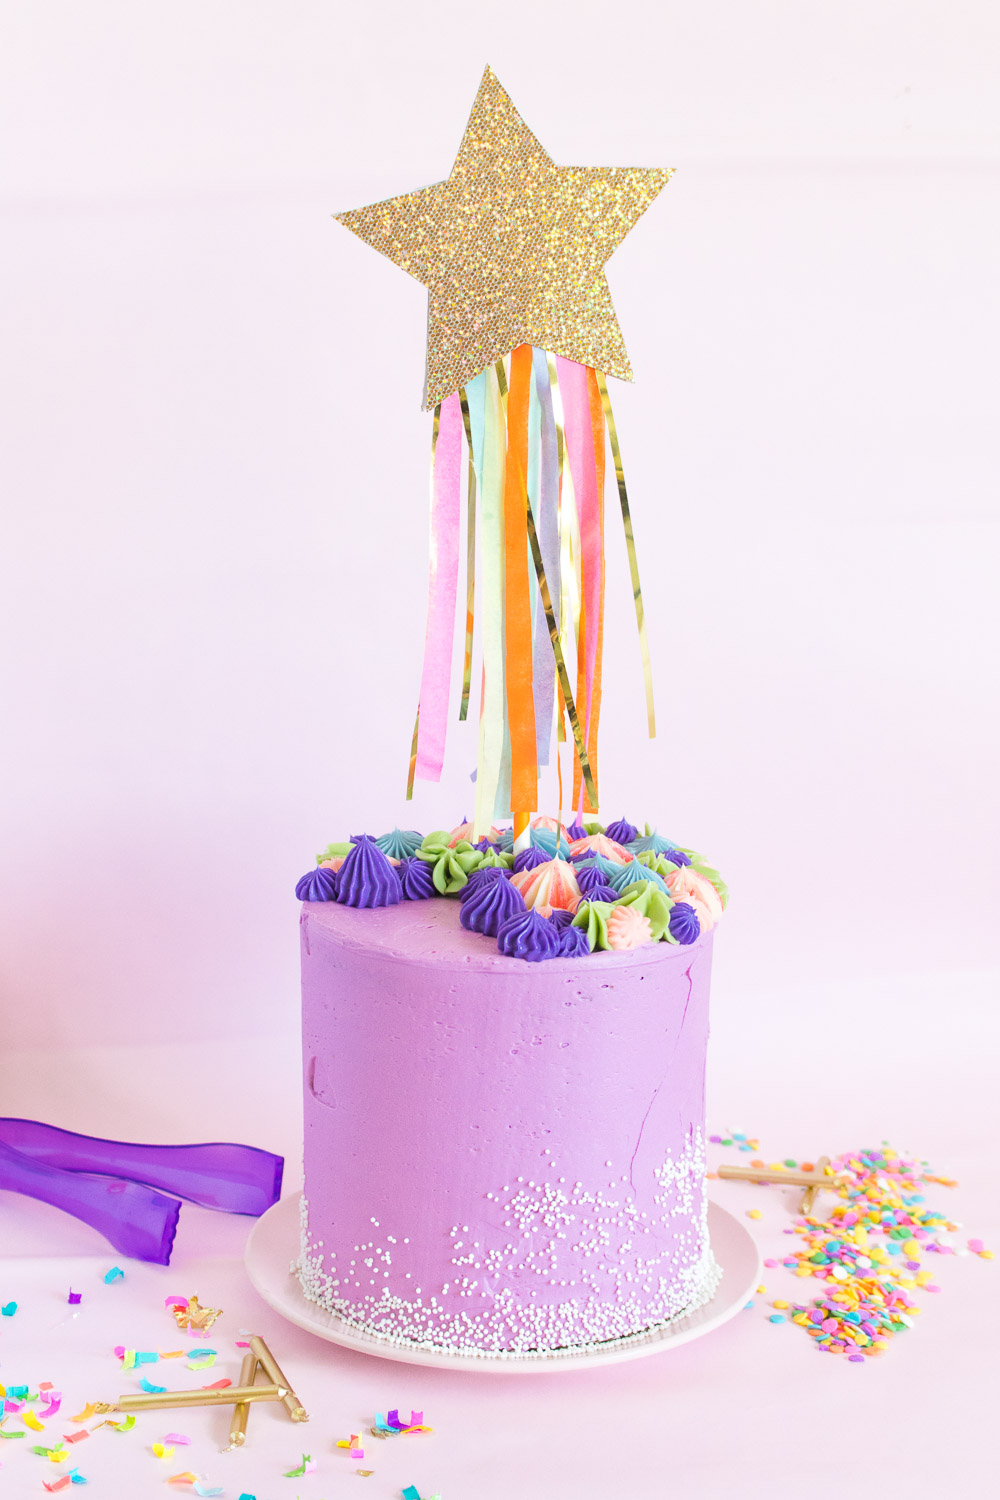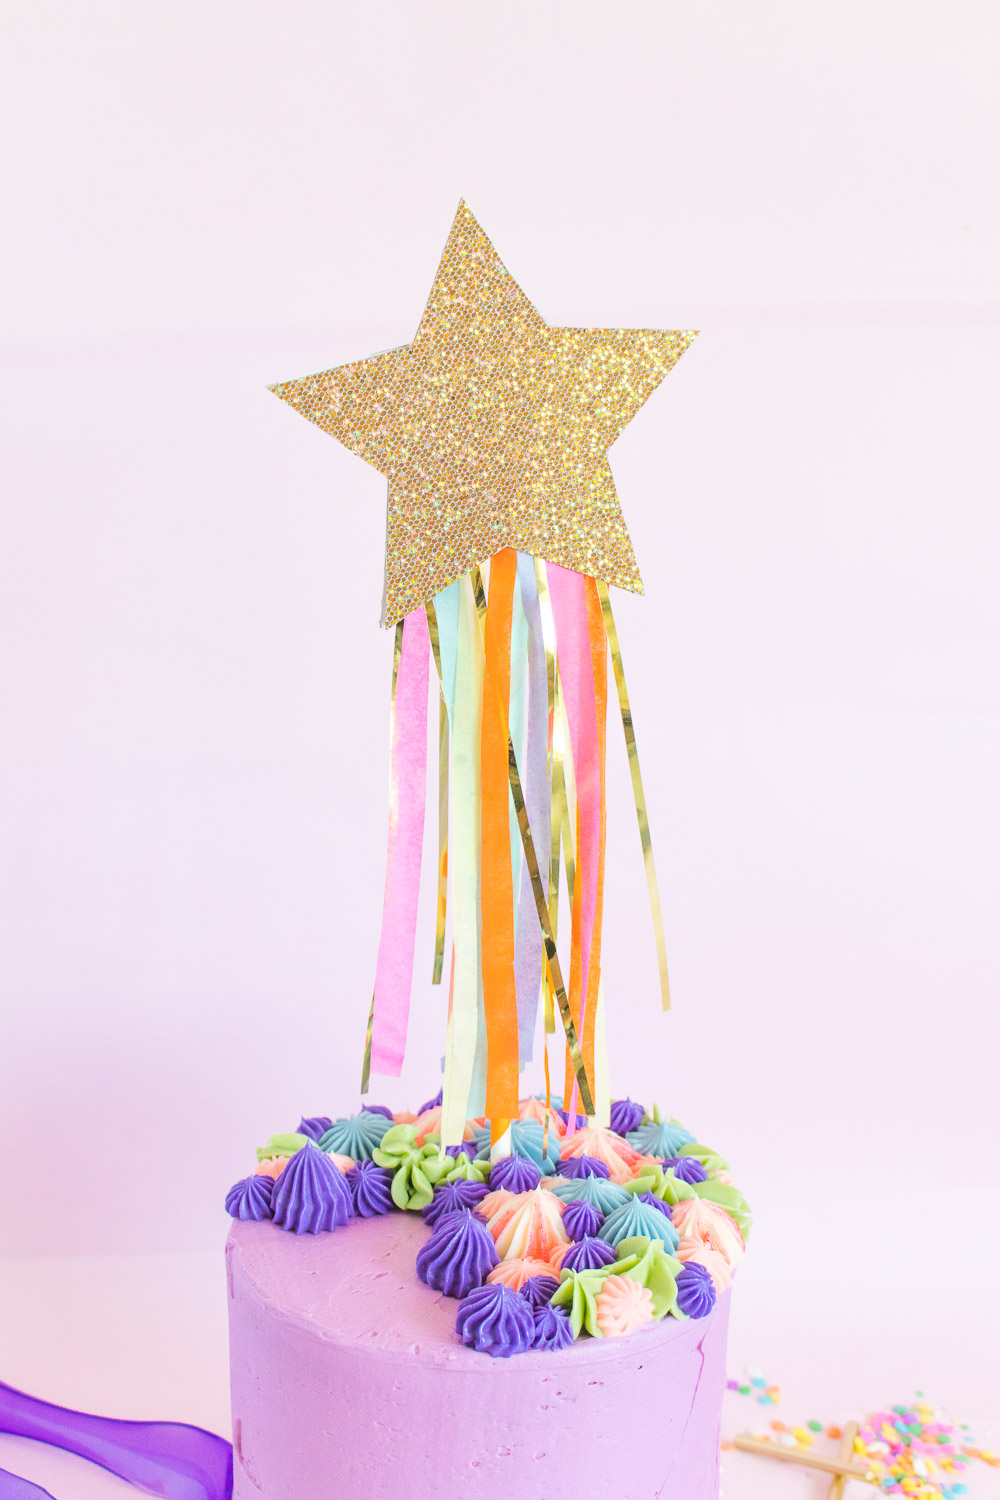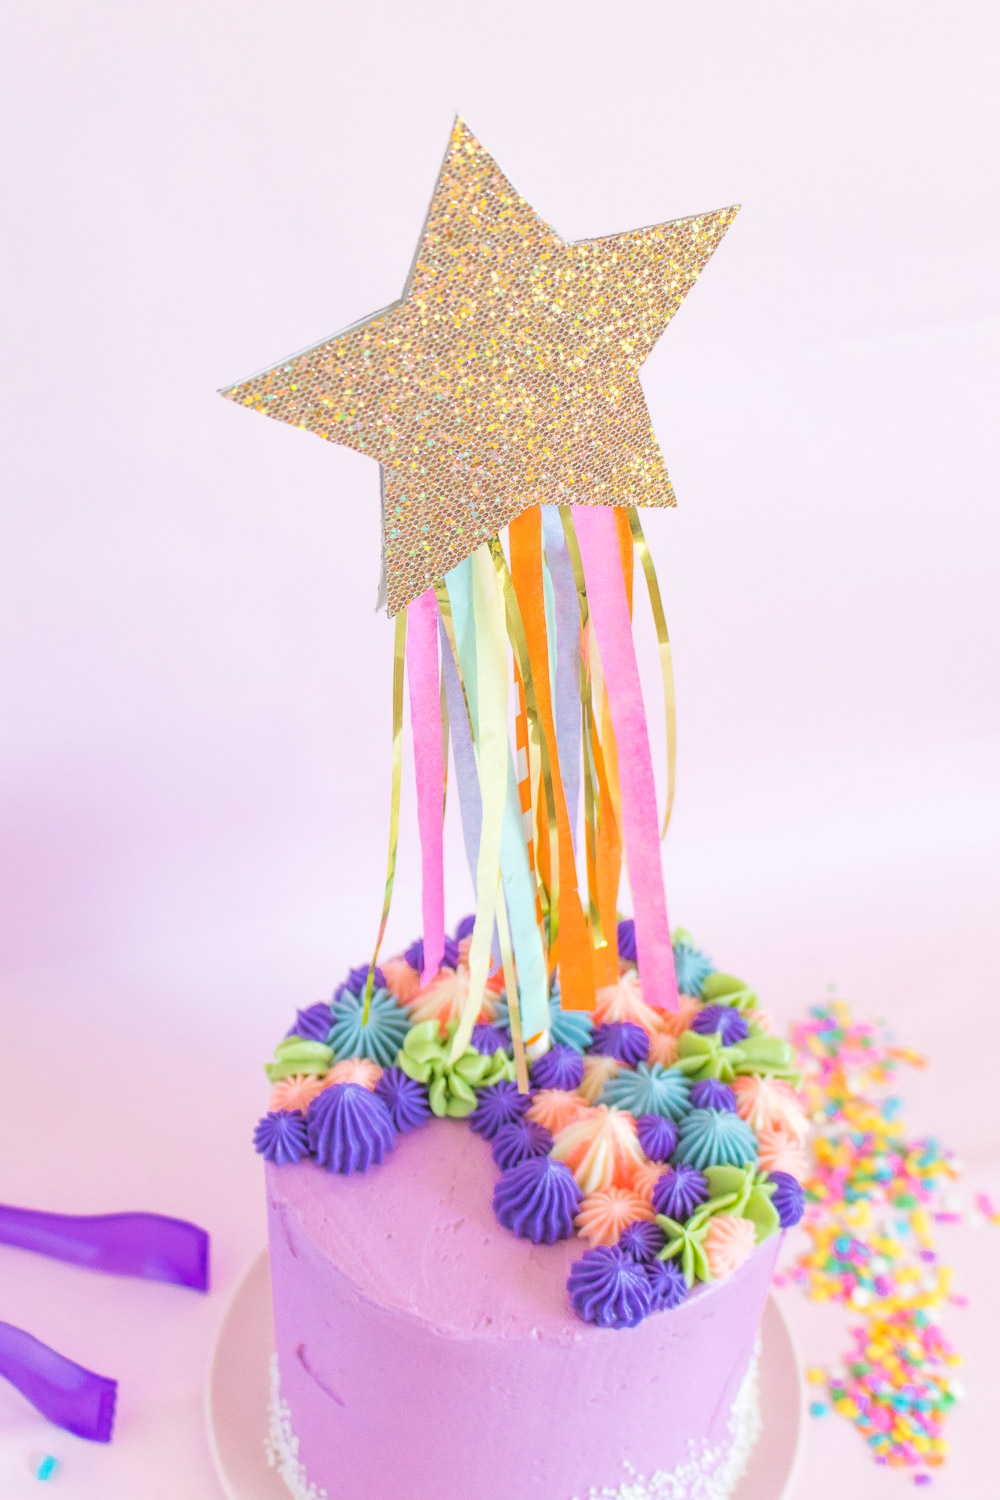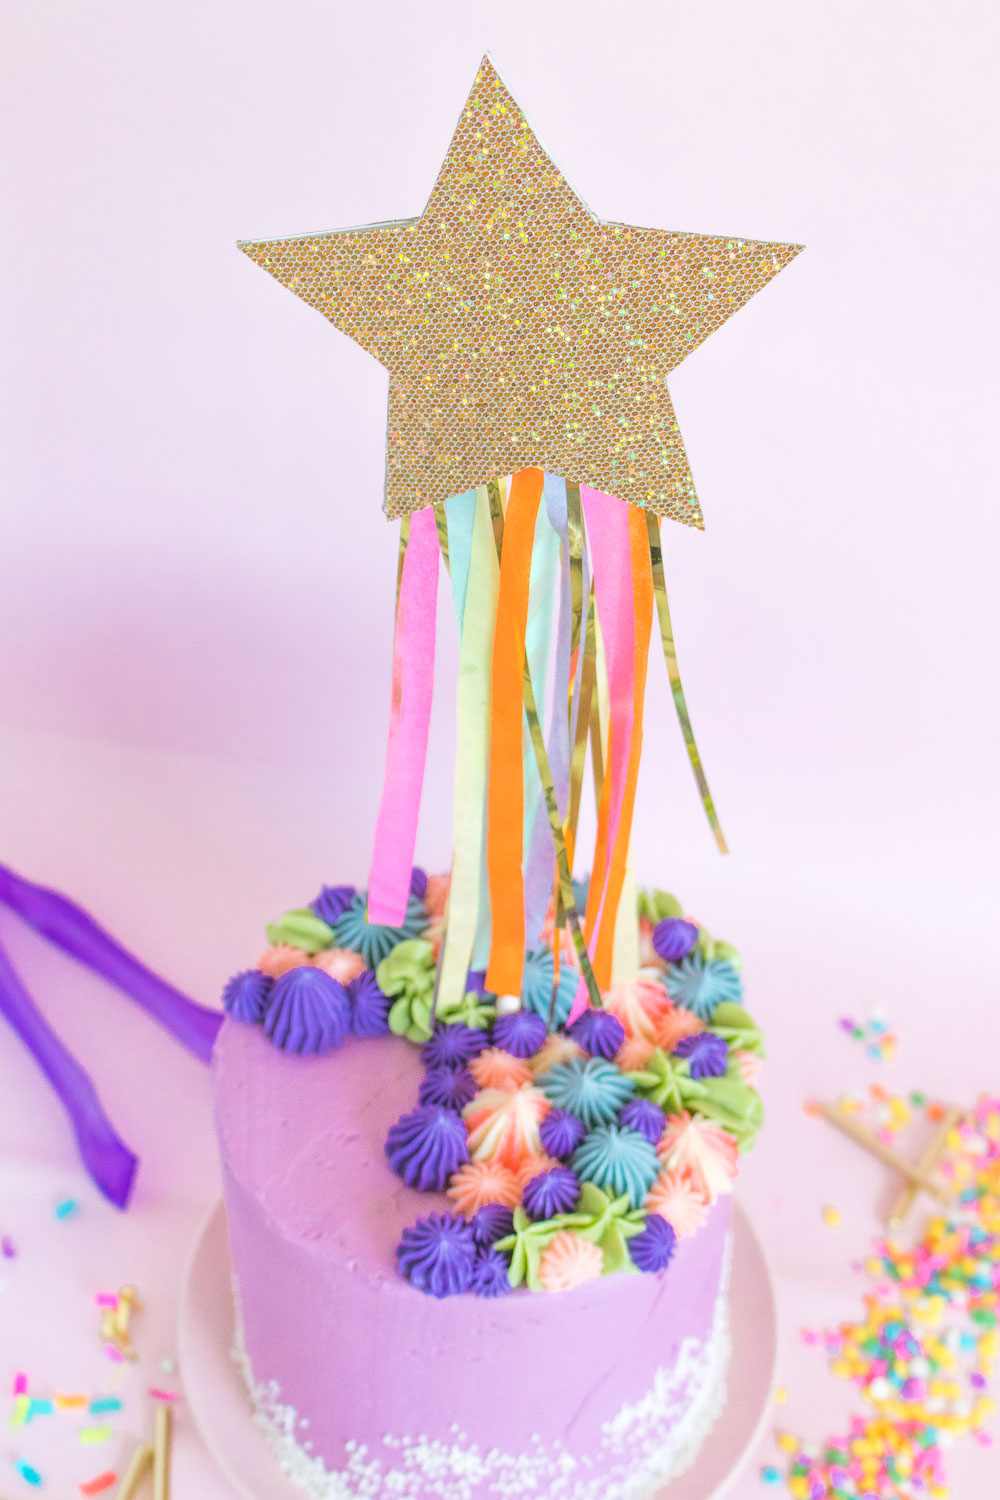
Since my birthday was yesterday, I’m keeping the celebrations going for a little while longer! This seemed like the perfect week to share a few fun party ideas, and this DIY shooting star cake topper seemed like the perfect *topping* on the week. Plus, when I was practicing a new layer cake recipe, it felt naked without something cute sticking out of it. After all, every pretty cake needs a pretty cake topper!

You can adjust the sizing so that it perfectly fits the size of your cake, and the bling from the star and tinsel really make it shine. It could the *star* of your dessert table!
Too many bad puns? Sorry, I’ll stop ?

Time: 10 minutes
Supplies:
- Scissors
- Stencil (optional)
- Tissue paper, variety of colors
- Wooden dowel or long straw
Note, I used a long paper straw (like this) because of the length, about 12 inches long.
Step 1: Use a stencil or a cutting machine to cut two large identical stars out of the glittery gold cardstock. Size depends on the size of the cake, but I recommend 3-4 inches.
Step 2: Cut long strips of various colors of tissue paper, about 1/2-inch wide and 4-6 inches long.
Step 3: Heat up the glue gun. Glue the strips of tissue and gold tinsel to the backside of one of the stars in a straight line across the shape.
Step 4: Then glue the wooden dowel over the tissue, add more glue and line up the other star on top. Secure the tips of the stars together with dots of glue and remove any glue strings before using.
Step 5: Trim the tissue paper and tinsel as needed for the length of the dowel or straw and then insert the base into the top of a cake when you’re ready to display.

What will you celebrate with this shooting star cake topper?
Please note this post may contain affiliate links from which I may collect a small profit should you choose to make a purchase. I have only linked to supplies that I personally use or recommend.
Original article and pictures take www.clubcrafted.com site
Комментариев нет:
Отправить комментарий