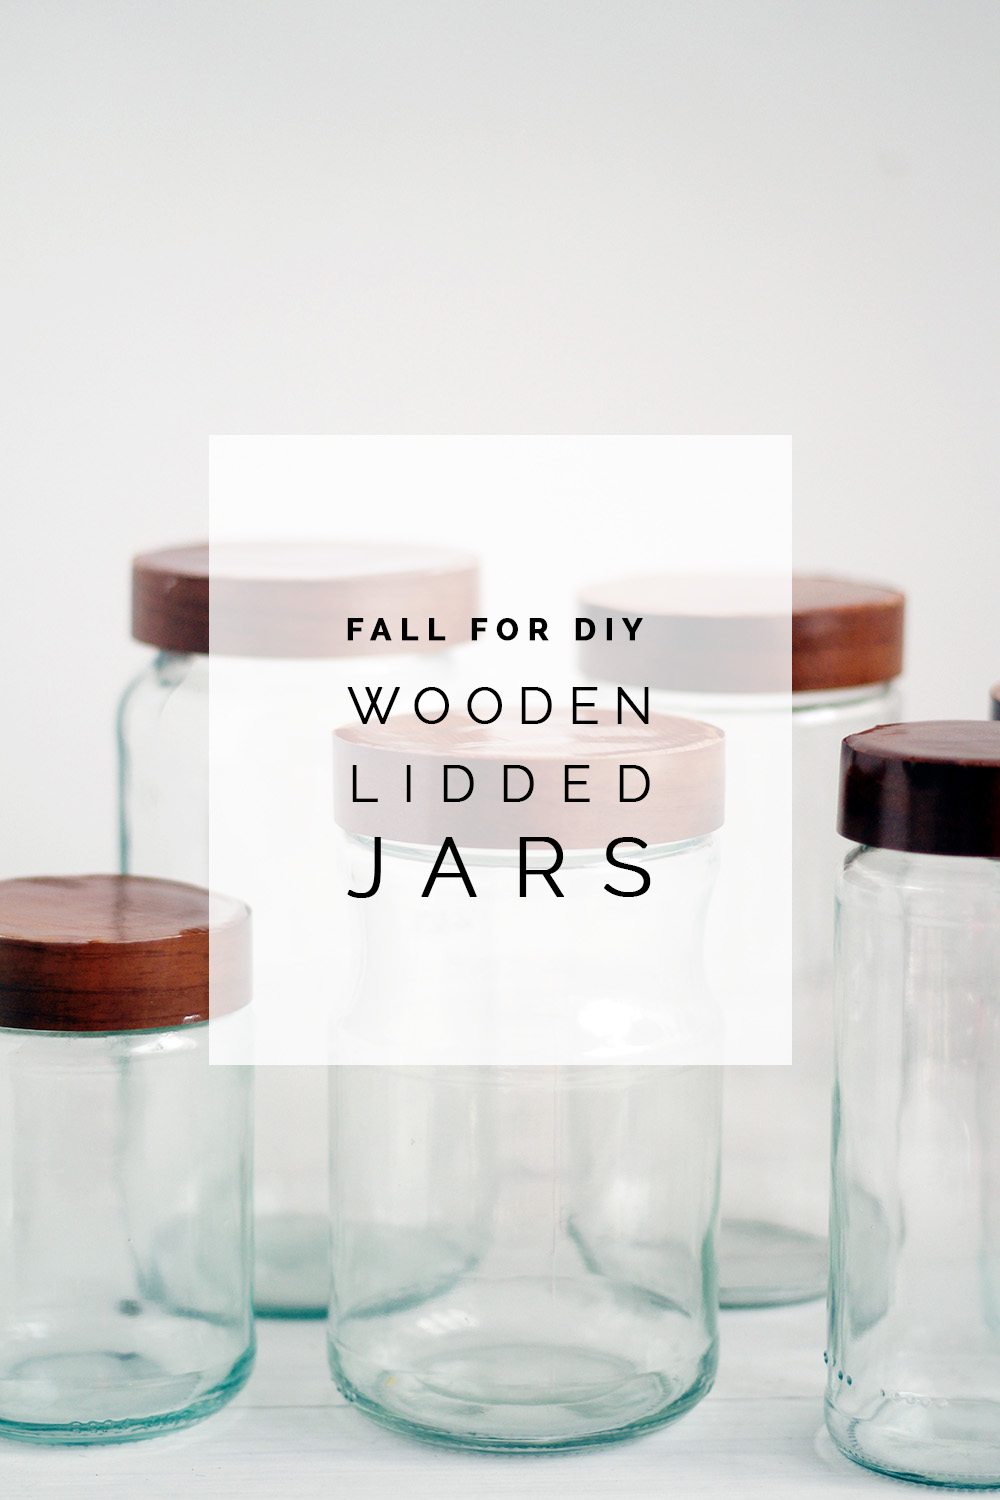
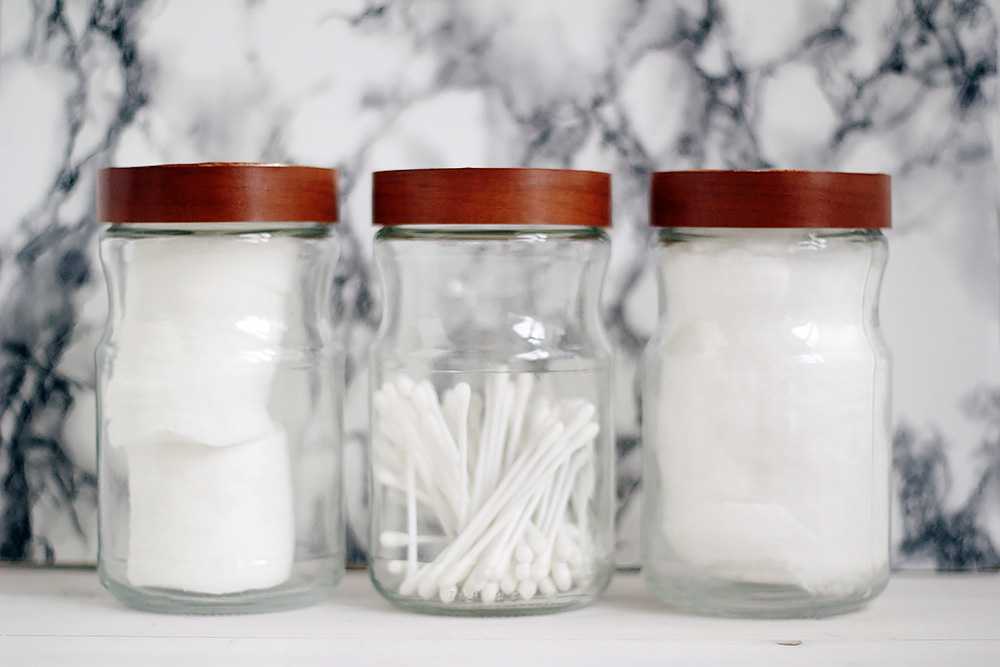
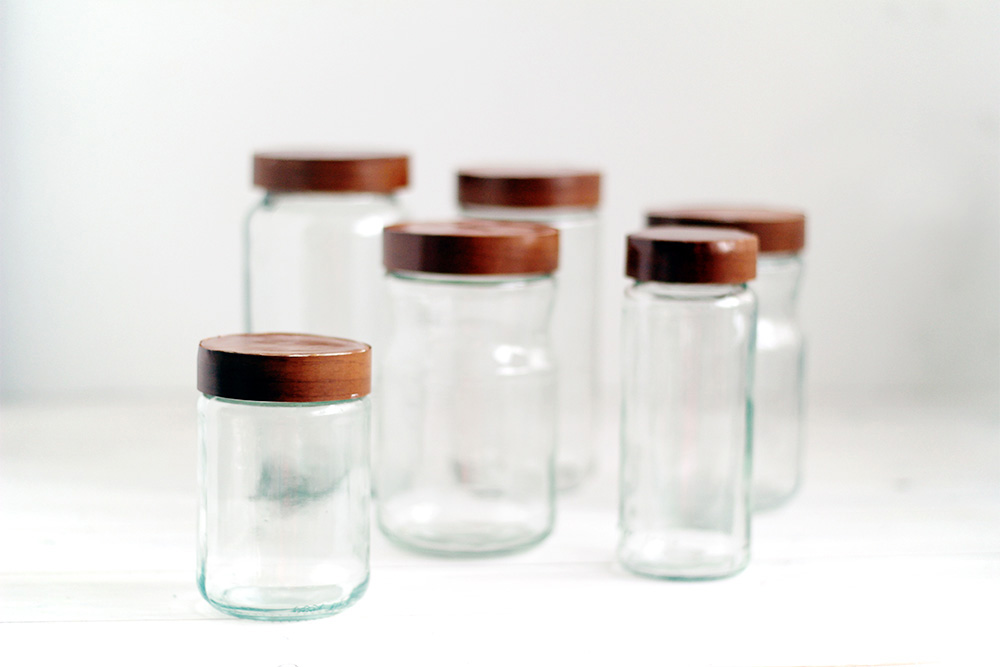
Glass Jars. If you’re like me you probably have quite a few empty, unused glass jars collecting in a cupboard somewhere. So many different shapes and sizes from favourite jams, chutneys and sauces that make the most perfect containers, vases and candles if you can only find the perfect project. Well guys, I found it. Wooden Jar Lids! Instead of a project that transforms the glass of the jars this DIY is all about the lids turning each jar back into a useful storage solution. Only this time more beautiful than before!
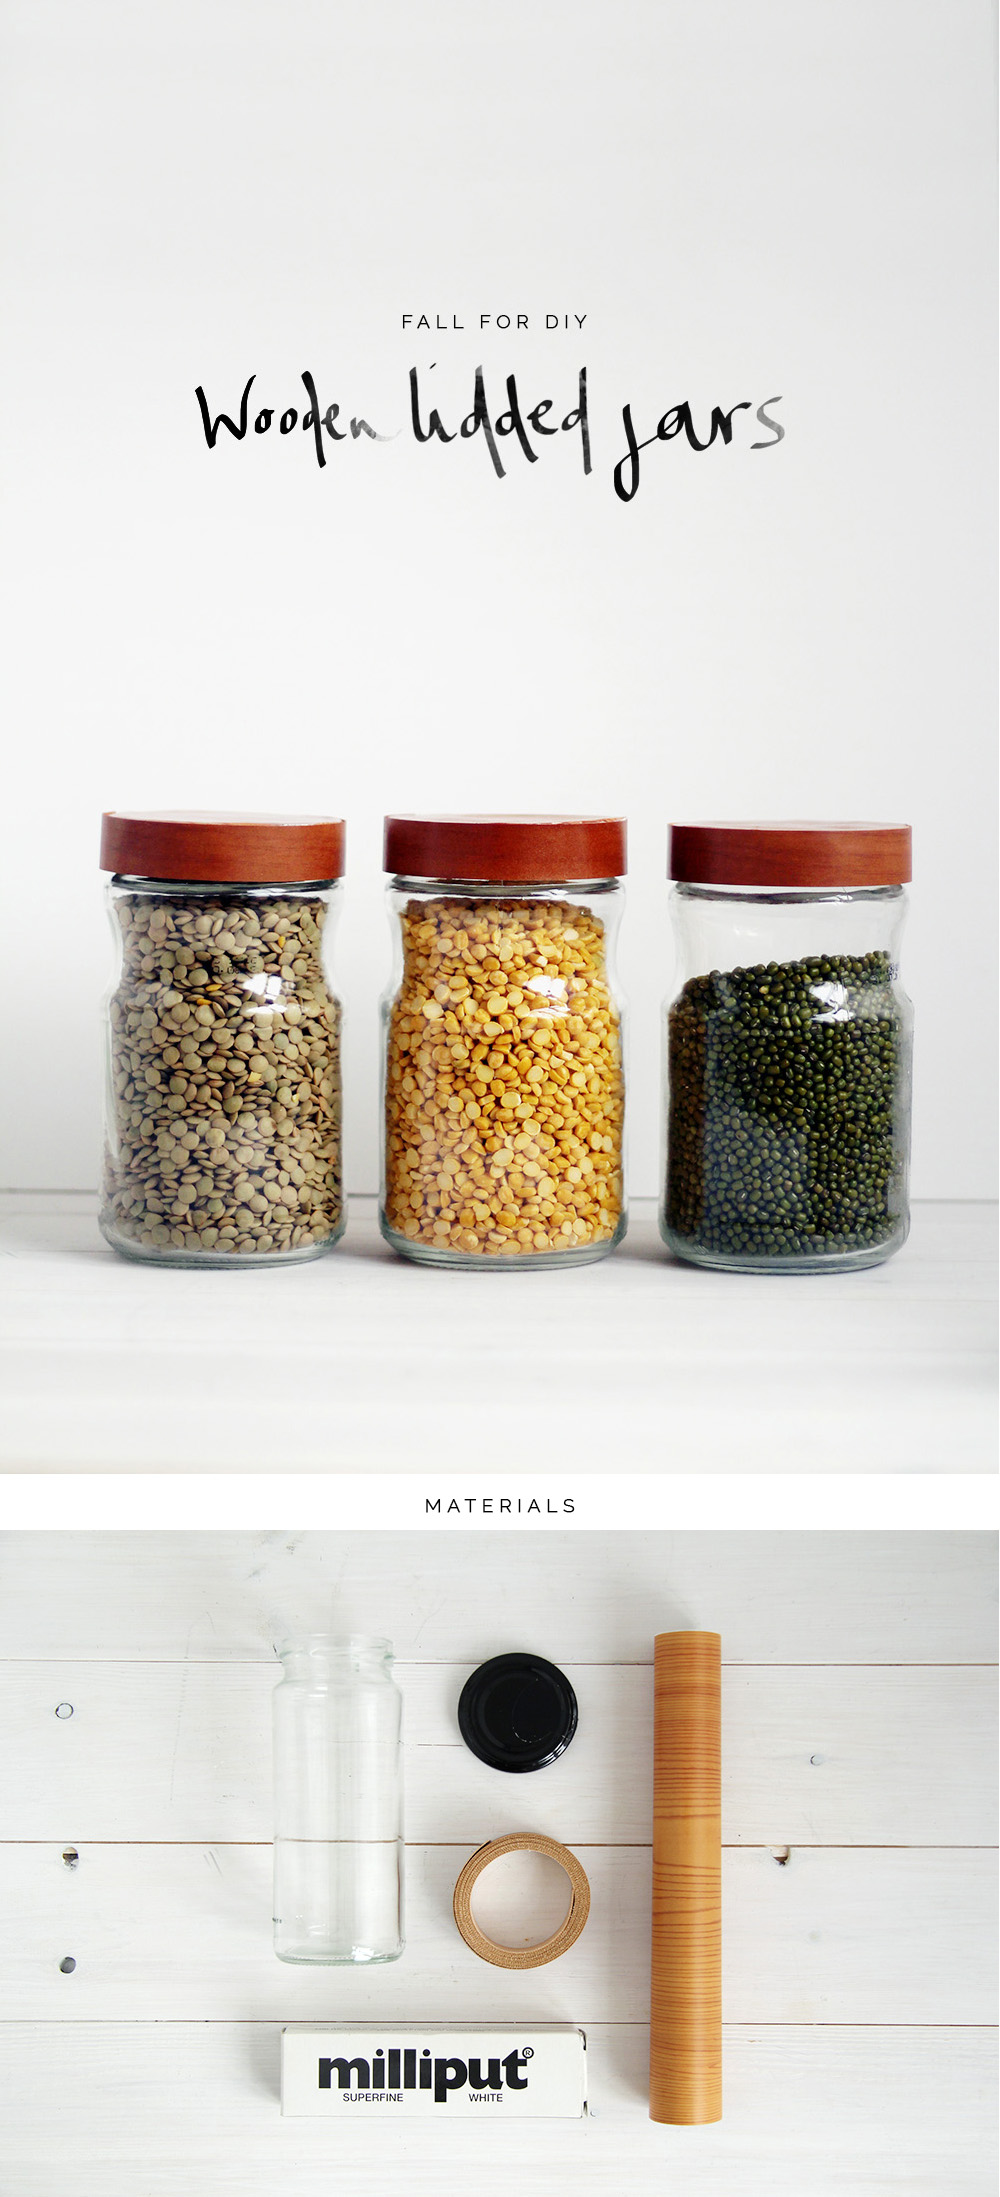
Materials:
Instructions:
1. Mix together equal parts of epoxy clay until completely smooth and roll flat with a clay roller or other cylindrical object.
2. Press the top of the lid firmly into the clay and cut around the lid with a craft knife.
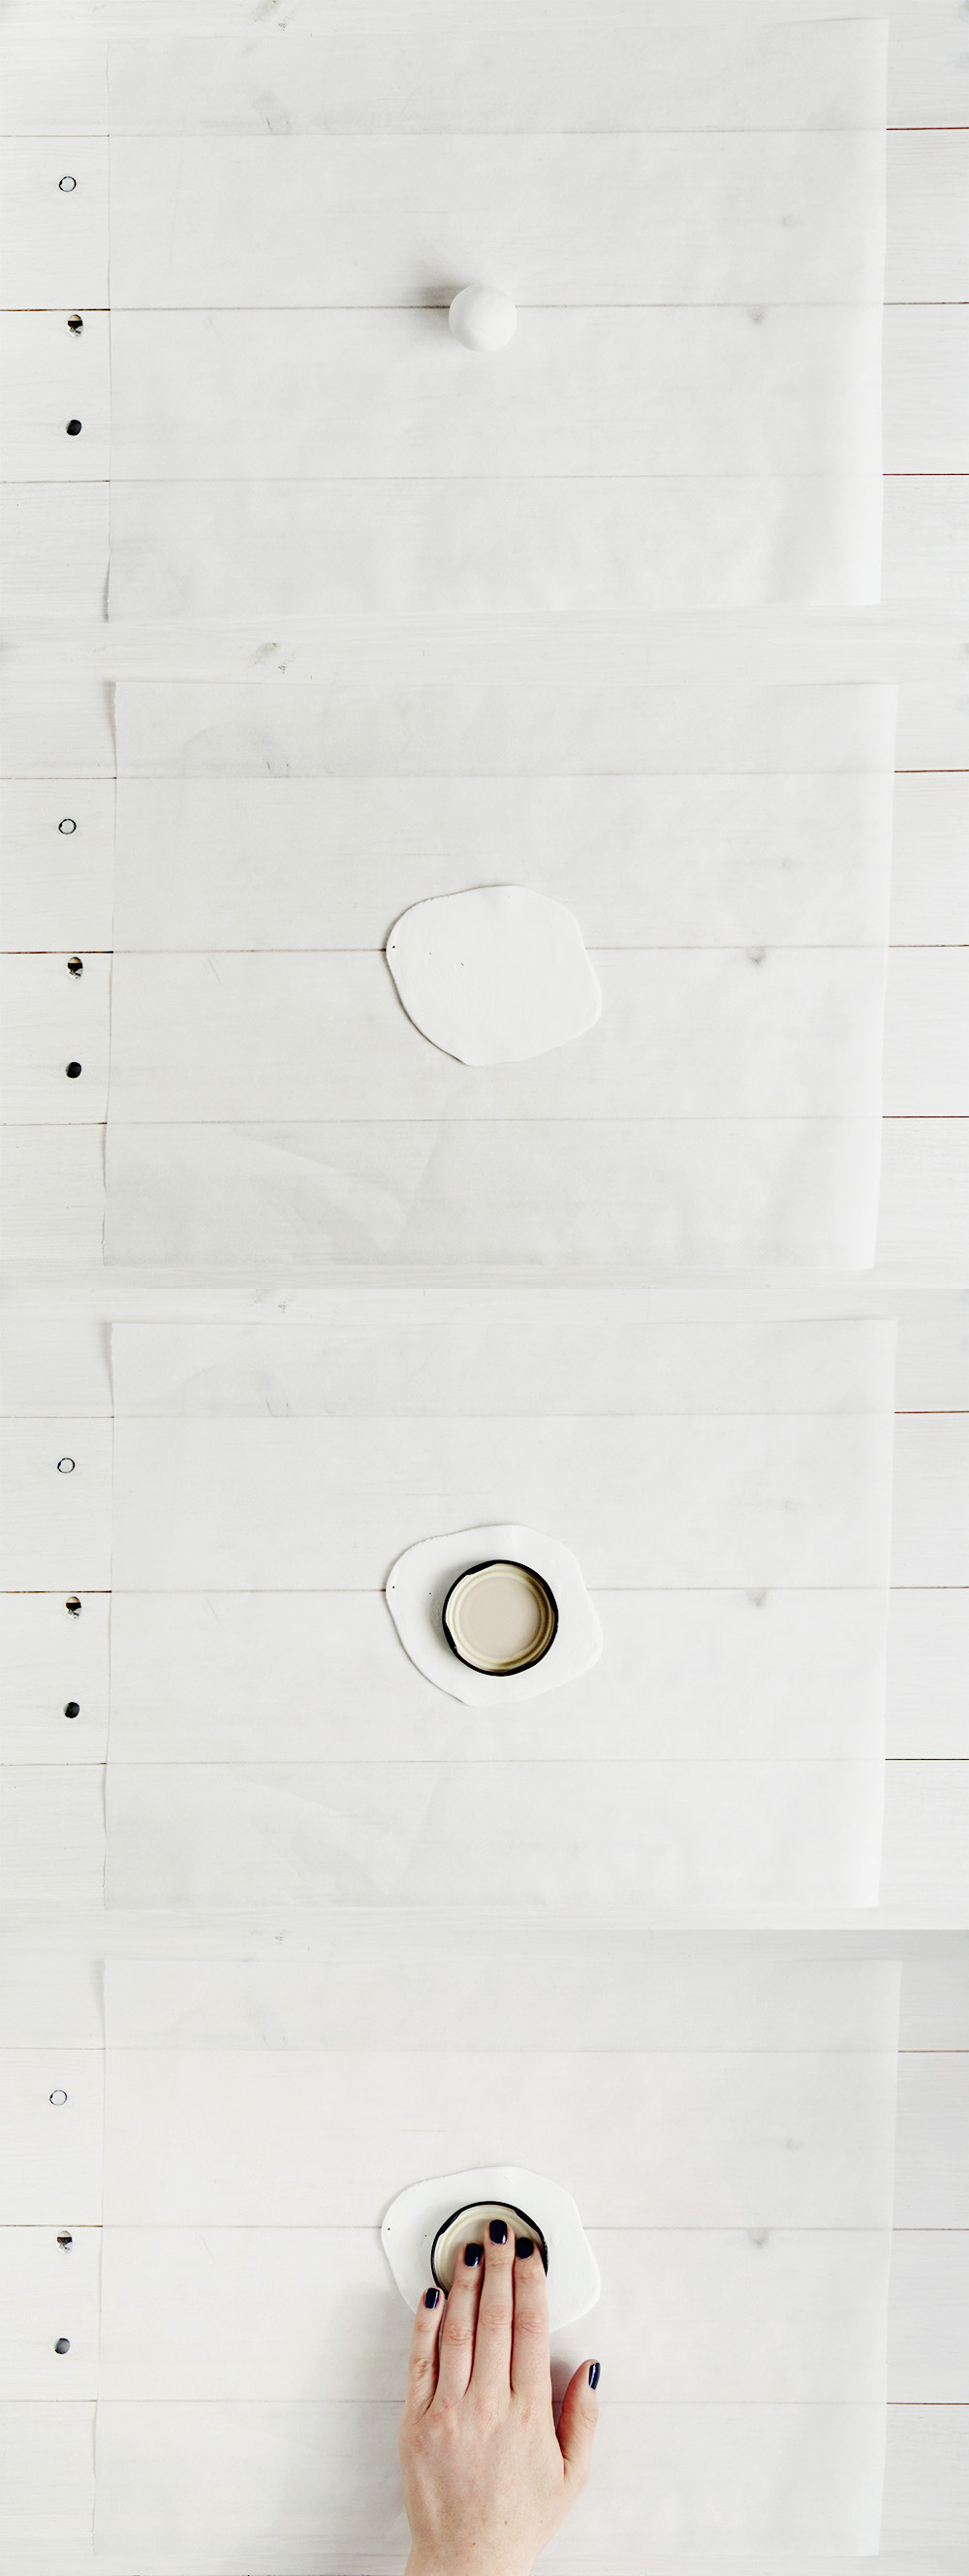

3. Leave the clay to harden overnight.
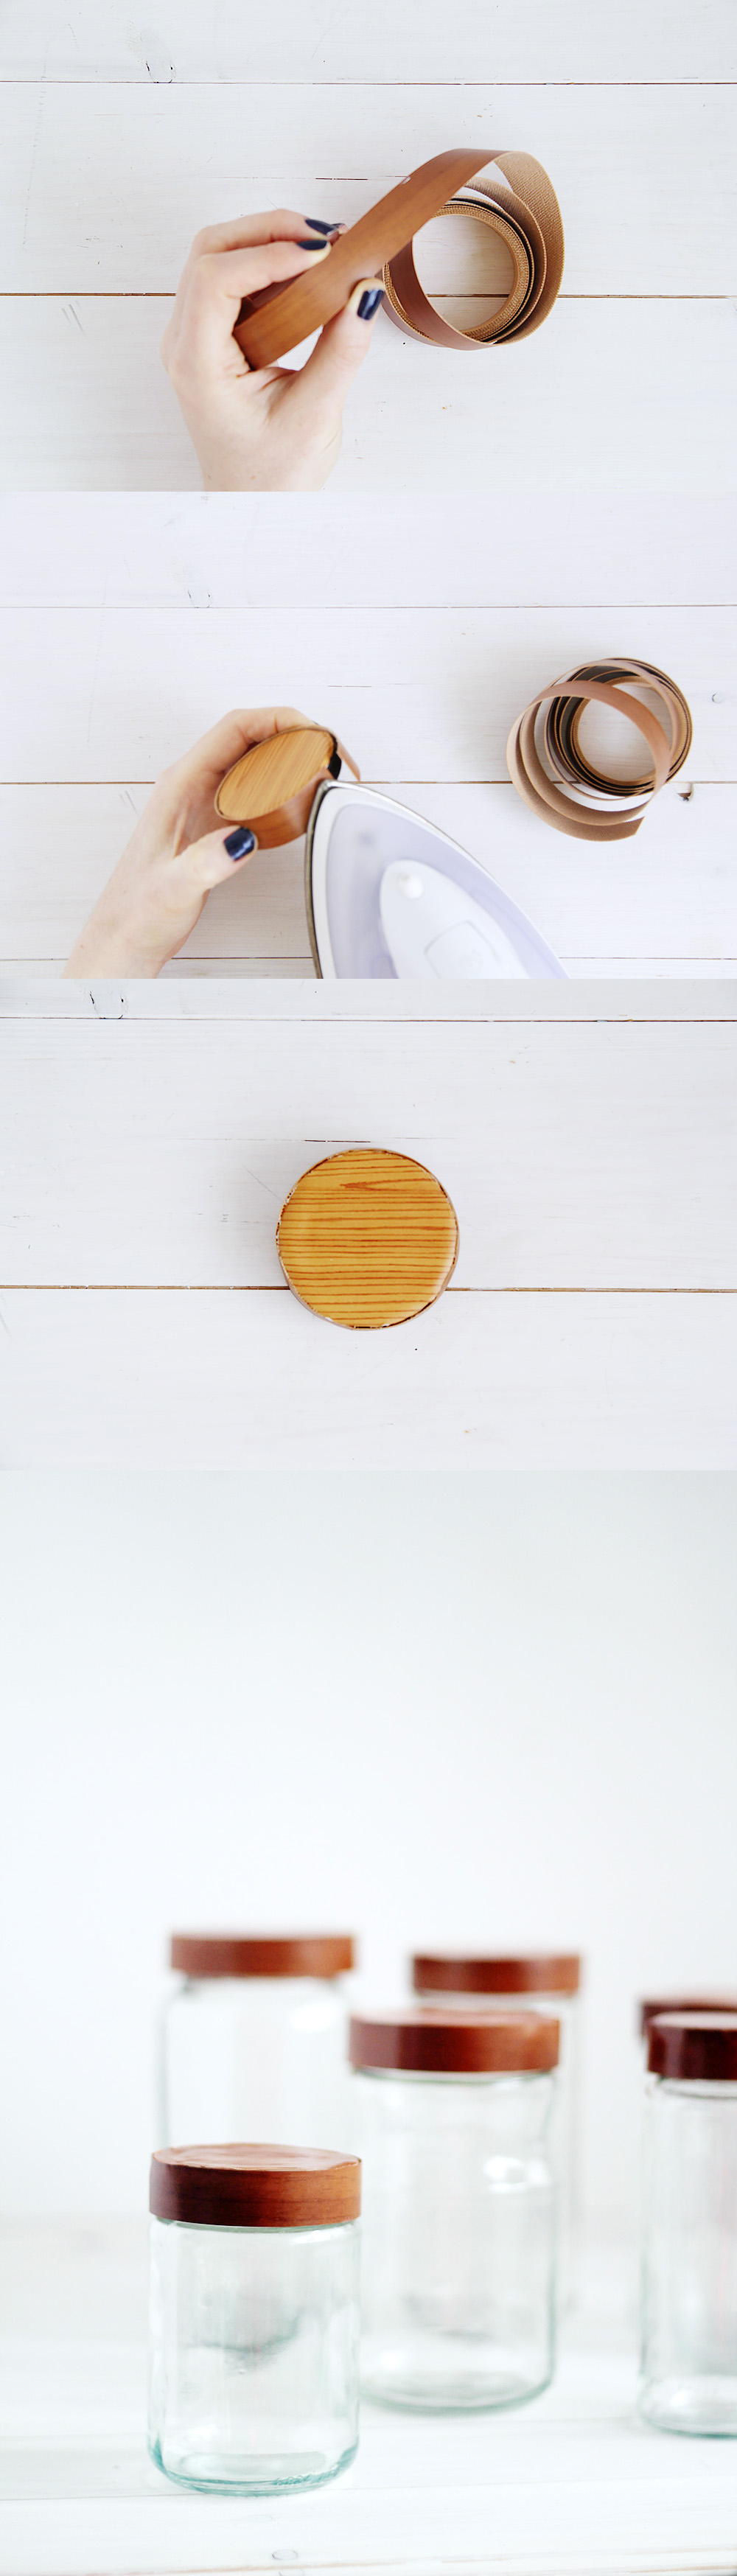
4. Place the lid onto the back of the contact paper, clay faced down and draw around it. Cut this out and stick onto the top of the lid.
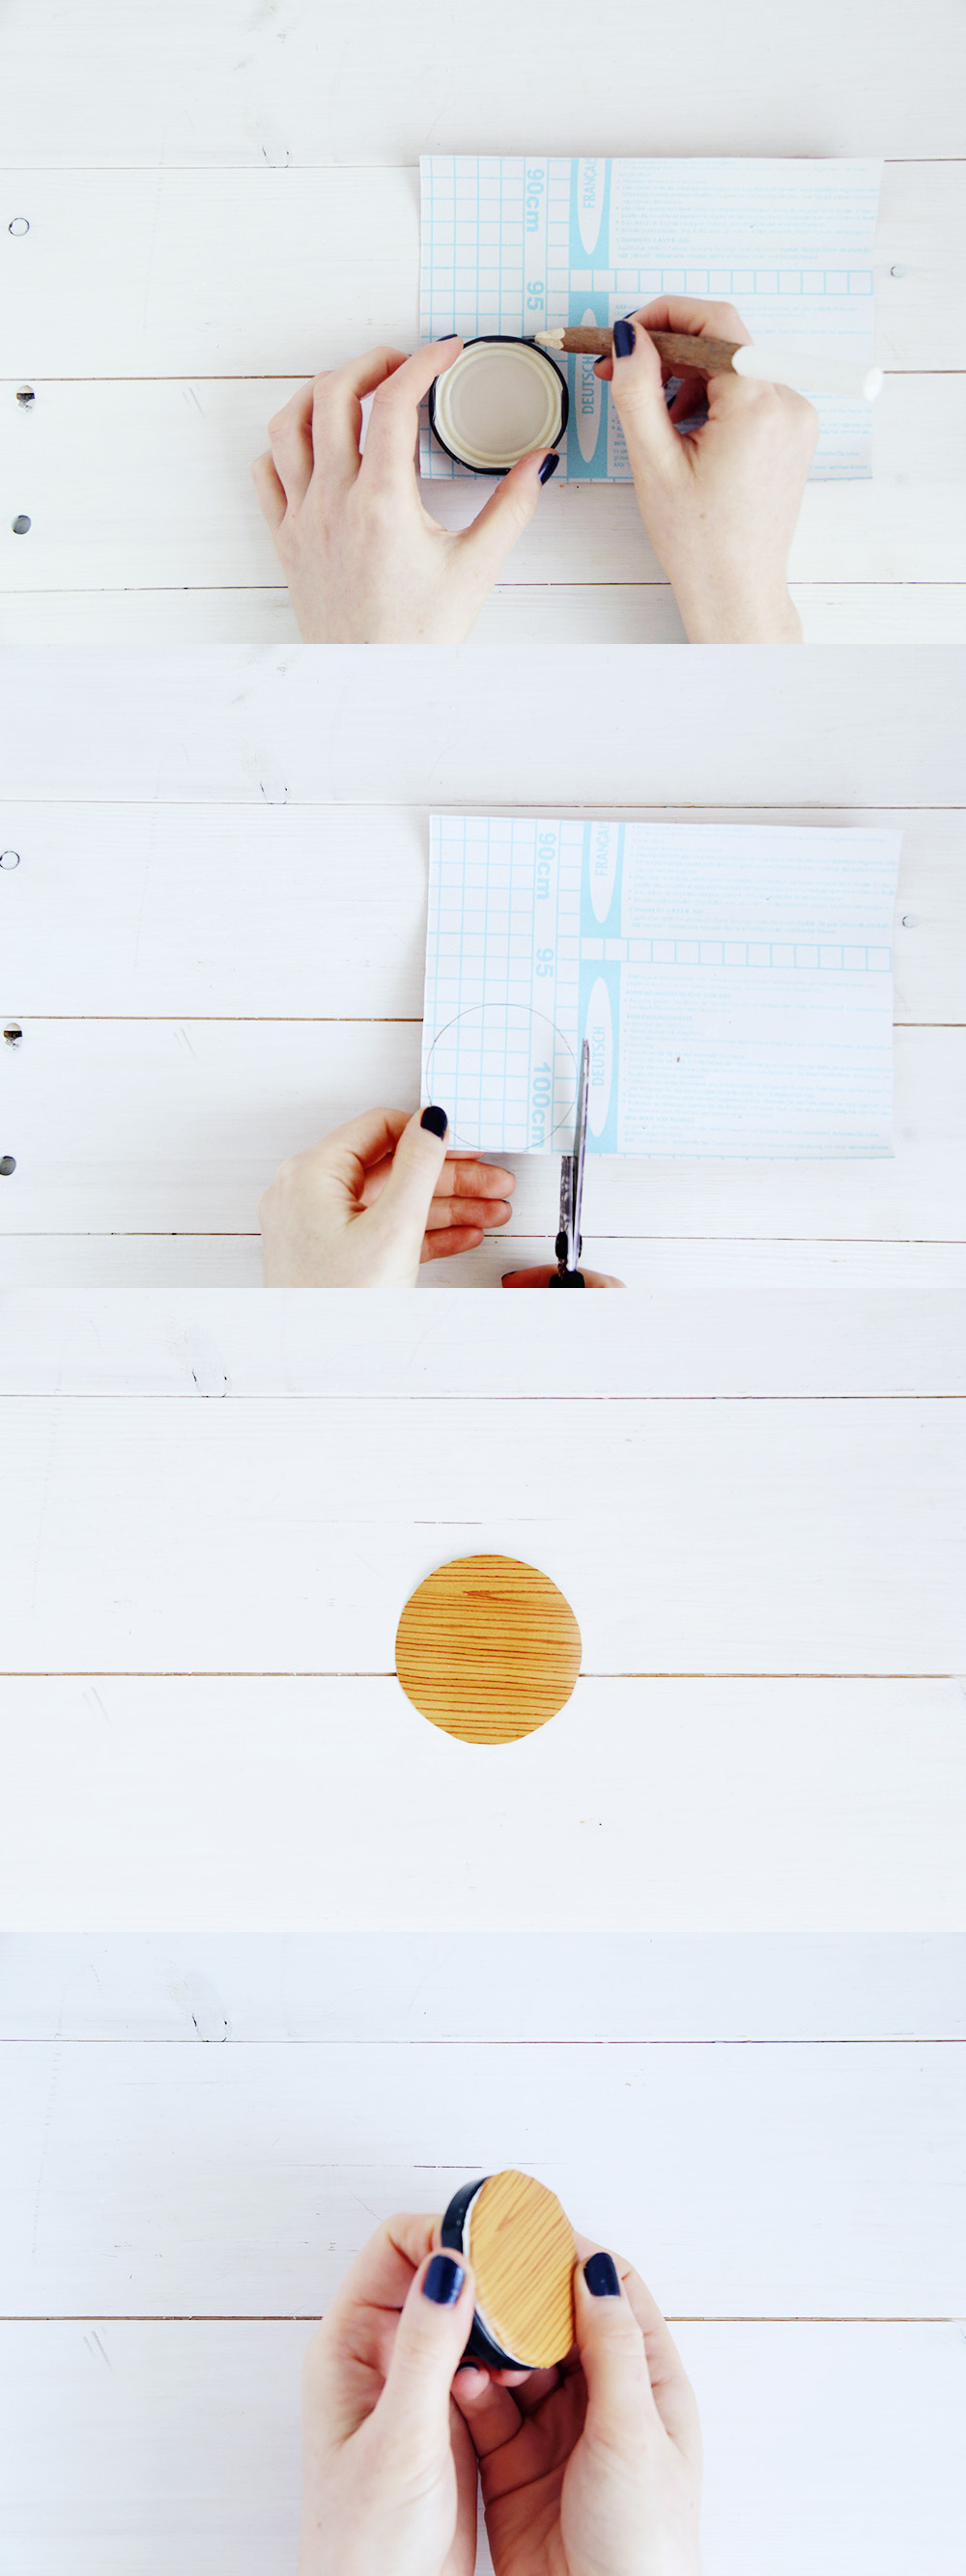
5. Measure the veneer around the edge of the lid and cut to size.
6. Make sure the veneer is lined up with the top of the jar lid and contact paper. Carefully begin to press the tip of the iron around the veneer to seal to the lid.
7. My contact paper and veneer had a slightly different tone so I sprayed a light layer of copper spray paint over both to even out the colour.
Now your jars are ready to fill with all the things. I’ve already used mine for bathroom products and lentils in the kitchen (not together!) and I’m also planning on filling a few jars with homemade candles with homely wooden scents to make for Christmas presents. What are you filling your with?
Original article and pictures take fallfordiy.com site
Комментариев нет:
Отправить комментарий