So, I saw a towel ring on AllModern and I freaking loved it. I instantly thought, hey that would be an easy DIY. I think this is my first “knock off” DIY. When I saw that price tag, I was like No way, the DIY was just too easy and would be so inexpensive to make and I could not resist making my own version.

It took 5 minutes to make, I am not even kidding, it even surprised me how ridiculously easy it was. However, you do need the 3 power tools to complete it. The first is some kind of saw to cut down the wooden dowel, BUT you can ask the home improvement store to cut a couple for you. Mine does all the time, it may be because they see me nearly everyday, but they do not mind. The rest are in the steps below!

Materials:
Wooden Dowel- Diameter 1 3/8 inch
Gold Metal Ring
Dremel Tool
Drill with 5/32 Drill bit
Dowel Screw #14
Cut a piece of the wooden dowel to 1.5 inches.
Snip a cut into the gold metal ring using a dremel tool (or any tool that can cut metal).
 |
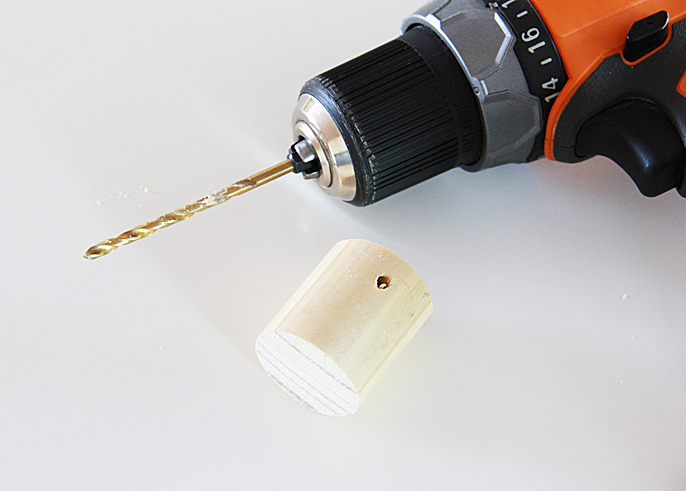
Drill a hole with the 5/32 drill bit into the dowel in this location:

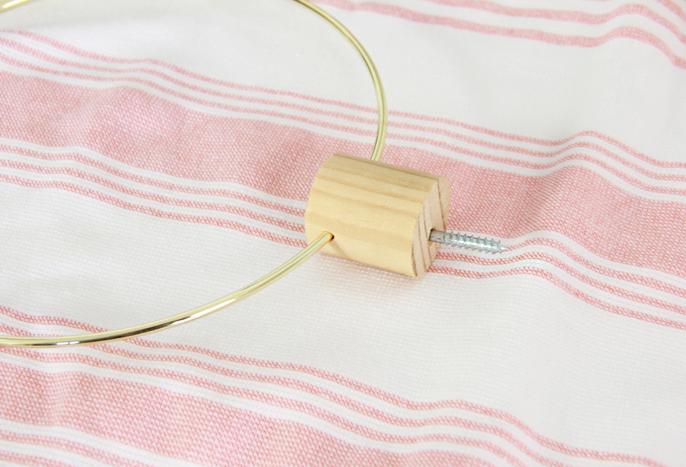
Insert your metal ring through the hole. (the cut on the metal ring is so small, there is no need to reconnect it) Drill a hole into the back of the wooden dowel.

Insert the dowel screw and get it into your wall! (using a pliers helps to get that dowel screw in)

We are using it in our bathroom above our bathtub and I plan to make more. It was so easy to make and I now have a long wooden dowel, which was the largest expense at $6 (?) so I can make so many more… Would look so good in a kitchen!


A Bubbly Life is on BlogLovin, Instagram, Pinterest, Twitter, & Facebook – I would love for you to join me there!
Original article and pictures take static.showit.co site
Комментариев нет:
Отправить комментарий