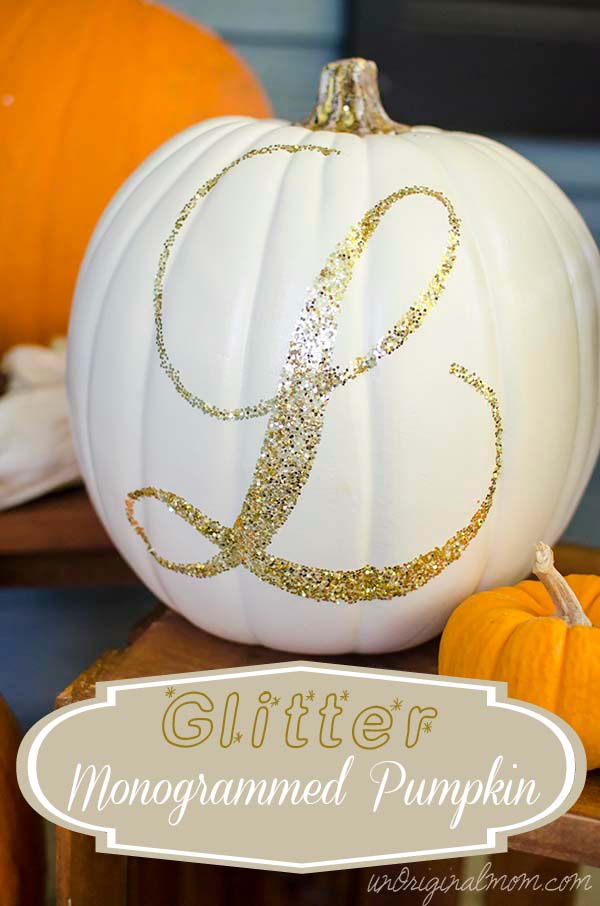
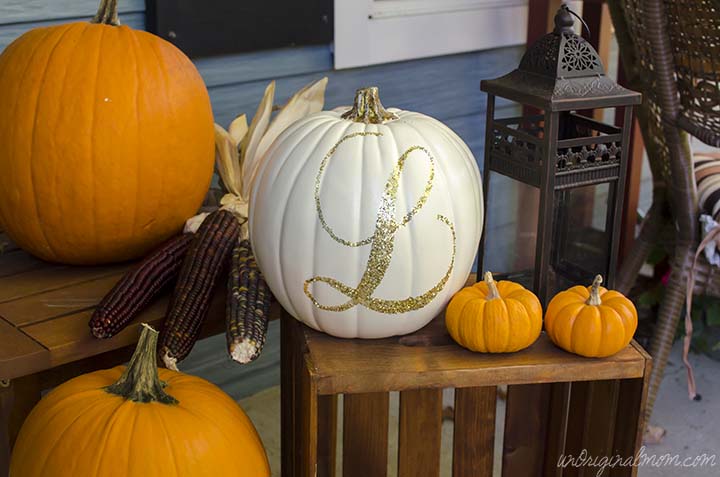
This Glitter Monogrammed Pumpkin was a simple project that added some rustic glam to my front porch decor…I am just in love with it! The best part – it only took 20 minutes!
Supplies needed ((This post contains affiliate links. Click here to read my full disclosure.):
- white craft pumpkin (I got mine at Michael’s)
- Silhouette Double-Sided Adhesive & Silhouette Machine (or cut it out by hand)
I purchased some Silhouette Double-Sided Adhesive a few weeks ago but wasn’t exactly sure what I’d do with it. It is essentially just 8.5×11 pieces of adhesive with a front and backing that allow you to cut it, and then peel off when you get it where you want it. Turns out, it’s pretty easy and quick to work with (depending on your design.) If you’ve never used it before, here’s a quick tutorial to create your own glitter monogrammed pumpkin! (Honestly, for a simple design like this, you don’t even really need a Silhouette – you could trace and cut it by hand!)
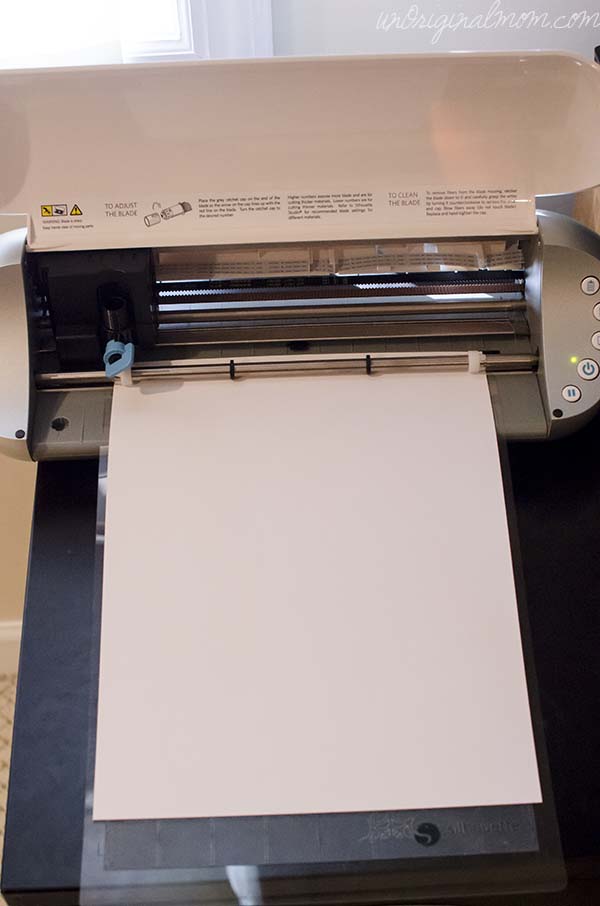
The first step is to load your double-sided adhesive sheet into your Silhouette using a cutting mat – yellow side down. I just used the programmed cutting settings in Silhouette Studio to cut double-sided adhesive and had no problem, but this wasn’t a very intricate design. Depending on what you’re cutting, you may want to experiment with different settings on a small piece of adhesive so you don’t waste an entire sheet.
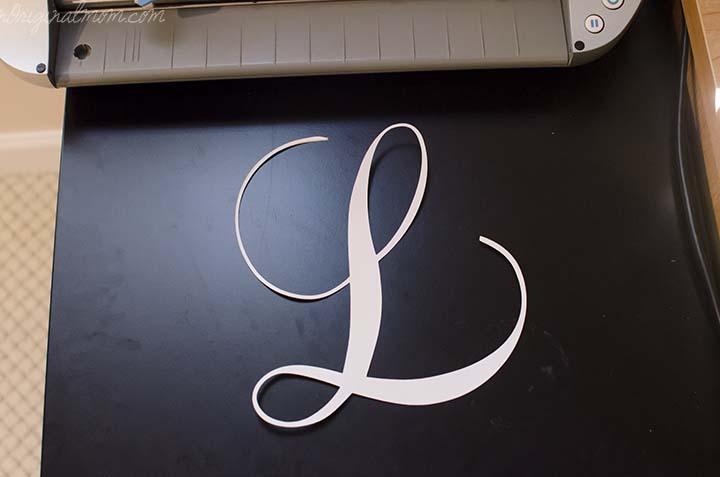
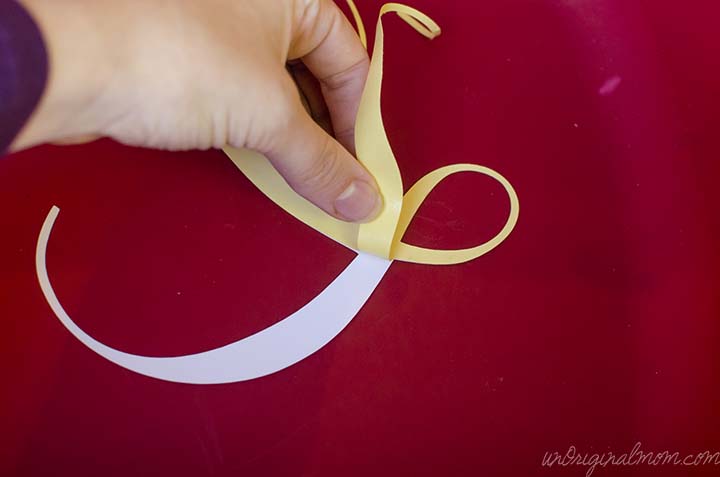
Once it’s cut, CAREFULLY remove it from your cutting mat. My mat is fairly new and still very sticky, so I had some issues with the yellow backing sticking to the mat in some places (especially the thinner parts of the letter.) That’s not a big deal if you’re going to stick it directly to your project surface (it just leaves the adhesive exposed, which is the next step anyway), but if you set it down on something else accidentally or aren’t going to use it right away, it could be problematic.
Slowly peel off the yellow backing and then apply it to your project surface. It is not very forgiving – once it’s stuck, it’s stuck – so be careful to get the placement right the first time. If you’re applying it to a pumpkin, like me, make sure to press it completely into the grooves of the pumpkin as you go across, working from one side to the other.
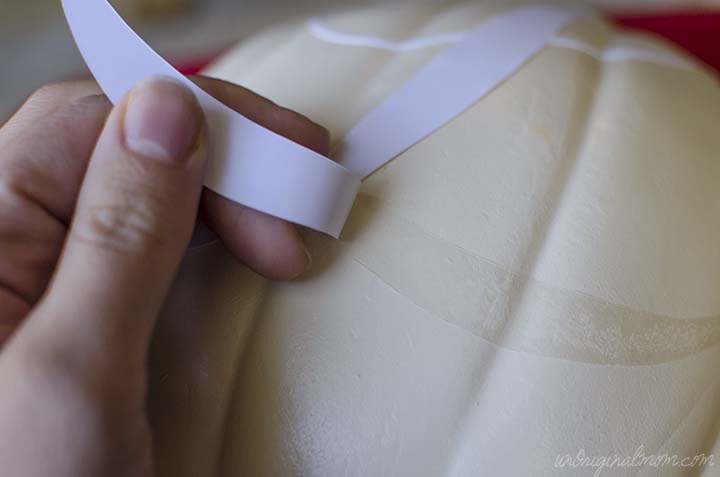
Peel off the white paper to reveal the front side of the adhesive.
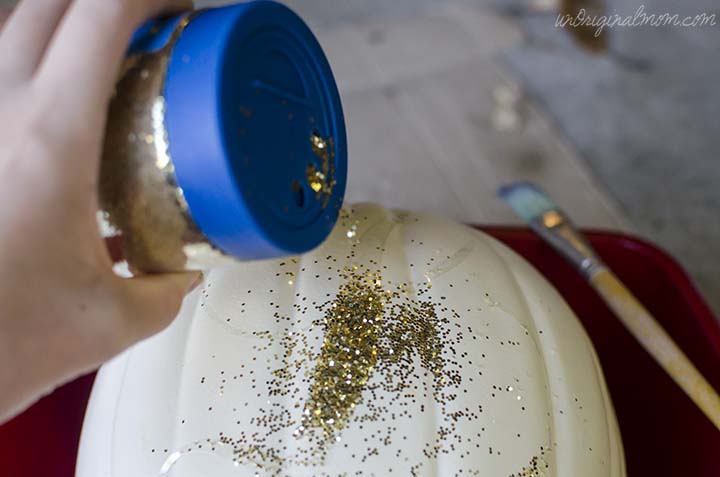
Now you’re ready to add the glitter! (I did this in the garage over a bin in an attempt to keep the glitter contained and out of the house!) Silhouette sells glitter specifically for use with the double-sided adhesive, and it is very fine. I just used regular craft store glitter, which is larger, but it still stuck on very well and I love how it looks.
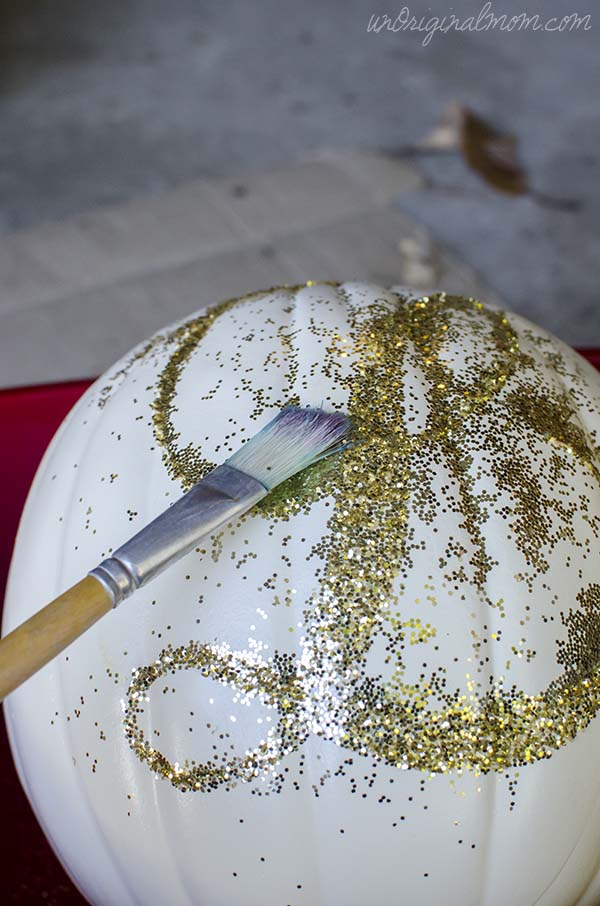
Use a dry paint brush to remove the excess glitter. You can even brush over the adhesive to get the glitter that’s not really stuck on and make sure there’s a completely stuck layer of glitter underneath.
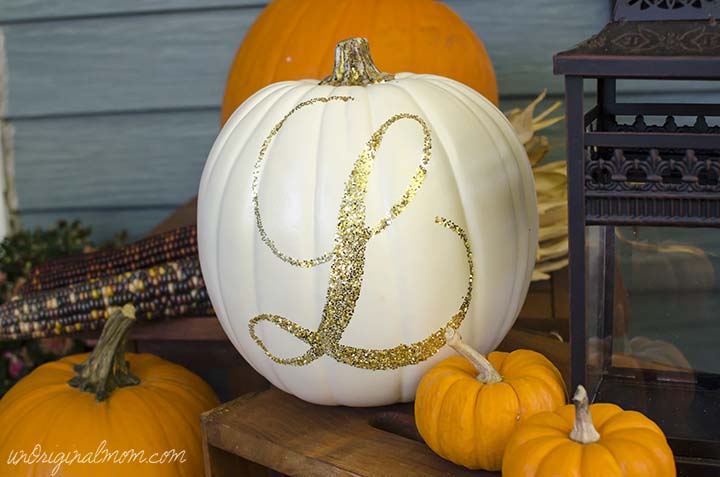
Ta-da! A lovely glitter monogrammed pumpkin that can be used year after year!
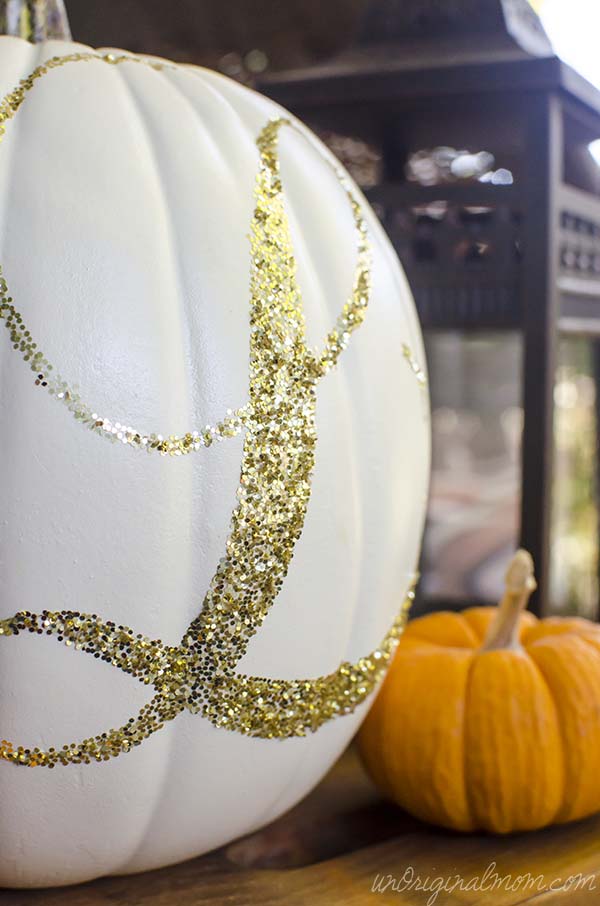
I just love the contrast of the rustic fall decor with the glam of the glitter. It looks so pretty when it catches the sunlight!
You could use this technique on a real pumpkin if you’d like – just make sure the surface is very clean and dry before you stick the adhesive on. Or you could make one with your house number, last name, a swirly flourish design…there are lots of possibilities! To be honest, for a simple design like this you don’t even really need a Silhouette – you could still buy the double sided adhesive and just trace and cut it by hand. Or you could even “paint” onto the pumpkin with some Elmer’s glue and add the glitter on top of that.

I’m really excited to try out this double-sided adhesive with glitter or flocking powder on more projects. There are definitely limitations – I don’t see how you could use transfer tape very easily, and small, intricate designs might be hard to cut out – but I’ve already got several neat ideas pinned to my Silhouette Pinterest Board that I can’t wait to try!
Update – I used double sided adhesive and on some of these wood slice ornaments and they turned out beautifully!

Psst – if you’re looking for some more inspiration in your inbox, don’t forget to sign up for new post notifications and the unOriginal Mom newsletter via email!!
Looking for some more Silhouette inspiration? This post is part of the October Silhouette Challenge, organized by Lauren at The Thinking Closet! My Silhouette Challenge buddies are all sharing projects today on their blogs, so browse through the links below for a blog-hopping good time!
Crafting with Glitter Just Got Easier by Create & Babble
Birthday Invitations Homer Simpson Style by Black & White Obsession
DIY Planner Dividers by The House on Hillbrook
3D Haunted Forest by Chicken Scratch NY
Pumpkins and Peacocks Fall Mantel by joy & gladness of heart
DIY Cheers Garland by Rain on a Tin Roof
Wedding Gift Wrapping by It Happens in a Blink
Halloween Family Rules by Tried & True
Faux Stitched Speech Bubbles by Get Silvered Craft
A Mario Bros. Backsplash by Please Excuse My Craftermath…
Halloween Spooky Eye Luminaries by A Tossed Salad Life
Addressing Invitations with a Silhouette Cameo by My Favorite Finds
Halloween Party Treat Bags by The Thinking Closet
“Create” Wooden Pallet by Lil’ Mrs. Tori
Spooky Halloween Bats Garland by TitiCrafty
Decorated Pumpkins by Tanya’s Creative Space
Cute Wedding Card by Zanaree
Learn to Tie Your Shoes by From Wine to Whine
Fussy Cutting Making You Fussy? by My Paper Craze
Cut Fabric With Your Silhouette by Cutesy Crafts
Cookie Lee Jewelry’ Gift Bags with a Purpose: Sharing Thankfulness by An Elegant Touch
Halloween Banner by Sowdering About
Thanks for stopping by!
This post contains affiliate links. Click here to read my full disclosure.)

Original article and pictures take www.unoriginalmom.com site
Комментариев нет:
Отправить комментарий