

My daughter Ruth is just starting to recognize her letters and so she is constantly pointing out her letter “R” in signs and labels and my letter “C” on paper packaging I am about to throw away (“Don’t throw it, Mommy! This one is yours!”). I wanted to find a way to encourage her enthusiasm that didn’t involve saving every bit of trash that happened to bear our initials!
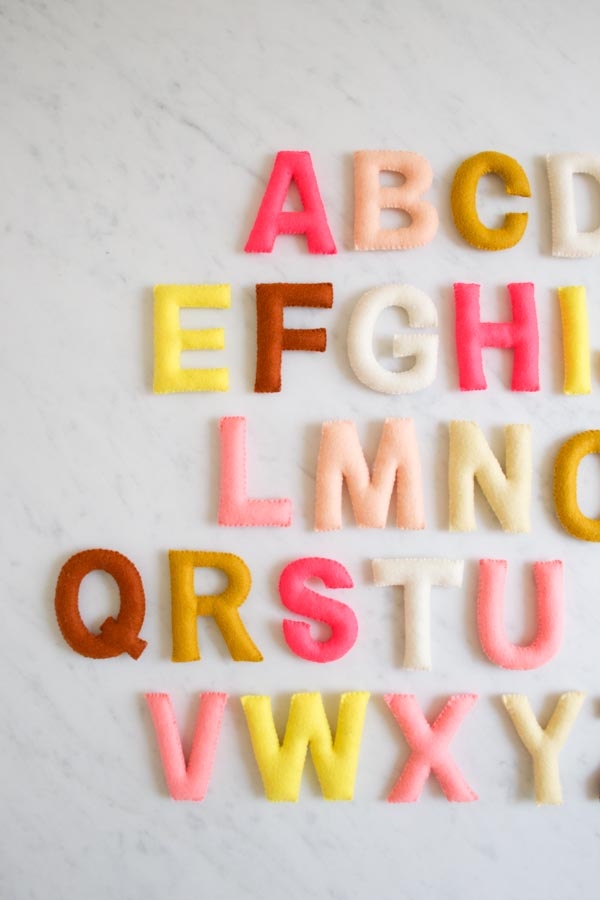
So, I designed this cuddly Hand Sewn Felt Alphabet. Made in a cheerful mix of yellows and pinks with just a touch of dark rust from our new Pomelo Felt Bundle, these letters are colorful, soft and so much fun! My ten month old loves to suck on the bright shapes (they can take it!), while Ruth feels like a great explorer unearthing her name from the whole big pile. Even my seven-year-old nephew loves the challenge of coming up with as many words as possible with a random handful of ten letters.
Along with a full alphabet I keep for playtime, I also wrote out Ruth’s name and simply strung it on a length of embroidery thread to hang above her bed. It’s such a sweet way to decorate her space, and she loves to see all her letters on display! -Corinne
Update: Numbers!
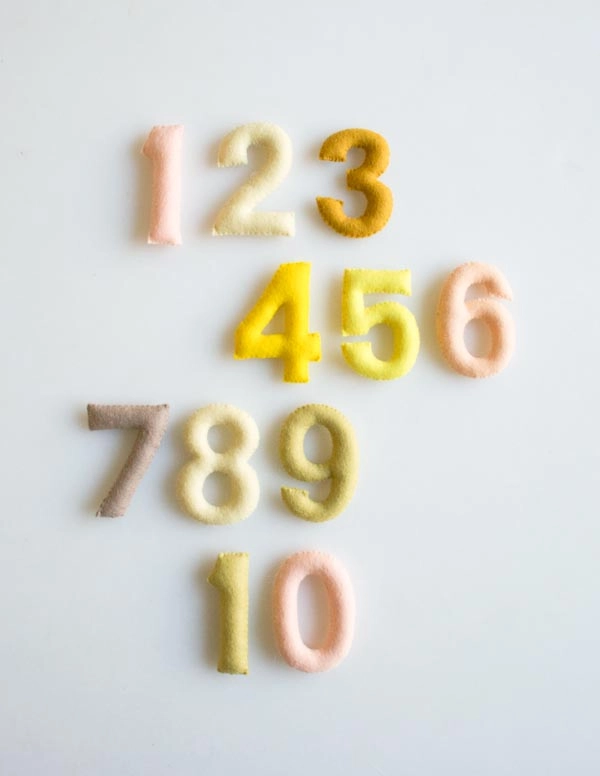
We’ve added the 123’s to our ABC’s! Check out our Hand Sewn Felt Alphabet Template, now with numbers! Shown above in Purl Soho’s Mushroom Felt Bundle, these numbers are perfect for adding up, counting down, and just plain having fun. Enjoy! -Corinne
Materials
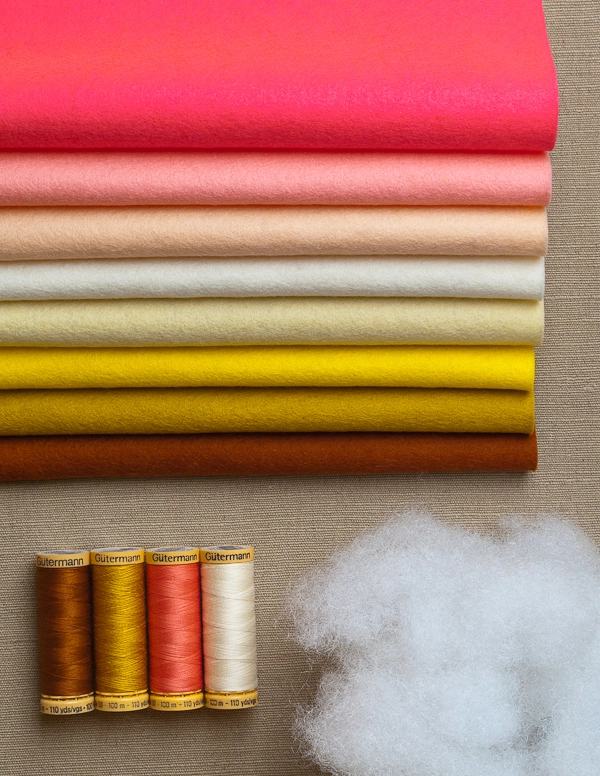
- 1 Purl Soho Felt Bundle. I used the color Pomelo
- Gutermann’s Cotton Thread in coordinating colors. I used colors 1040, 4950, 2030 and 1685
- Your preferred fabric-making tool for transferring the letter templates onto the felt. I used Fons and Porter’s Chalk Pencils. For a detailed guide to a variety of marking tools, please visit our Fabric Markers tutorial here.
- 1 bag of Fairfield’s Poly-fil
- Optional (for making a banner): 1 spool of DMC’s Pearl Cotton Embroidery Thread. I used color B5200
- A free Hand Sewn Felt Alphabet Template available to download here, printed and cut out.
Size
Each letter is approximately 3 inches tall.
Pattern
This pattern is available as a free printer-friendly PDF. Just click here!
Cut
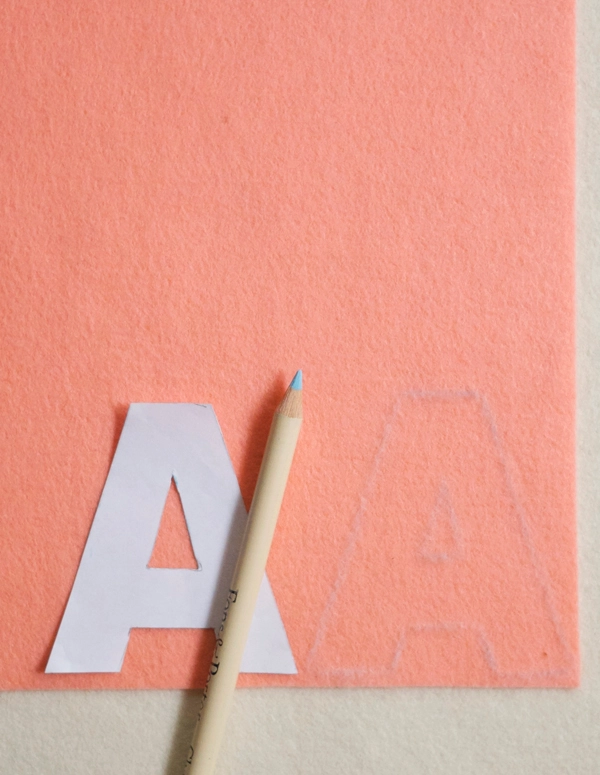
Using the Alphabet Template and your preferred fabric-marking tool, trace the letters onto the felt pieces. For each letter you will need two identical felt pieces.
Cut the letters out. For precise, clean cuts, I recommend using large fabric shears for the outer edges and small sharp scissors for the inside shapes.
Sew and Stuff
The letters are sewn together with a whipstitch and are filled with stuffing as you go. Here’s how:
Thread a length of cotton thread onto a needle and tie a small knot at the end.
Stack two identical shapes on top of each other and pull the needle from the inside of one of the pieces to the outside, exiting about 1/8 inch from the edge and leaving the knot sandwiched between the two layers.
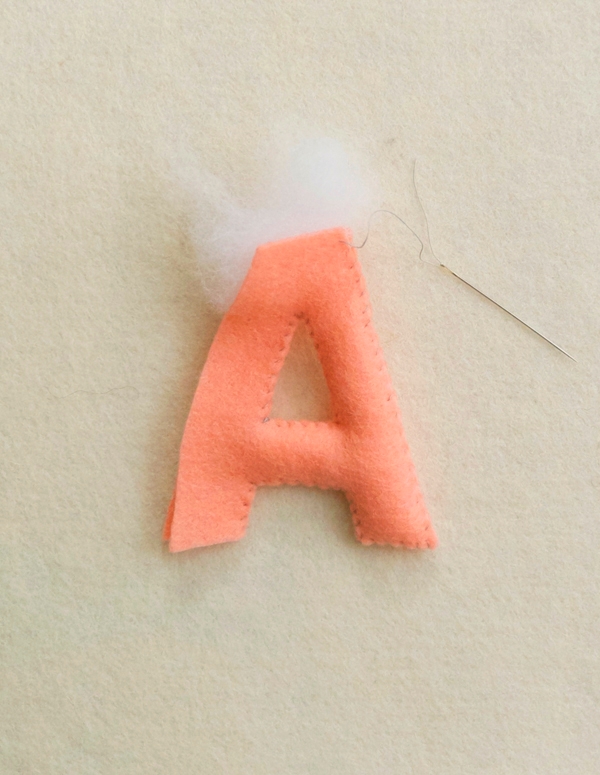
When working with letters with an inside cutout, sew around the edge of the cutout first. When deciding where to start stitching on the outer edge of the letter, think about how the shape will be filled with stuffing as you stitch.
Push the needle from the bottom up through both layers of fabric, about 1/16 to 1/8 inch from the first stitch and approximately 1/8 inch from the edge. The thread will be wrapped around the side of the stack.
Continue to stitch in this manner, filling with stuffing as you go.
When you have reached the point where you began stitching (or the end of your thread), stitch in place 3 or 4 times to secure the thread. Pull the needle through the body of the letter and snip the thread at the exit point to hide the end.
Make a Banner (Optional)
If you wish to create a banner, you can attach a length of Embroidery Thread to the back of the letters for hanging. Here’s how:
Cut the Embroidery Thread to your desired length (it should be long enough to accommodate all the letters you will use, plus extra on either side for hanging) and thread on a needle.
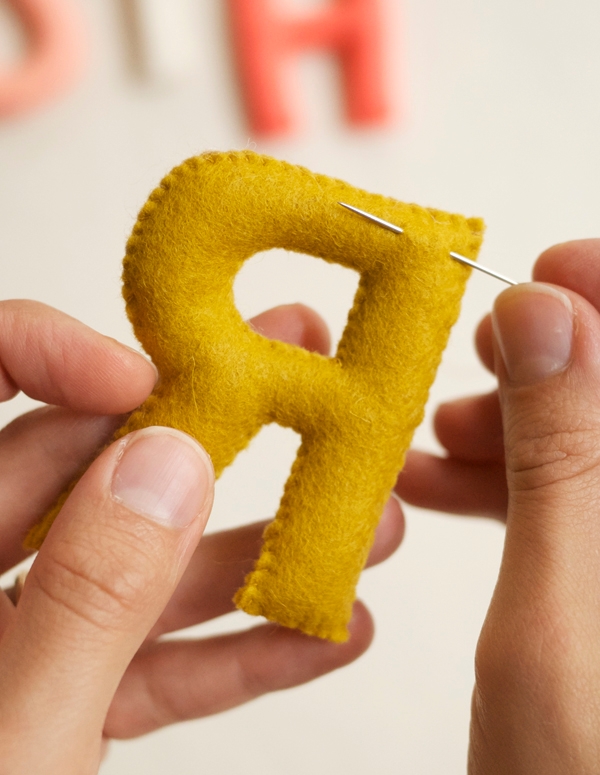
Pick up a ¼-inch stitch about 1/8 inch in from the top right corner, going through only one layer of felt. Pull the thread through until only the amount left for hanging extends past the right edge of the letter.
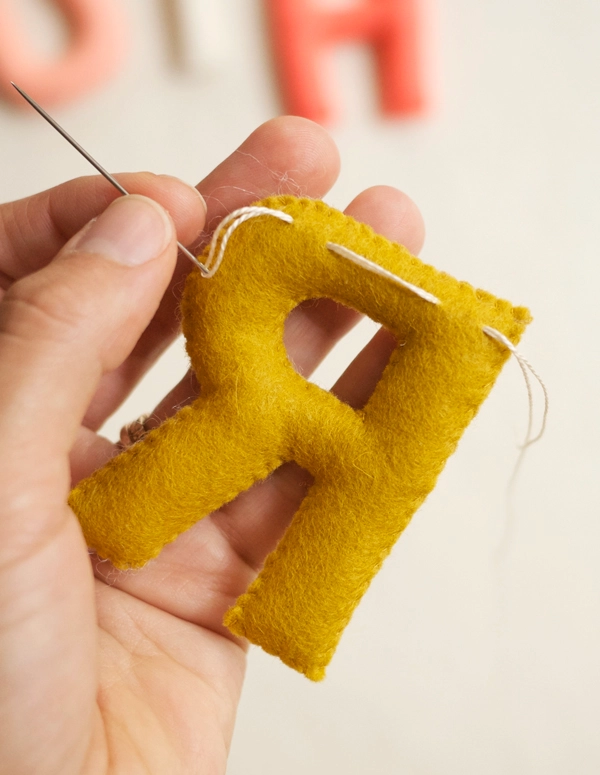
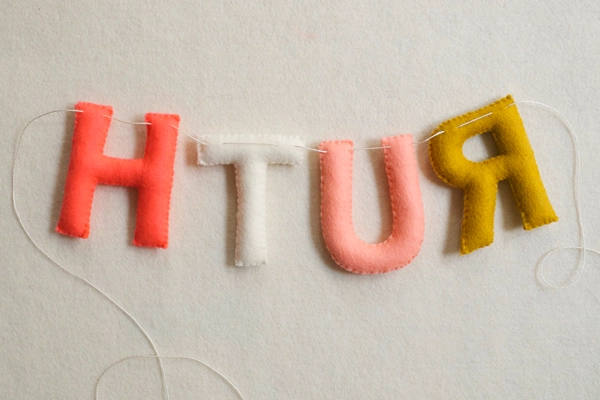
Repeat with the remaining letters, leaving ¼ – ½ inch between each shape.
Turn your banner around and hang it up!
Similar Posts You Might Enjoy:
Monogrammed Simple Linen Apron
Original article and pictures take www.purlsoho.com site
Комментариев нет:
Отправить комментарий