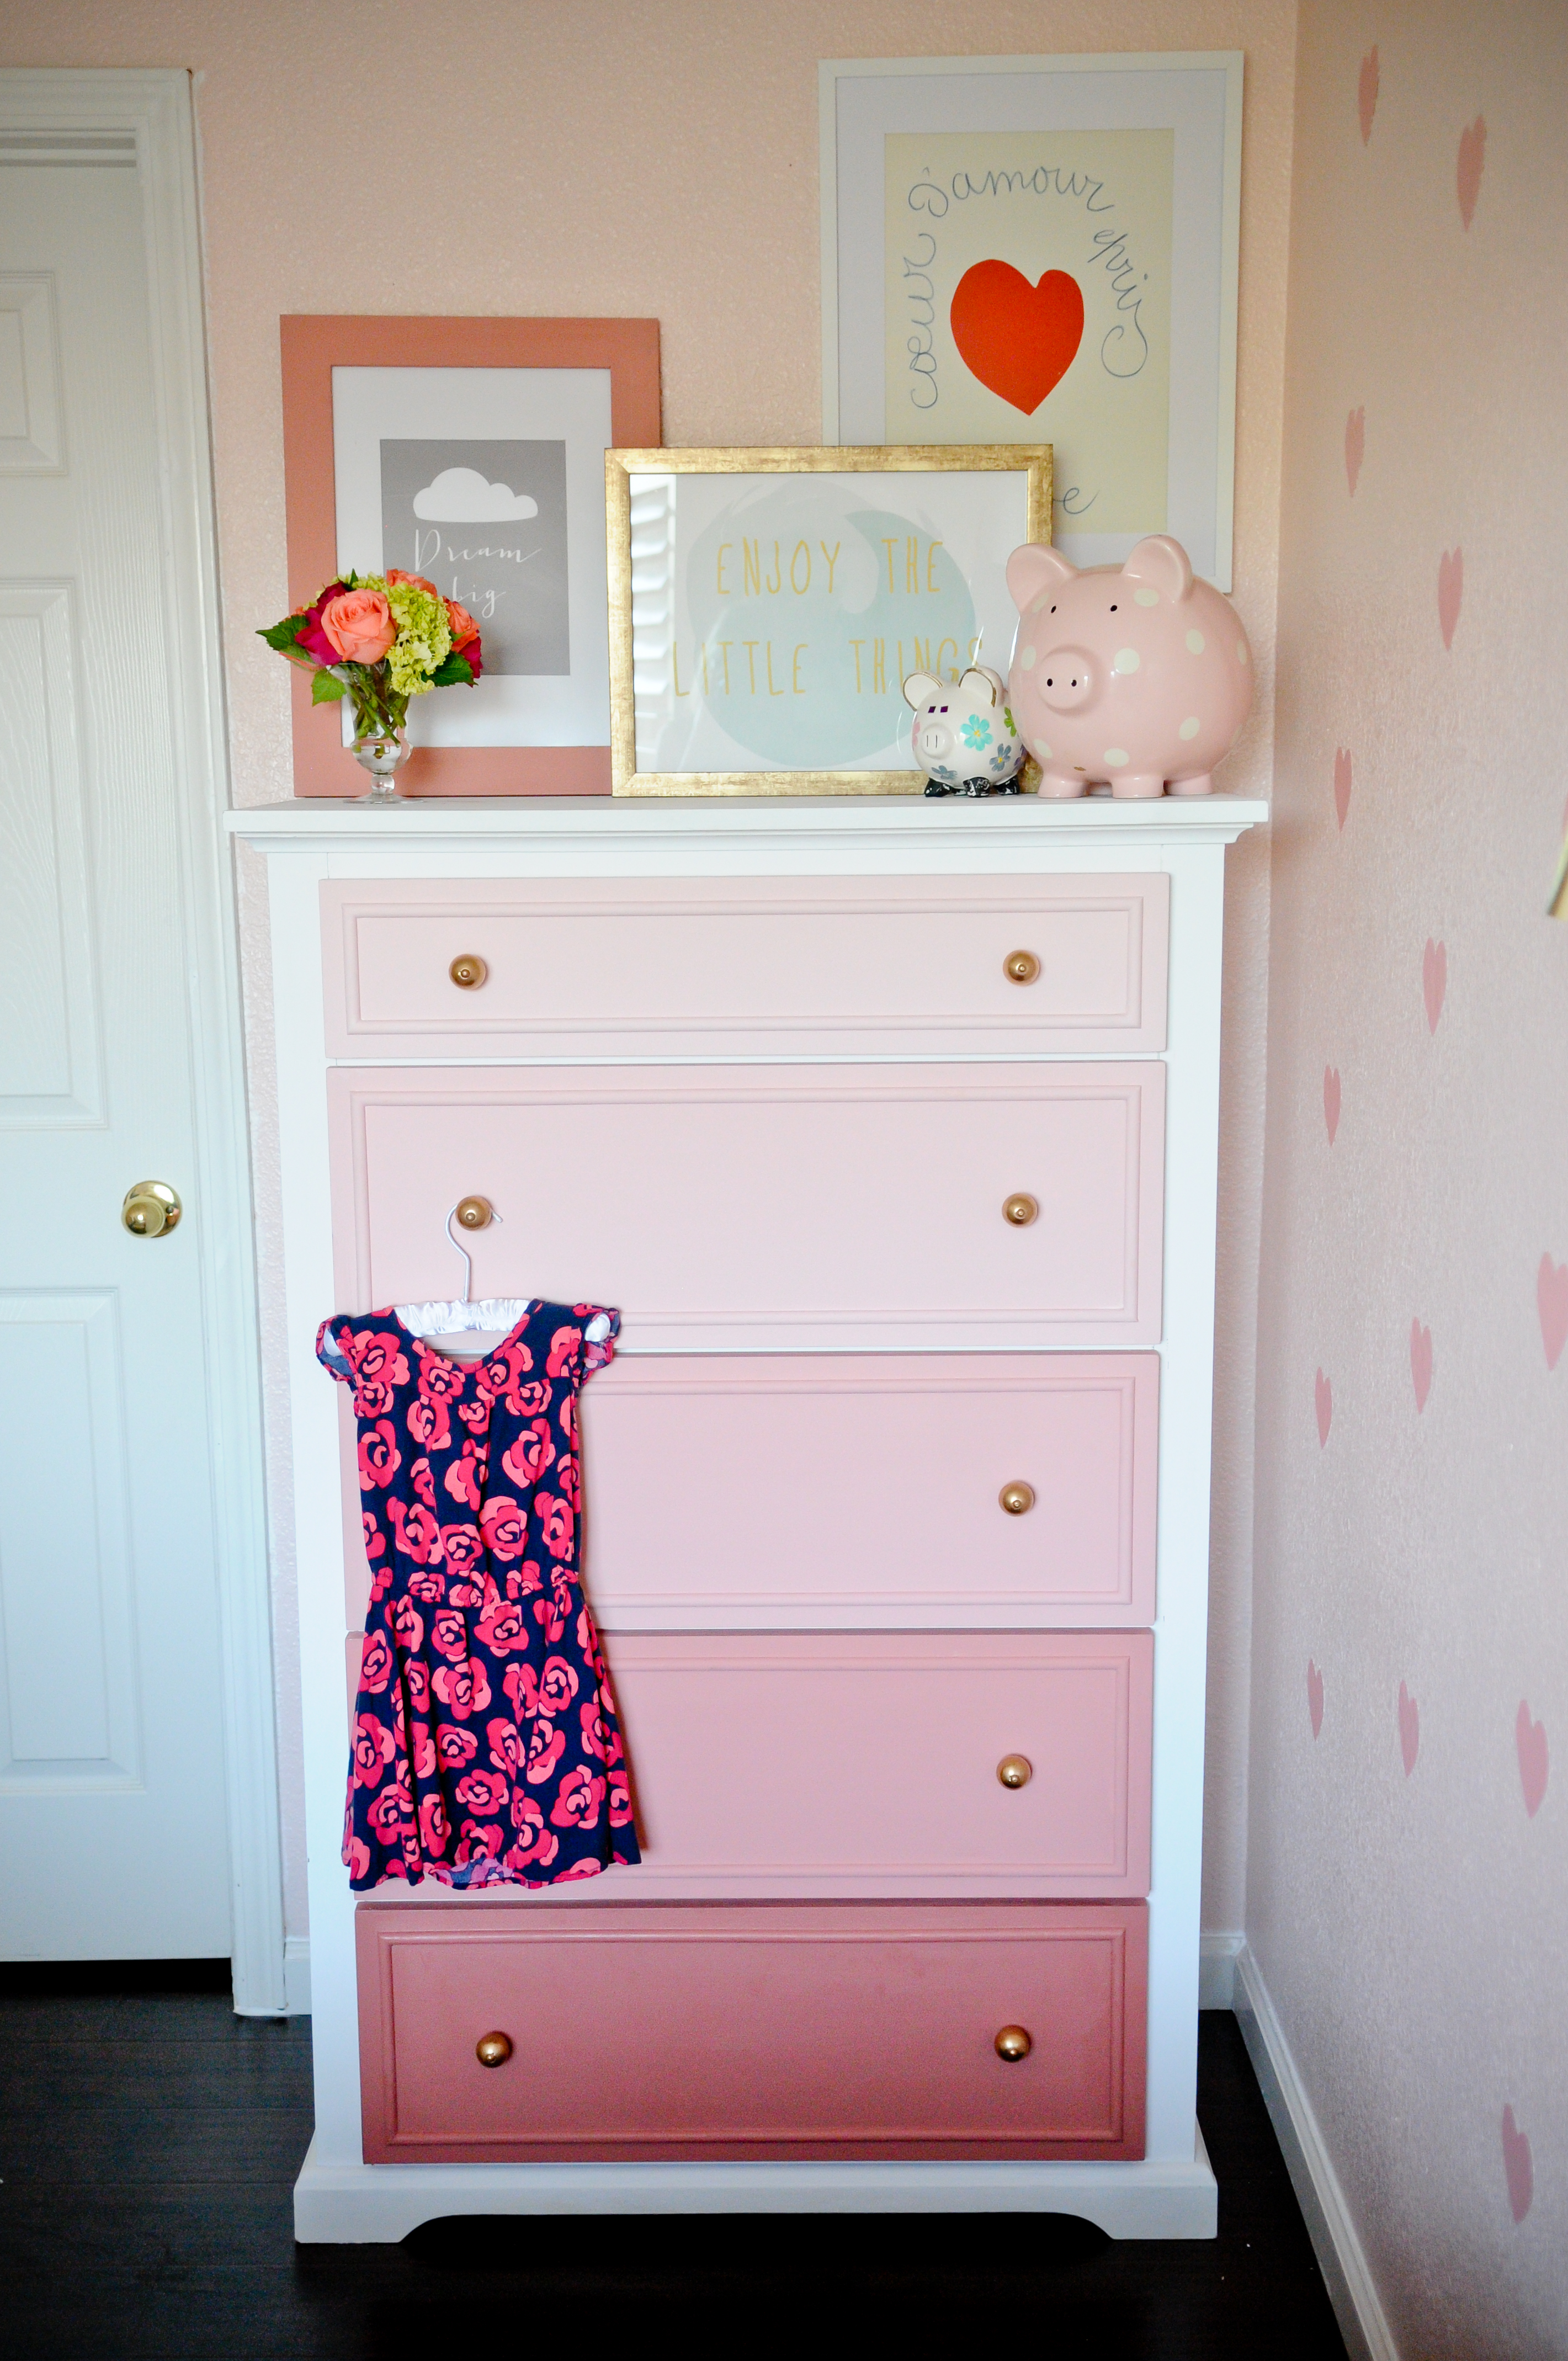
A few months back we revealed Addison’s Big Girl Room, and the ombre dresser featured in her room took off like wildfire on Instagram. Want to know an inside secret? The beloved dresser was a DIY project. Now, I am the first one to admit I am NOT a DIYer. Ask me to assemble a stroller or crib, and I’m your girl, but painting is out of my comfort zone. So if I can turn a rundown old dresser into something fabulous—you can too!
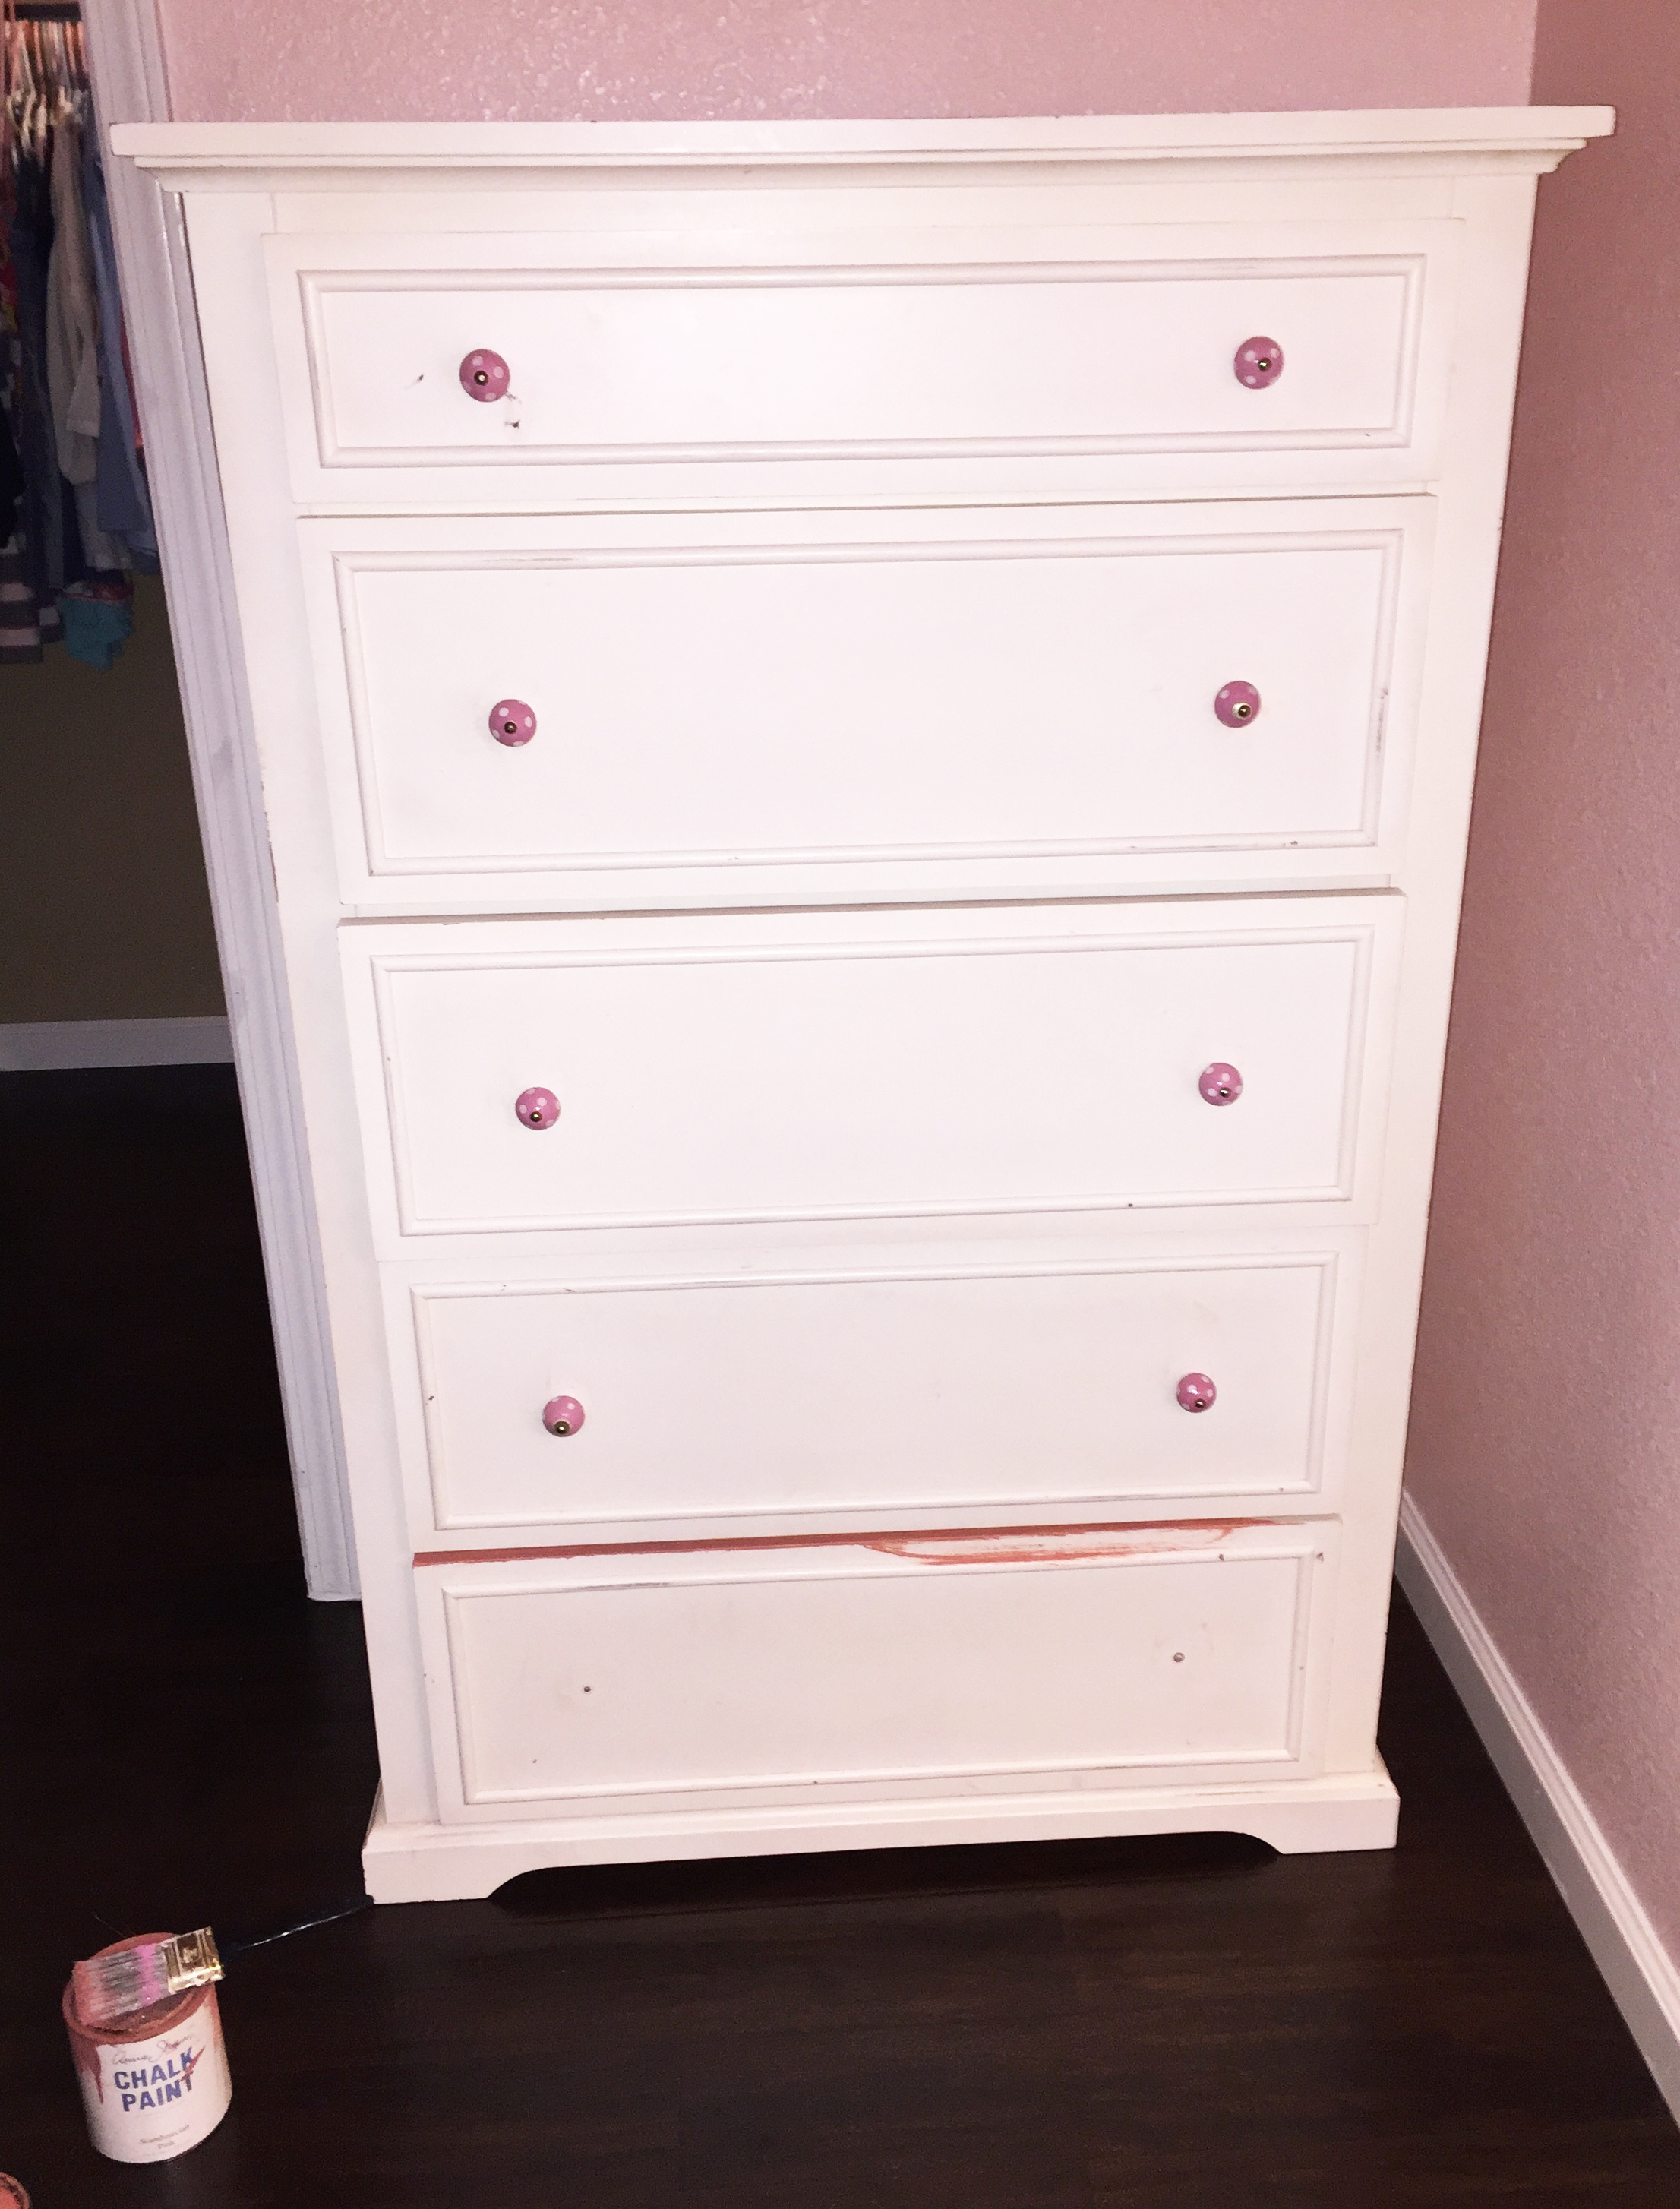
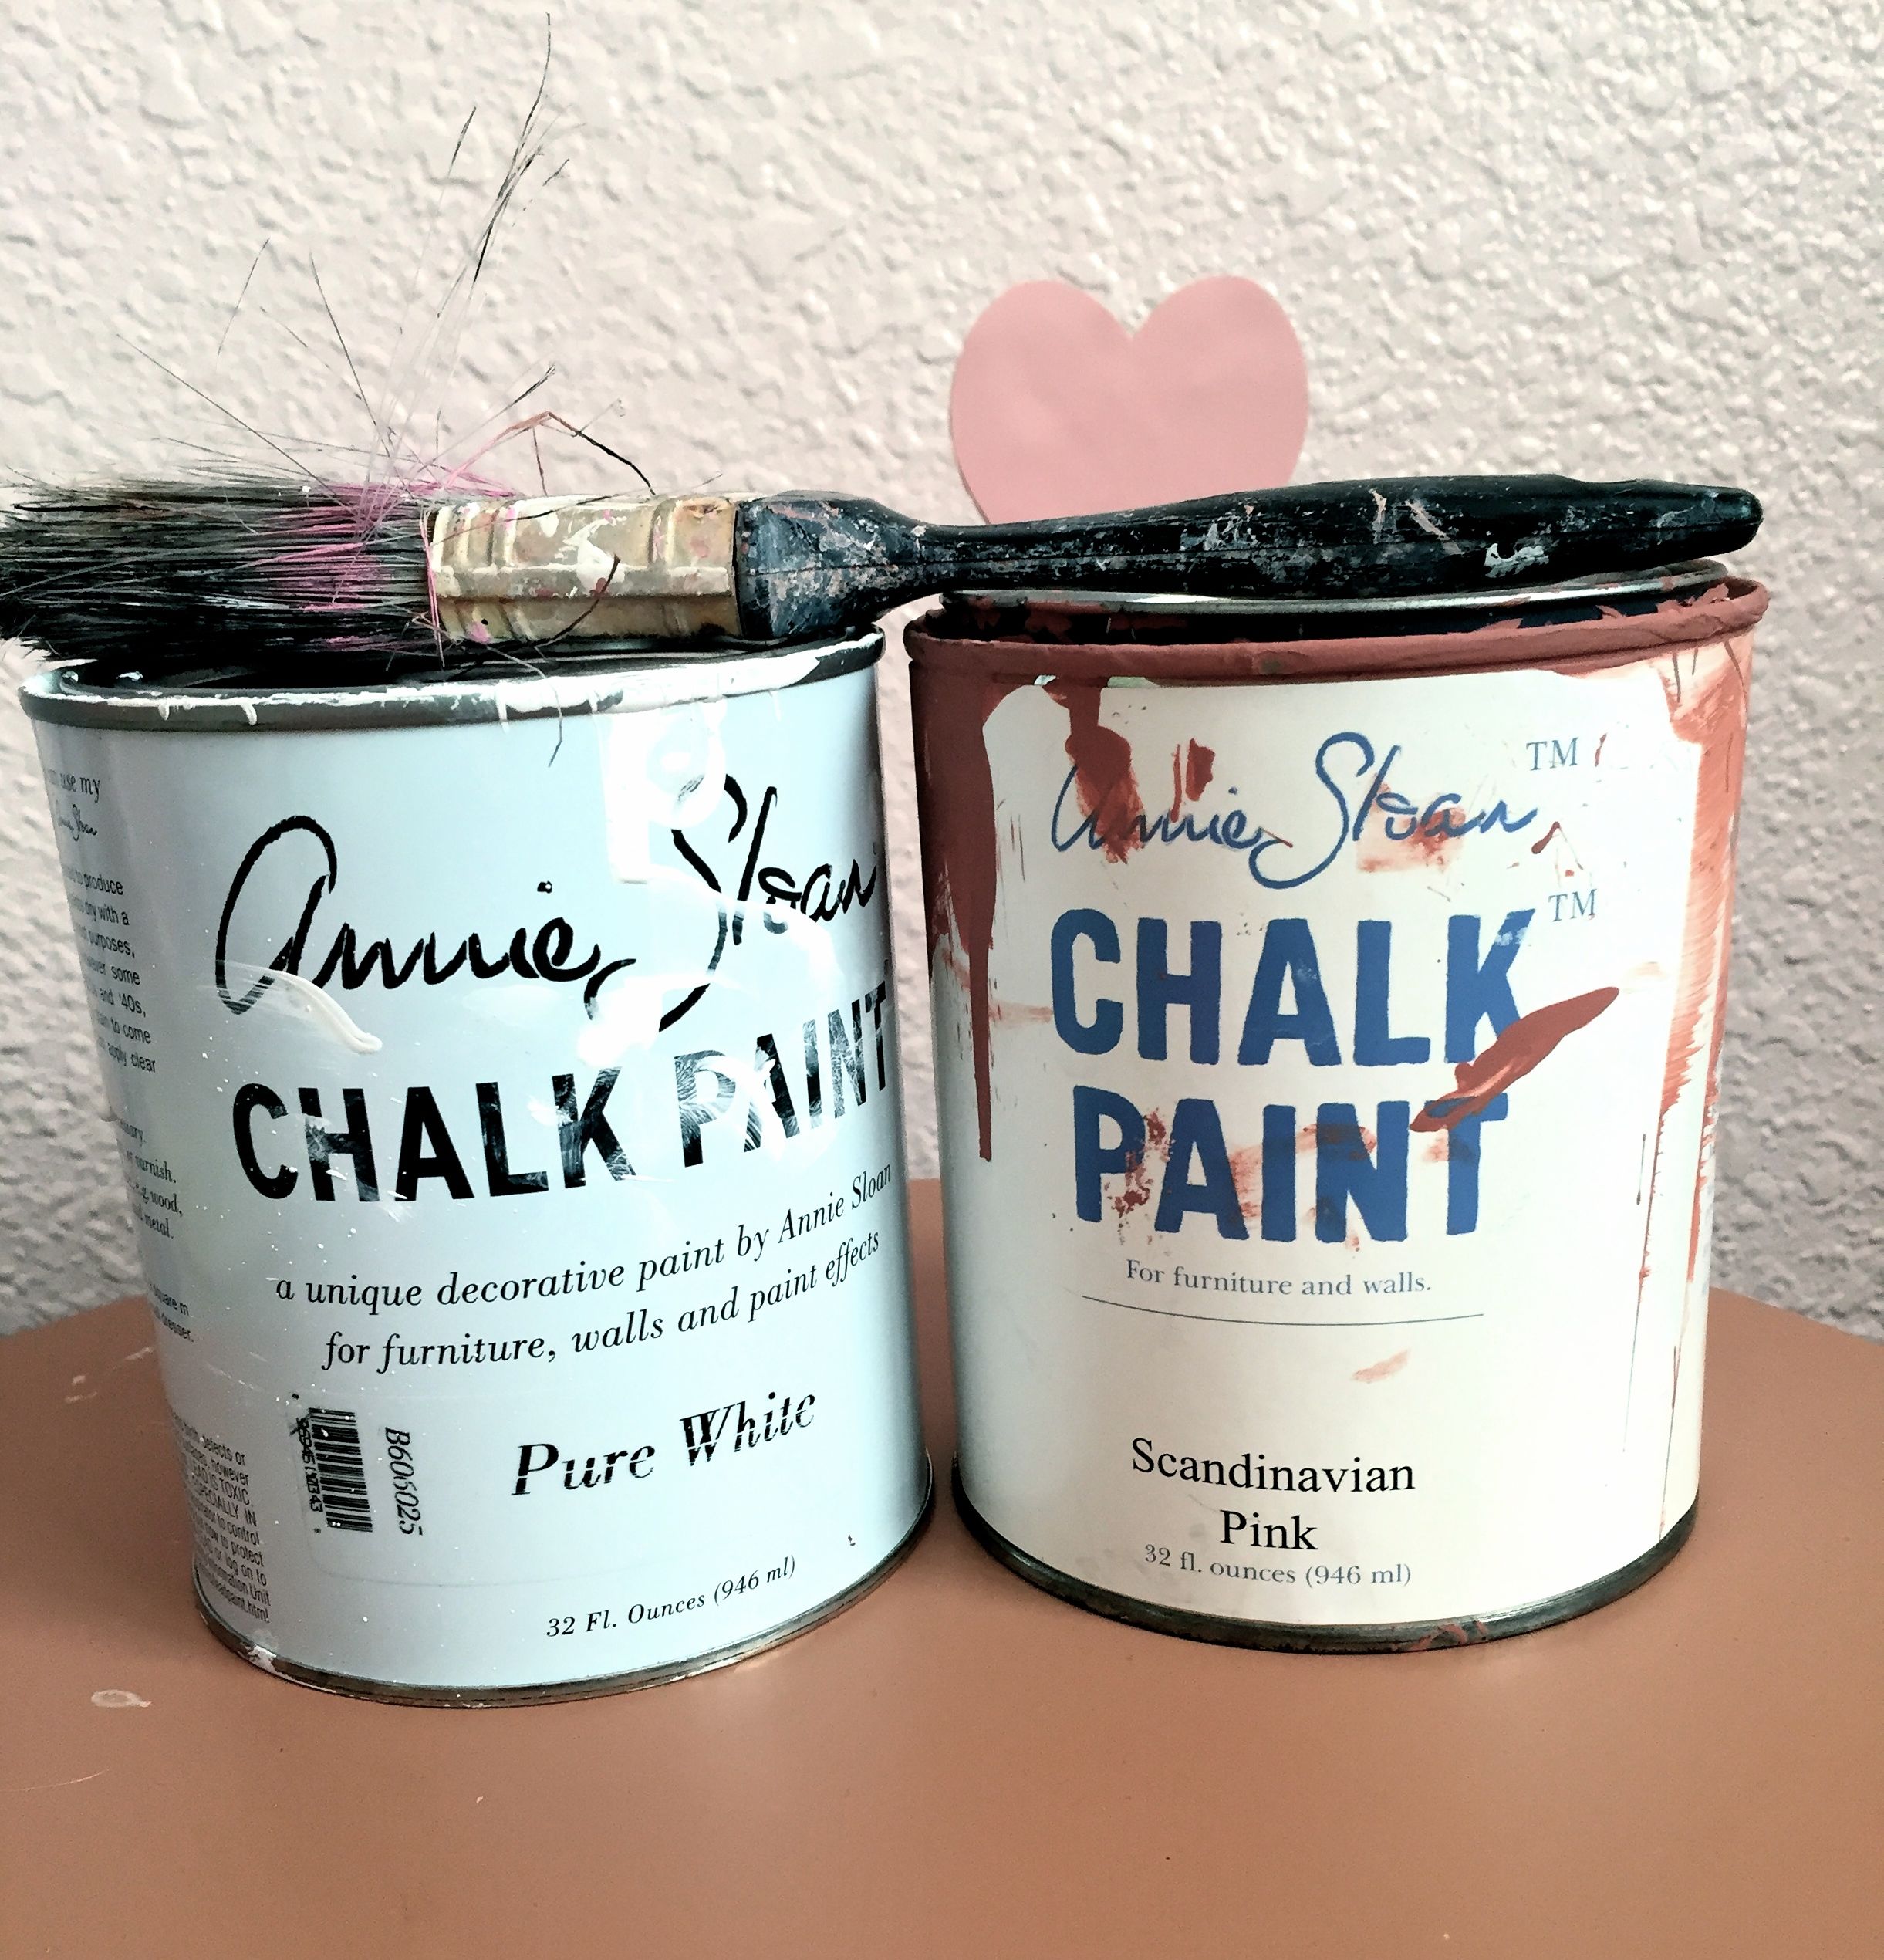
First step is to create your colors. My dresser has five drawers, so I created five different shades, including the original color on the bottom drawer.
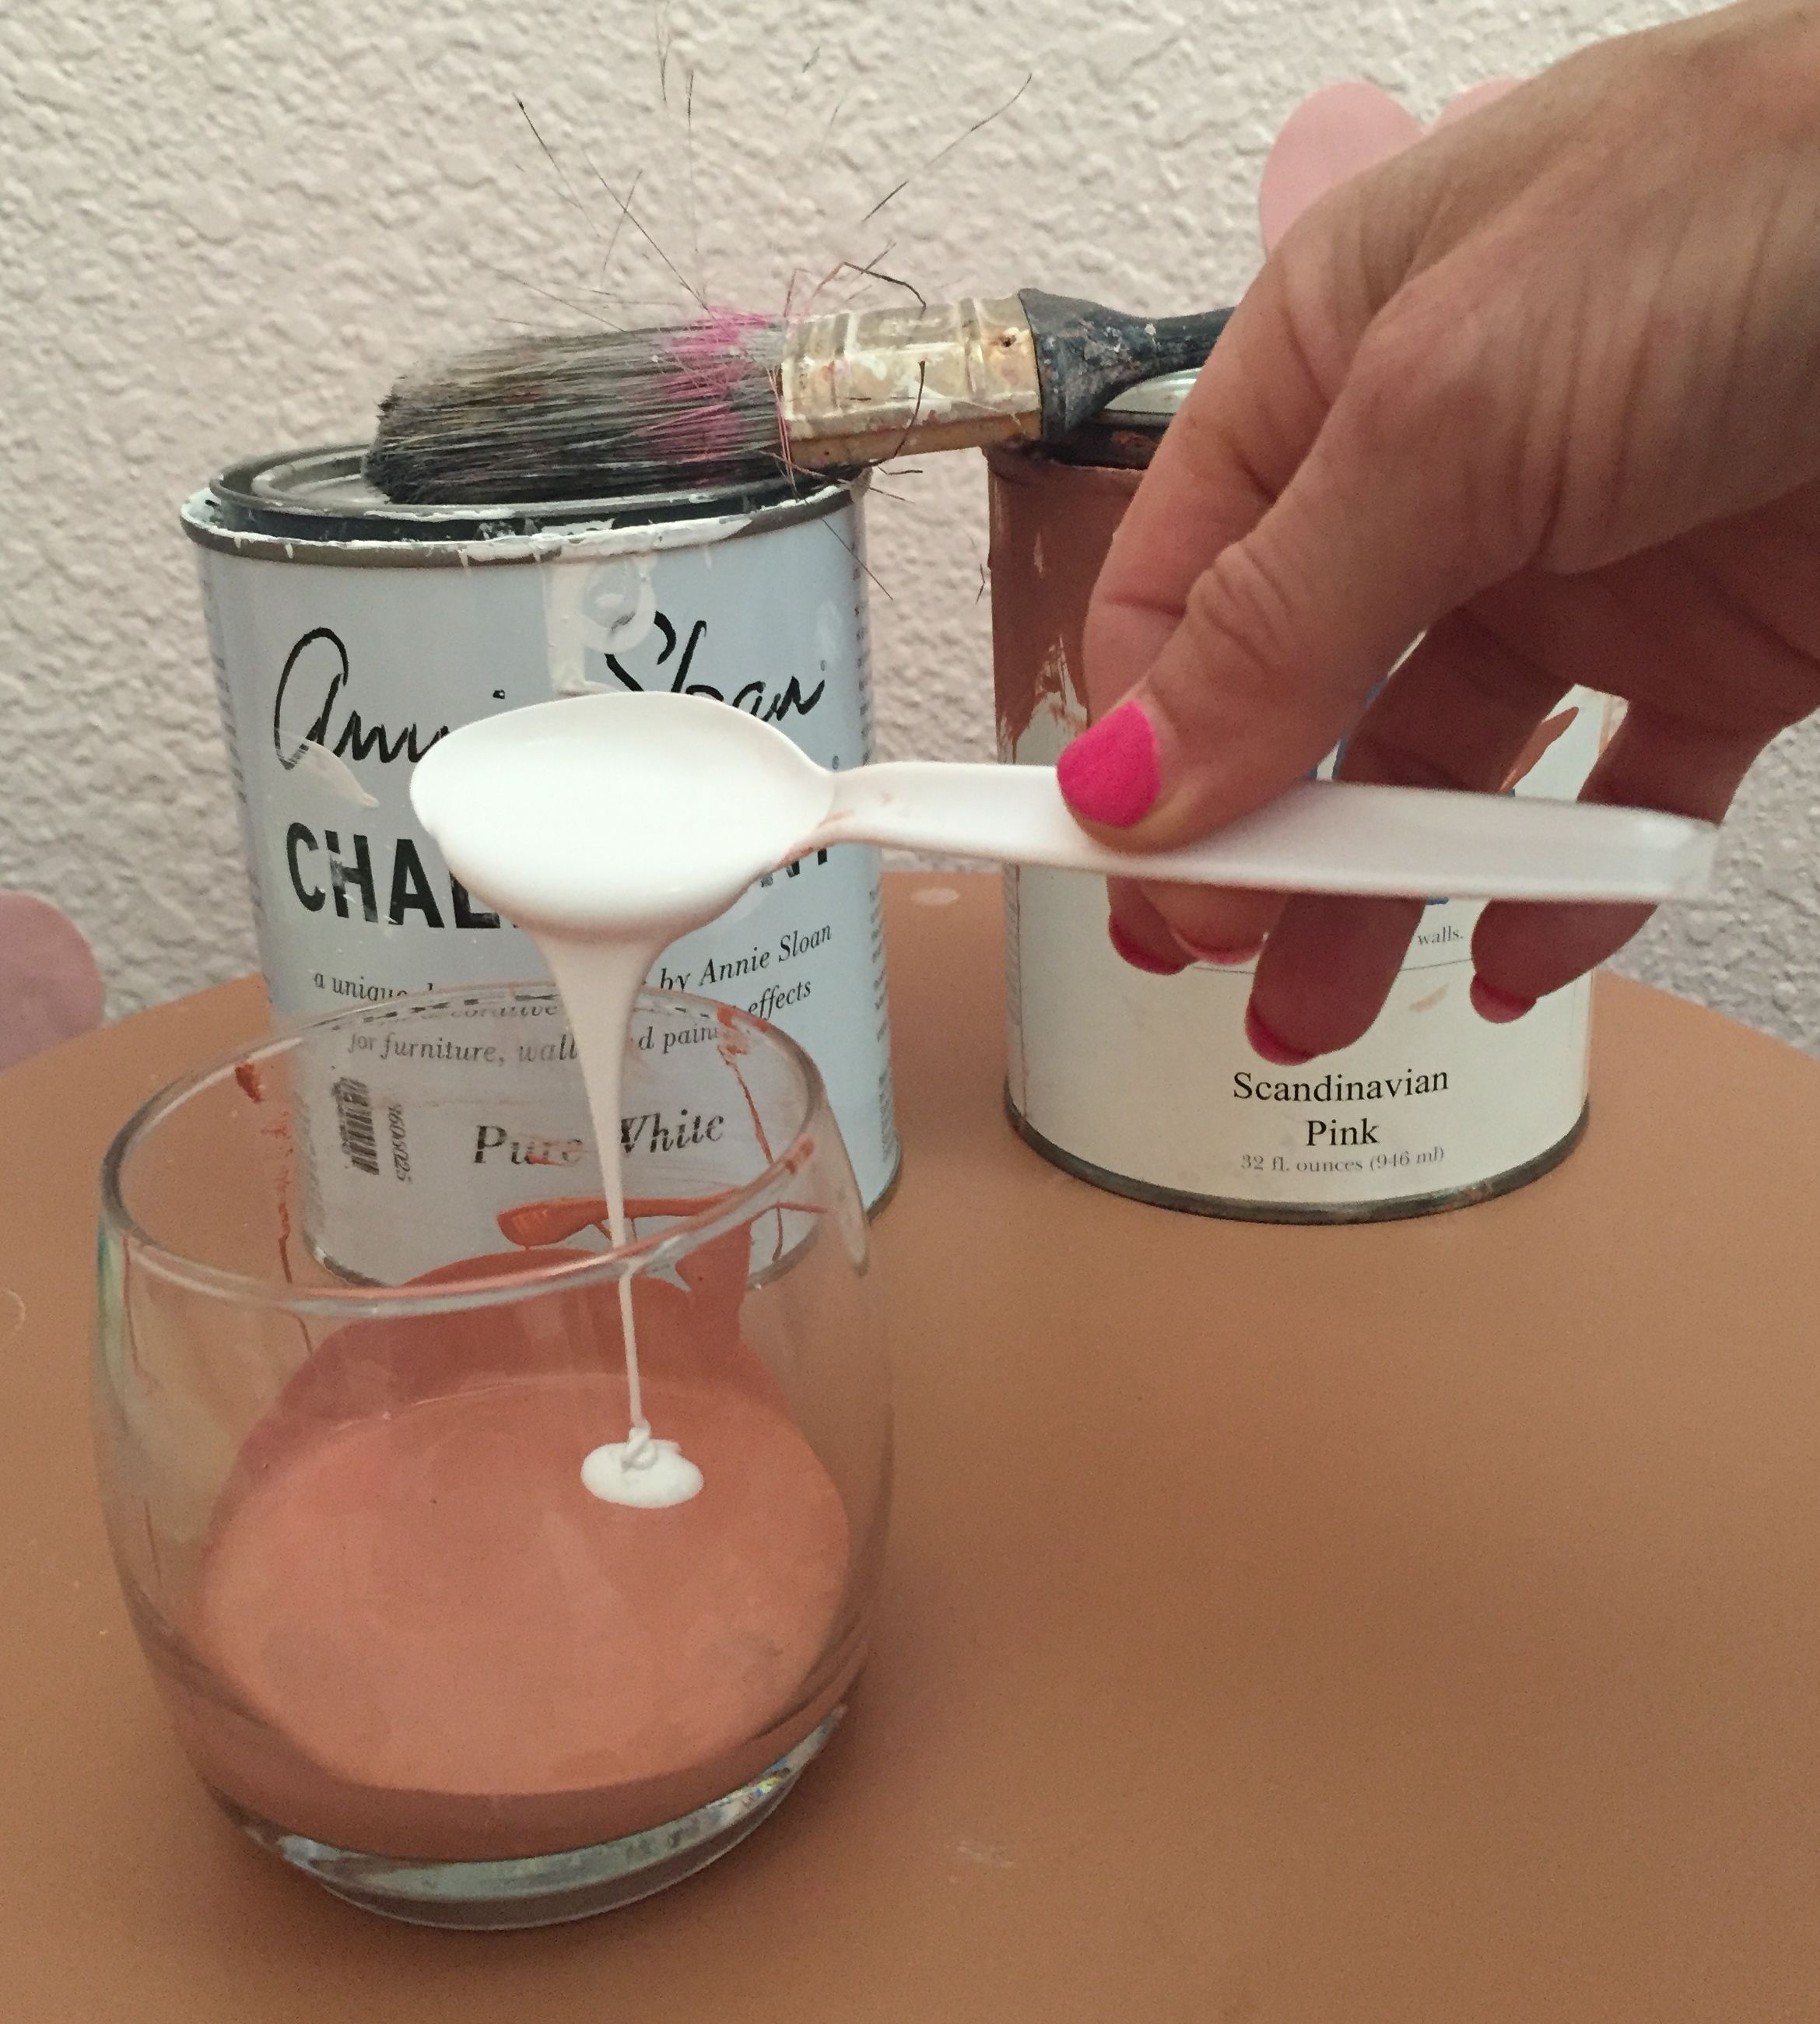
Next, pour a little bit of your colored paint into plastic cups. Then add white to each cup to lighten the color. Add (1) tablespoon to the first cup then increase the white paint by one tablespoon for each consecutive cup (first cup 1Tbsp, second cup 2Tbsp, etc.). You may have to adjust the amount of white paint you use depending on how much colored paint you need to cover the drawer and how much contrast you want between drawers. I suggest testing each color and allowing it to dry before completing the entire drawer.
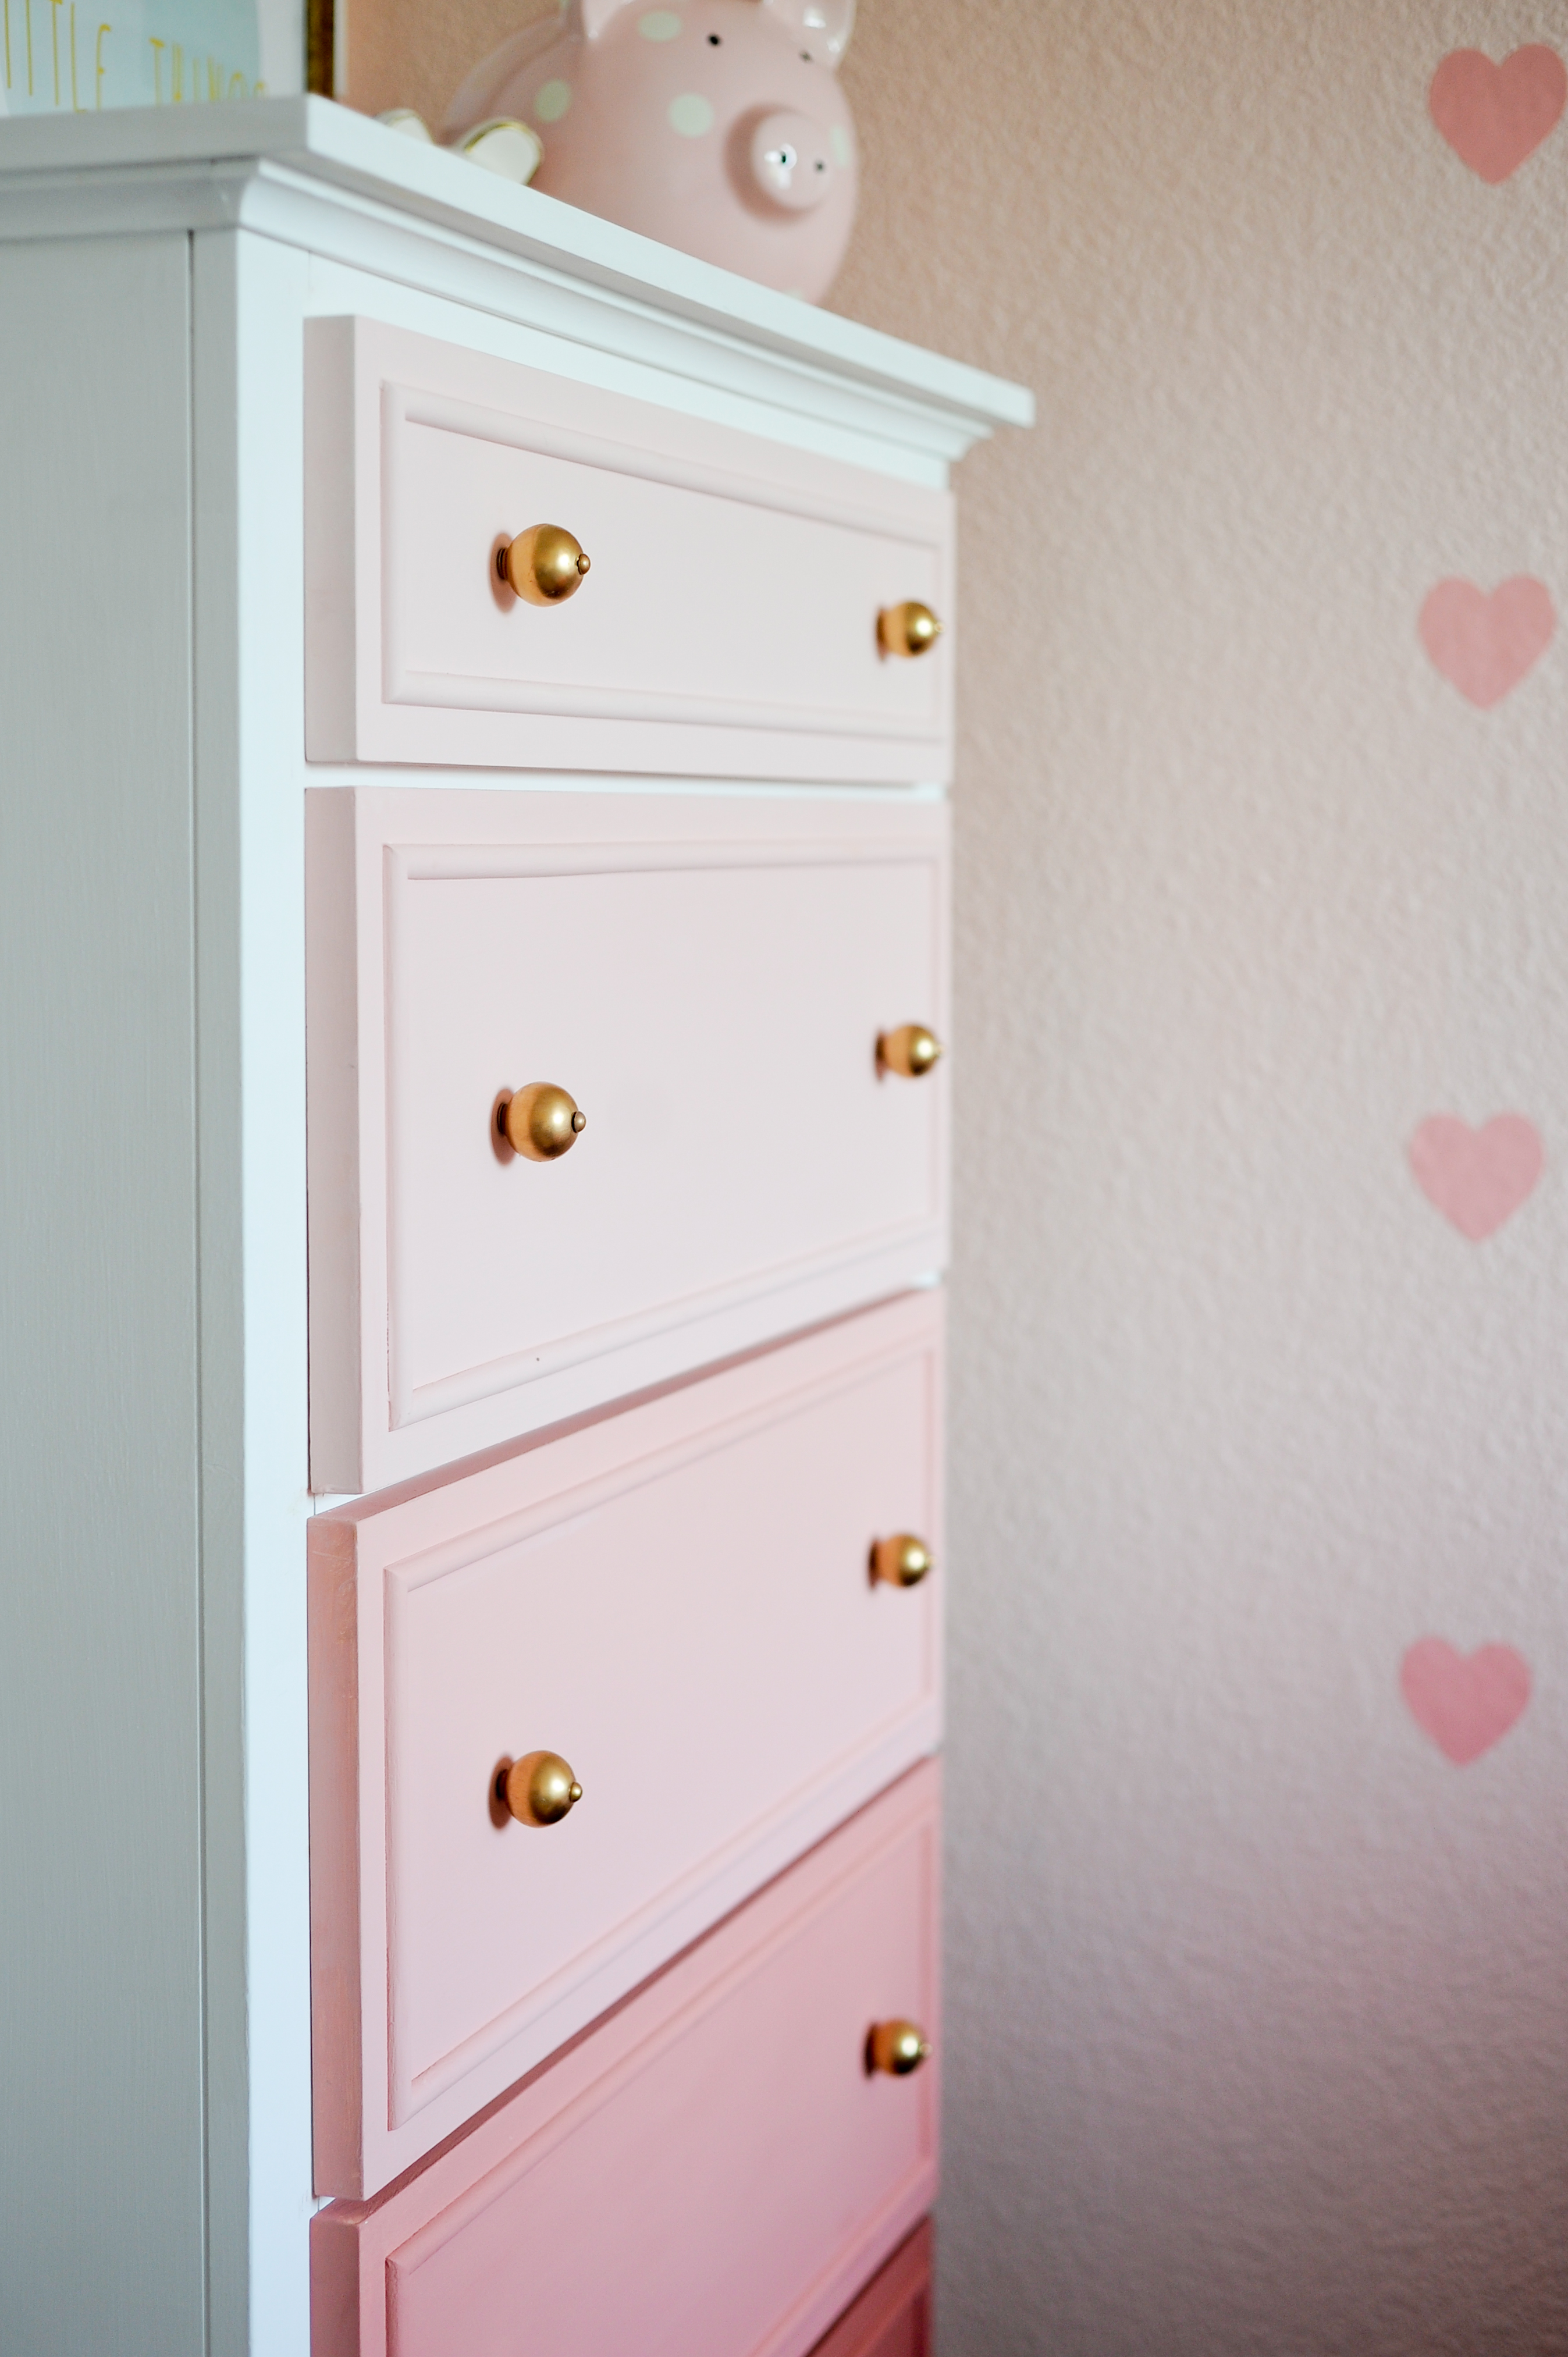
Now it’s time to paint. Once you have the colors mixed, pull the drawers out and paint the front of each one. Once you have all the drawers completed, paint the frame. I chose to paint my frame white but you can also add a different color to really make it pop!
Original article and pictures take projectnursery.com site
Комментариев нет:
Отправить комментарий