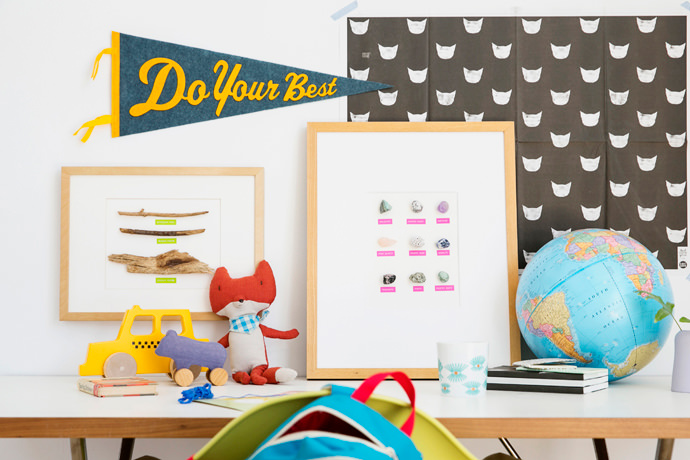
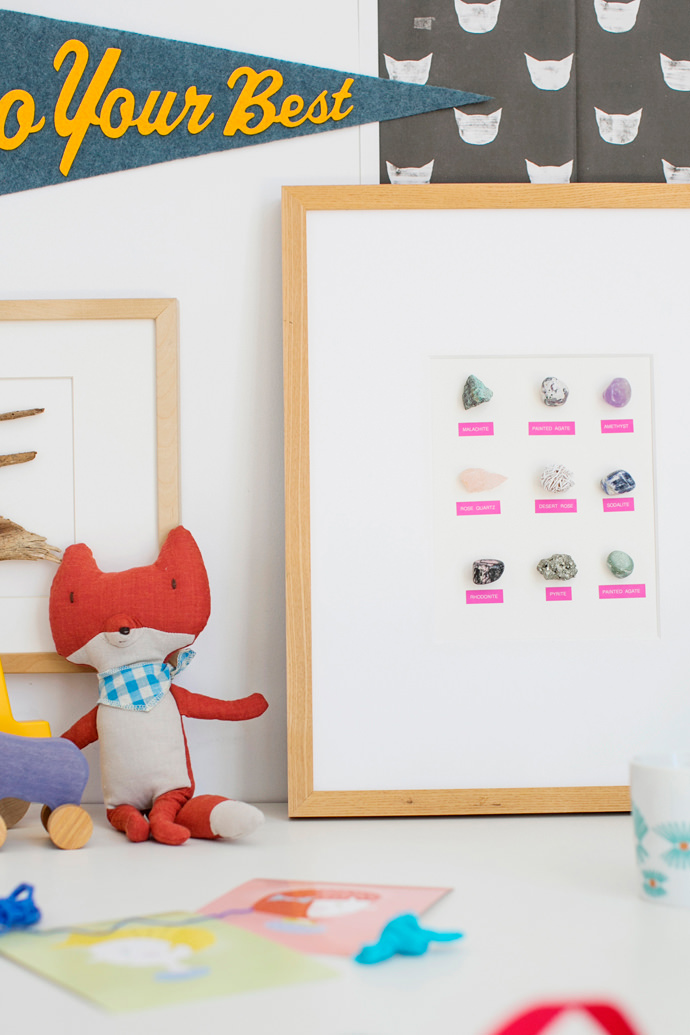
Wrangle up kids’ collections from around the house and create an interesting art piece that cuts down on the clutter. This dual-purpose DIY art project displays and showcases things kids love to collect, without having said items strewn about on every surface of the house. Give it a try!
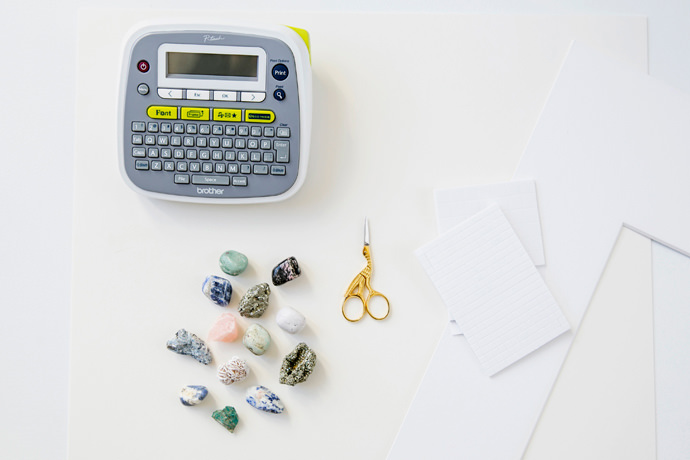
- Mat board (which can be found at art supply stores)
- Sticky foam mounting squares
- Scissors
- Kid’s collection of items (rocks, sticks, leaves, coins, etc)
- Frame and framing mat
Step 1
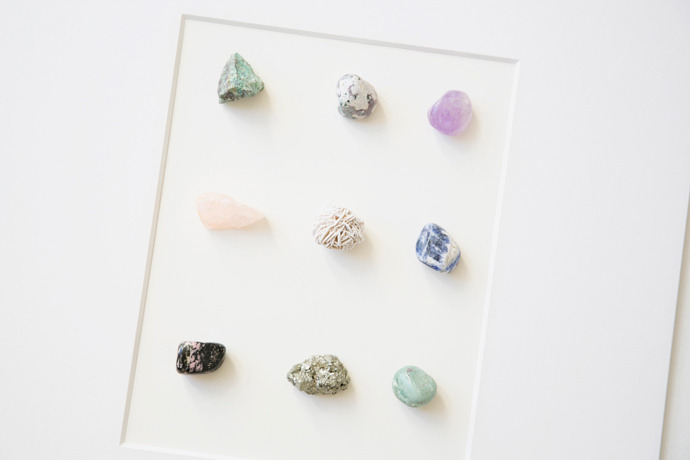
Place your framing mat over the mat board, so you can see how much space you’ll have for your collection. Then, start arranging your collection (in this case, I used rocks and crystals) onto the mat board in a way that you like. I went with a simple grid pattern, but you can always go with something more random/haphazard instead.

Step 2
Next, attach the pieces of your collection to the mat board with foam mounting squares. You can also use hot glue if you can’t find mounting squares.
Step 3
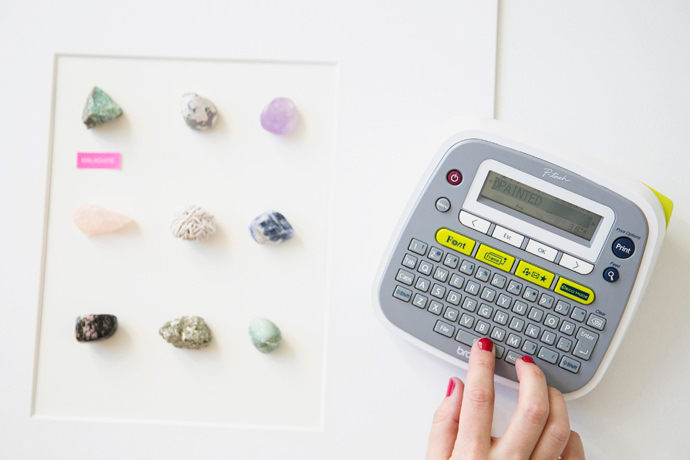
Then, using the Brother label maker, create a label for the name of each item in the collection.
Step 4
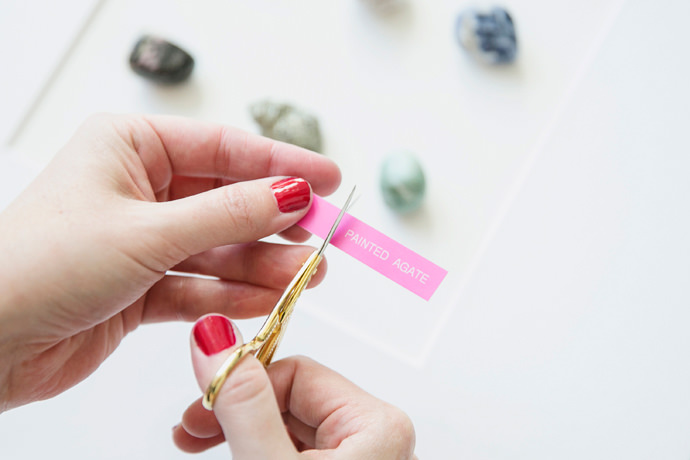
Once the label has been printed, press the cut button on the side of the machine to remove it. Then cut the excess blank label section off the other side.

Step 5
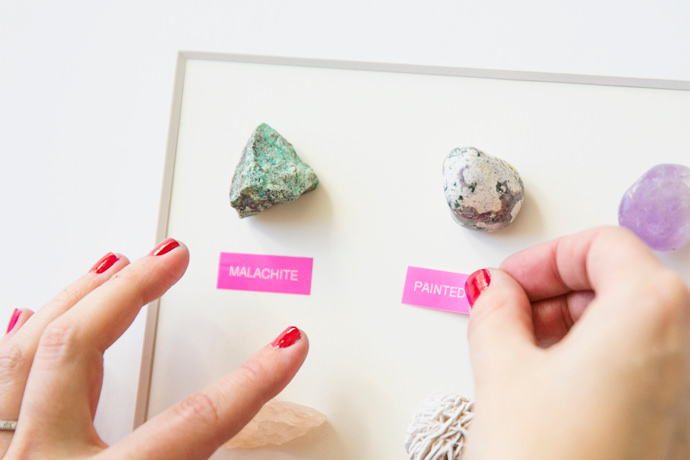
Now you can remove the sticky back and attach the label to the corresponding item on the mat board.
Step 6
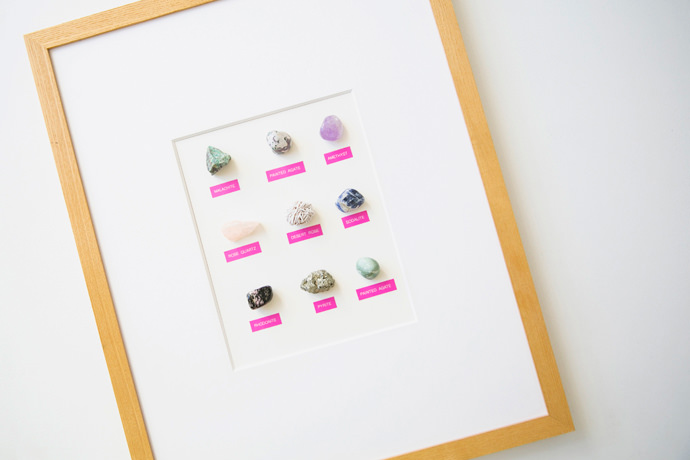
Once all the labels have been attached, pop the finished artwork into a glassless frame and it’s ready to hang!
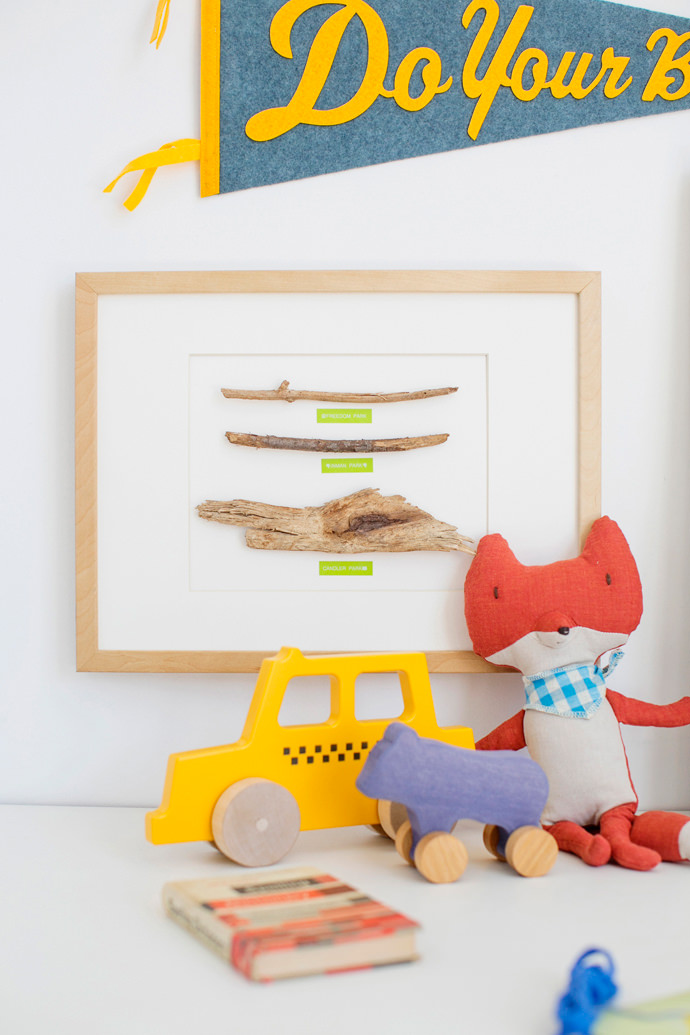
Don’t have a kid’s collection of items to use for this project? Create your own in an instant with one of these ideas. Collect sticks from various parks, coins from different countries, leaves or flowers from around the neighborhood, etc.
Photography by Heidi Geldhauser
Craft production assisted by Linda Jednaszewski
Art direction, styling, and concept by Brittni Mehlhoff
Original article and pictures take www.handmadecharlotte.com site
Комментариев нет:
Отправить комментарий