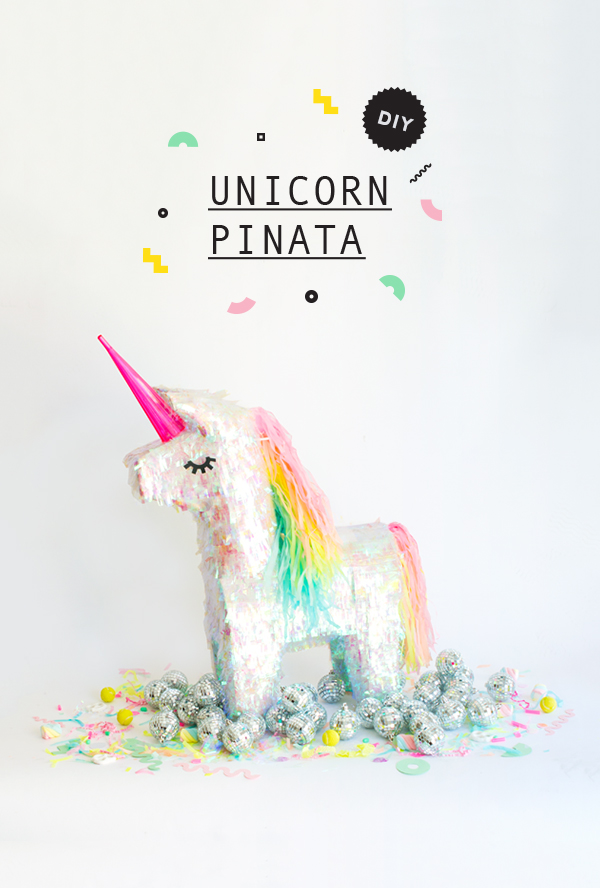
Everyone loves a good makeover story, right? Well, this one’s a doozy! We’re going to show you how to transform an ordinary donkey piñata into a shiny unicorn! I’m not gonna lie, this one takes some time but it’s WELL WORTH IT when the result is sparkly, iridescent awesomeness with a rainbow mane!


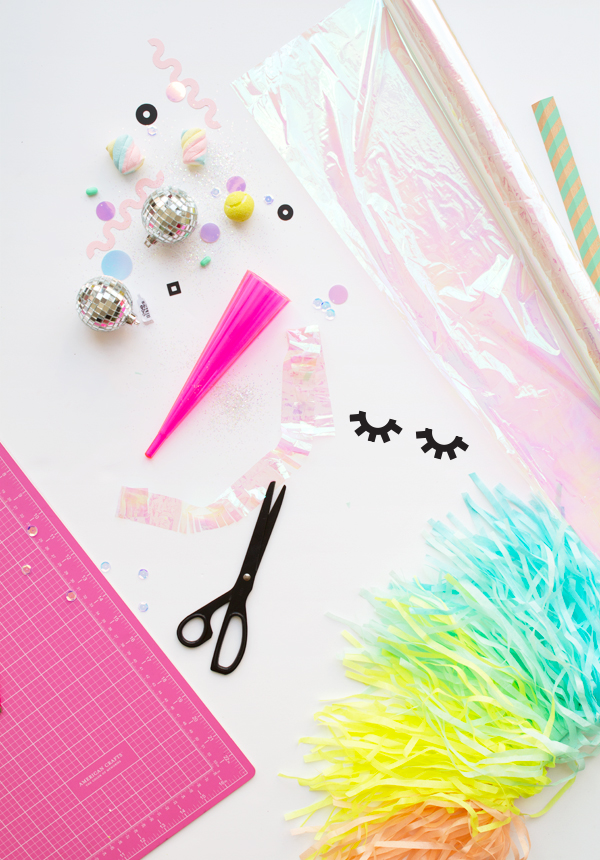
Tools and Materials: Donkey piñata, unicorn eyes printable, printer, white spray paint, scissors, x-acto knife, cutting mat, ruler, white cardstock, hot glue gun, iridescent cellophane roll, range of tissue paper in pastel colors (we’ve used pink, peach, yellow, mint and blue), neon pink plastic champagne flute
Step 1: Remove existing tissue and decorations from the donkey pinata.
Step 2: Trim the ears with scissors to make them a bit smaller.
Step 3: Spray paint the entire pinata white.
Step 5: Cut a 15” piece from the iridescent cellophane roll.
Step 6: Using an x-acto knife and cutting board, cut 1.5” strips out of the cellophane from the 15″ piece, repeat this step until enough is done to cover the entire pinata.
Step 7: Begin cutting fringe on one side of the strips, leaving some space at the top.
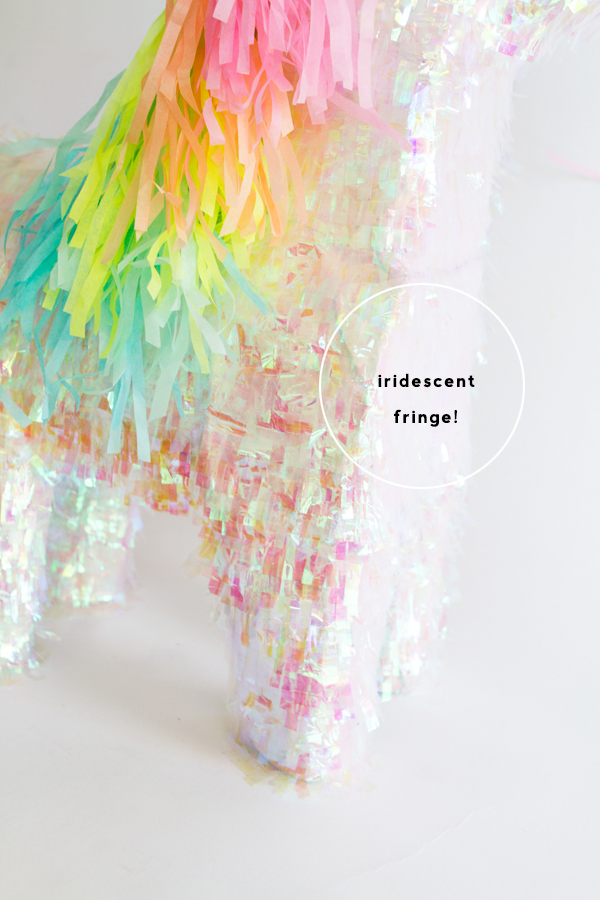
Step 8: Cover the entire pinata with iridescent cellophane fringe, start at the bottom of the legs, and work your way up. (When you get to belly, start from the middle of the underside and work up from either side.)
Step 9: Fringe long sheets of tissue paper for the mane and tail using an x-acto knife and ruler. Leave about 2″ of room at the top.
Step 10: For the mane, first measure a 3″ piece from the long side of a piece of cardstock. Cut it out, fold it in half, then fold each side in half again (in the opposite direction). Compare this piece to the height of the pinata’s neck. Trim off any part that extends longer than the neck.
Step 11: Glue together the middle crease of the cardstock then glue the fringed tissued paper (that you cut for the mane) to the outside of the cardstock on either side. (You may need to test out how much tissue paper to use before you start gluing – we found that we really only needed a 1/4 of a page of tissue paper in each color.)
Step 12: Glue the mane to the neck of the pinata. Cover over the sides of the cardstock base with extra pieces of iridescent cellophane fringe (so no one can see the base.)
Step 13: For the tail, cut out a 2.5” x 1” piece of cardstock, fold it in half then fold the edges in. Start to glue the fringed tissue paper to do the tail.
Step 14: Glue the tail to the back of the pinata.
Step 15: For the horn, detach the bottom part of the plastic champagne flute, glue it to the pinata’s forehead.
Step 16: Print out the unicorn eyes onto white paper, cut our the eyes and glue it to each side of the pinata head.
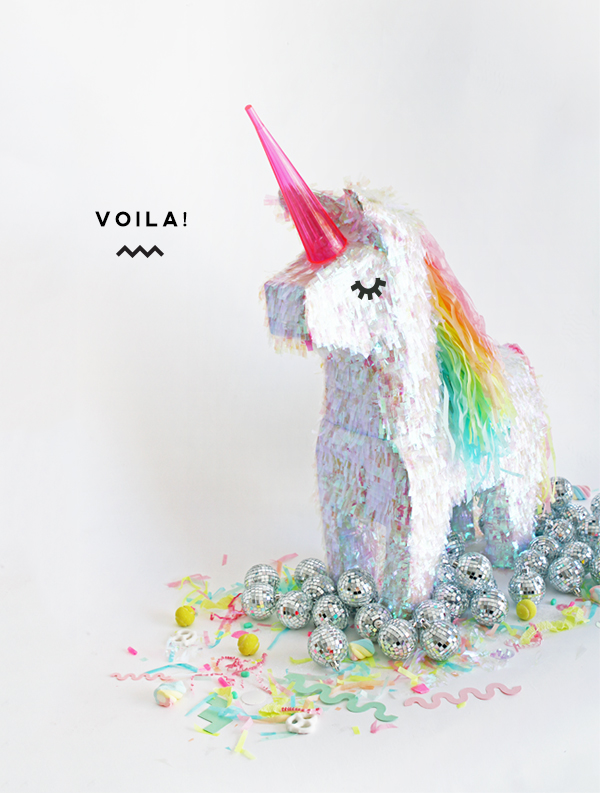
Step 17: PARTY!


Produced by Alison Piepmeyer
Crafting by Andrea Ramirez & Samantha Livermore
Original article and pictures take ohhappyday.com site
Комментариев нет:
Отправить комментарий