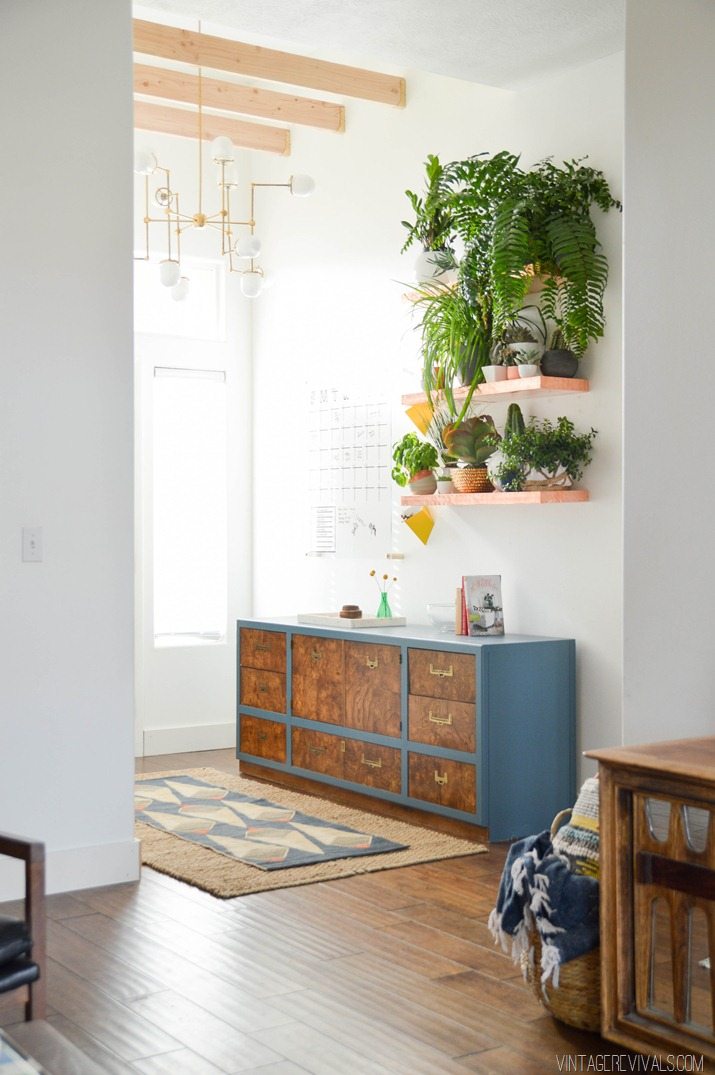
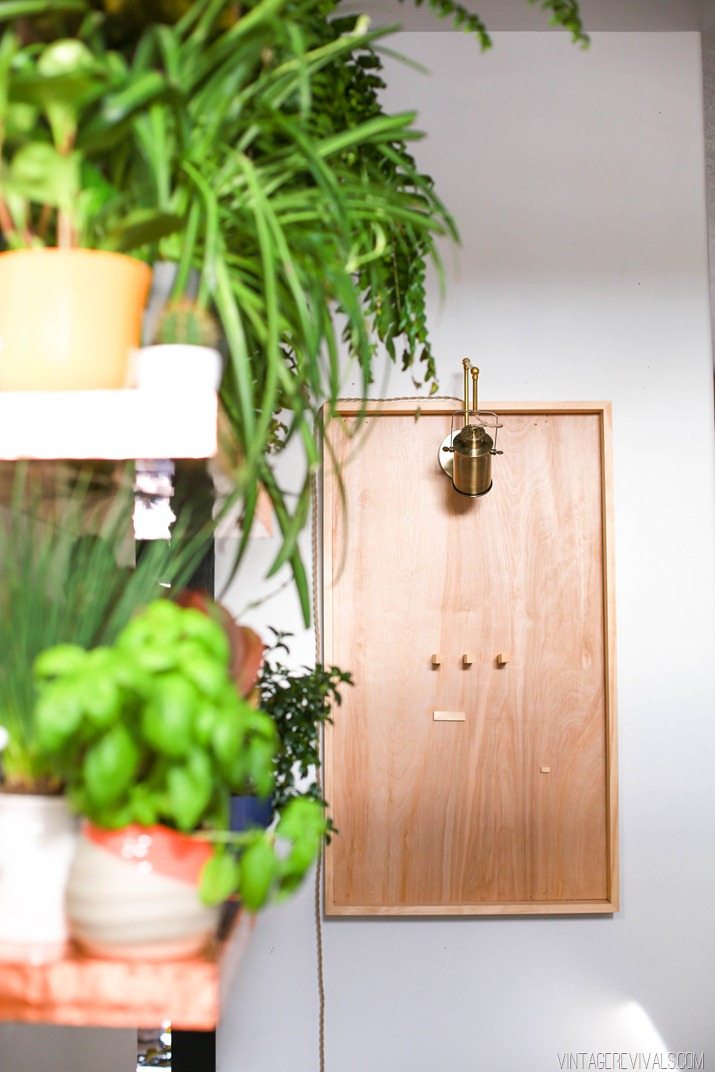
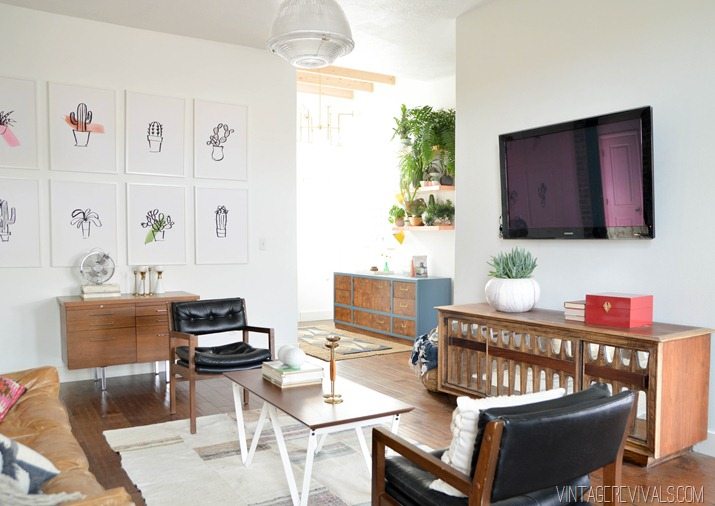
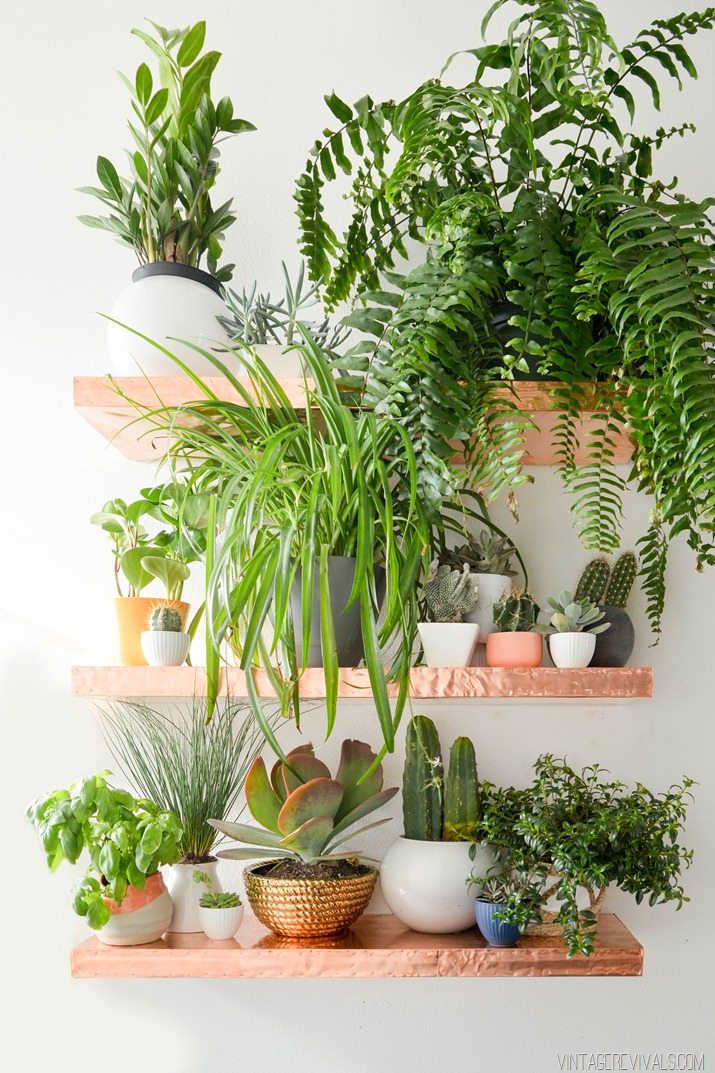
Shelves. They are one of those critical design elements in every space. I mean, there are just so many things to put on them! Right!? When I was working out the design for my living room and entryway, I knew pretty quickly that I wanted shelves in the entryway full of plants.

The original idea was to put the shelves on the wall that you see right when you walk in the door. But when we got a few installed it just made the walk space too tight. I knew it was going to be tight, I just needed to see it for myself. Being stubborn is one of my best qualities. Sometimes.
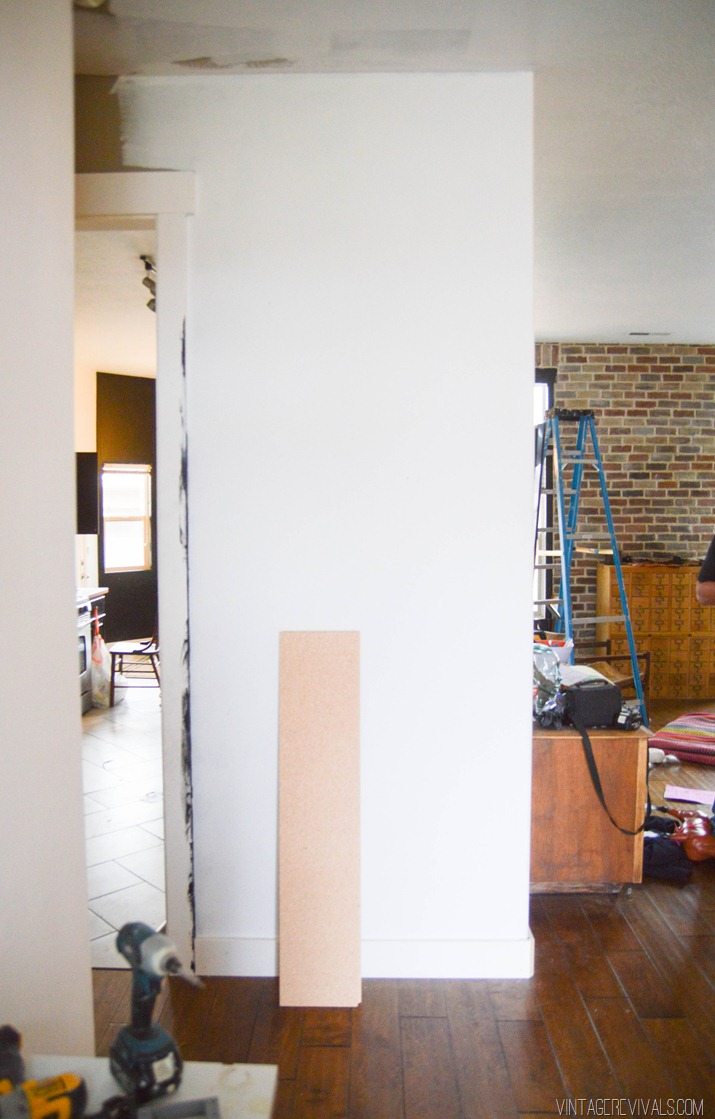
The obvious move was to bump them to the other wall in the entryway. Because plants. And also no one would hit their head. So its a win win!
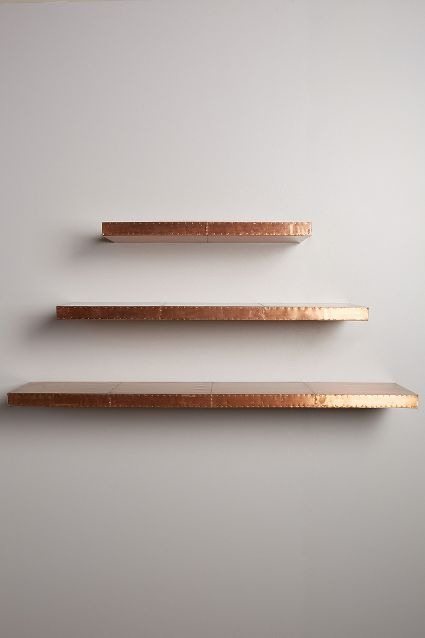
Lets chat about the shelves themselves. Have you seen these ones that Anthro used to sell? Gorgeous. Amazing. Unavailable (and expensive). Just a few ingredients in the recipe for a perfect DIY project.
The hardest part for this project was tracking down the copper sheeting. Hello. If you give me a measurement thickness that means like nothing. Do you know what 3/342 of an inch is??! Cause I sure don’t.
After a fair bit of research I came across Basic Copper. They are flipping geniuses. On their site, they have a thickness guide with videos so that you can actually see what the copper looks like, how it bends, and how it cuts. I ended up buying a roll that was 24” wide x 20’ feet long and the copper was 5 Mil thick. I overestimated on how much I would need and was originally planning on making 5 shelves (it would have been the perfect amount for 5) and I am super glad that I did. #learningcurve
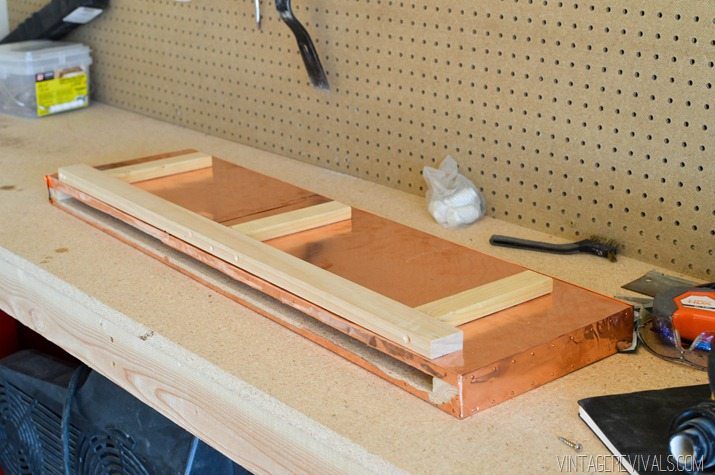
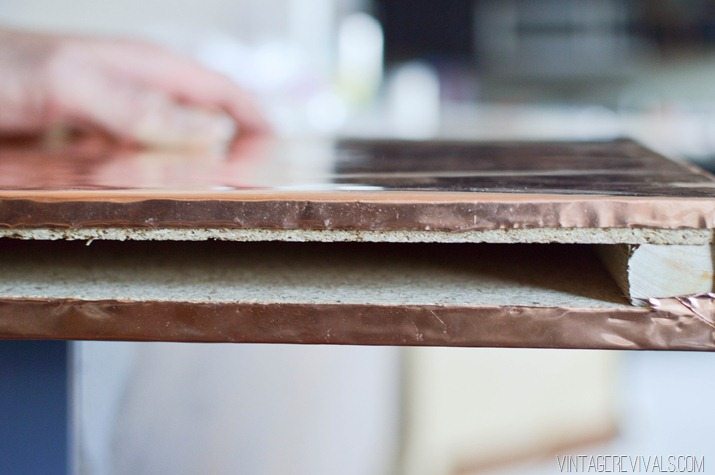
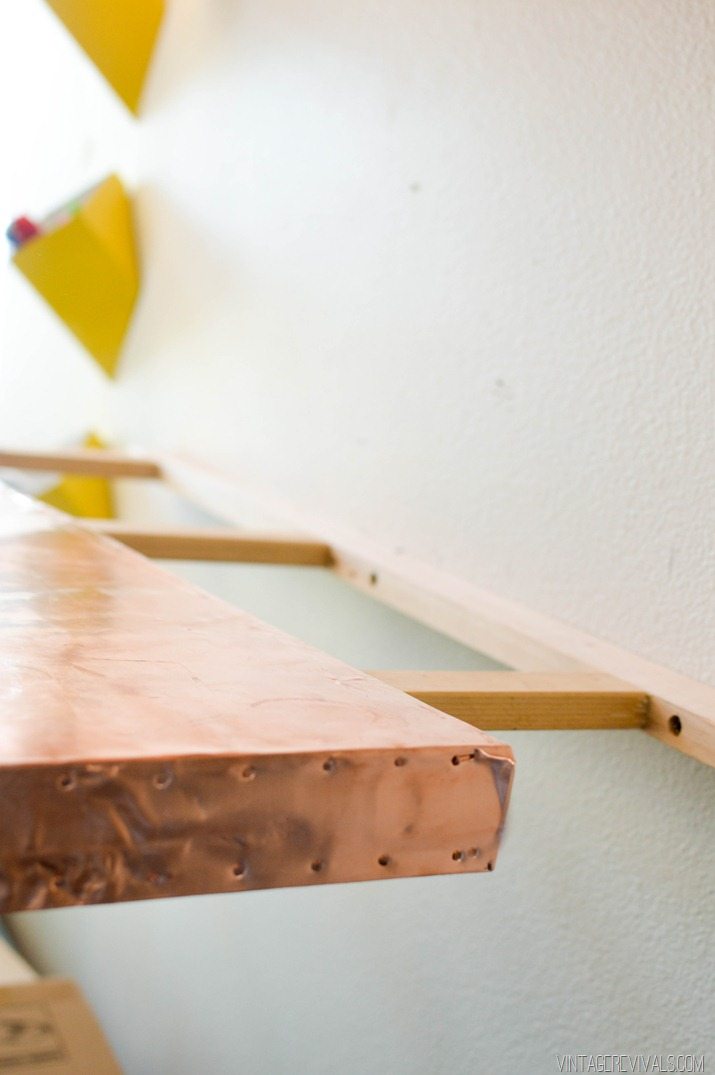
The first thing that you are going to do is construct the actual floating shelf. I used 1×2” sandwiched between 1/2” MDF that was cut 10”x36” Use wood glue (I love Titebond III) and screws to hold everything together. I laid the 1×2’s so that the long side was against the MDF.
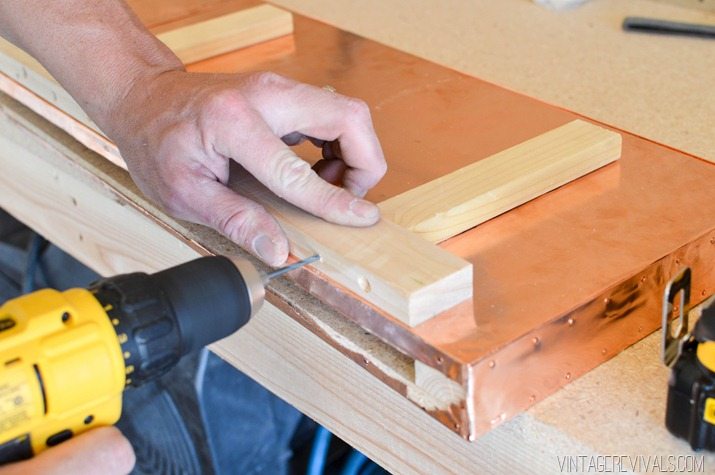
The next step is to build the inner support. It has to be able to fit in the hole that you created in the back of your shelf, so you will use 1×2” for that too.
Measure the length of your opening (it will be about 4” shorter than the length of your board) then attach 3 boards that will run the width of your shelf. This helps support and stabilize it.
Just a word of advice, you will 10000% want to use gloves while you are handling this because it will cut you faster than you can say your favorite cuss.
Measure the distance from the back of your shelf, all the way around the front and onto the back of the other side, and trim your copper. Leave just a small overhang on the sides, they don’t need to completely cover the space because we are putting a trim piece on the front. Try really hard to shape around the corners as you go.
Then you are going to use a staple gun to attach it. You might need to lower the pressure if you are using a pneumatic gun so that the staple doesn’t go all the way through the sheeting.
If the length of your shelf is longer than the width of the copper roll you can do what I did. Put one piece on, and then on the second piece fold the edge over before you attach it. That will give you a finished edge for your seam.
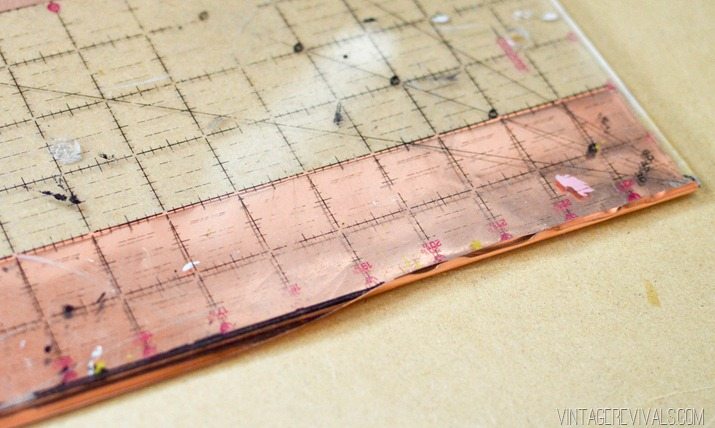
Now for the trim piece. Measure the height of your shelf and add 1/4”. Use a straight edge, a fabric cutting guide is PERFECT for this project and measure so you have 1/8” poking out. Carefully fold along the edge.
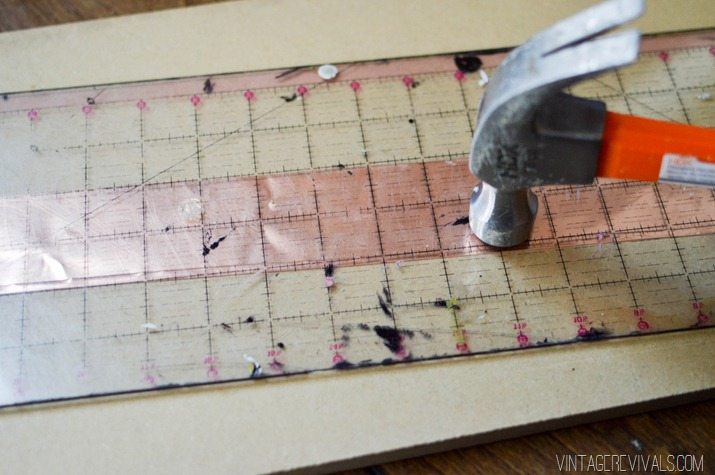
Then place your straight edge on top of the fold and tap it down flat with a hammer.
You can find teeny copper nails at Home Depot. I used 1 package for each shelf. Space them about 3/4” apart.

When its time to mount your shelf, use a stud finder and secure your brace piece onto the wall.


Attach the shelves with finishing nails or screws.

[show_shopthepost_widget id=”683318″]


Original article and pictures take vintagerevivals.com site
Комментариев нет:
Отправить комментарий