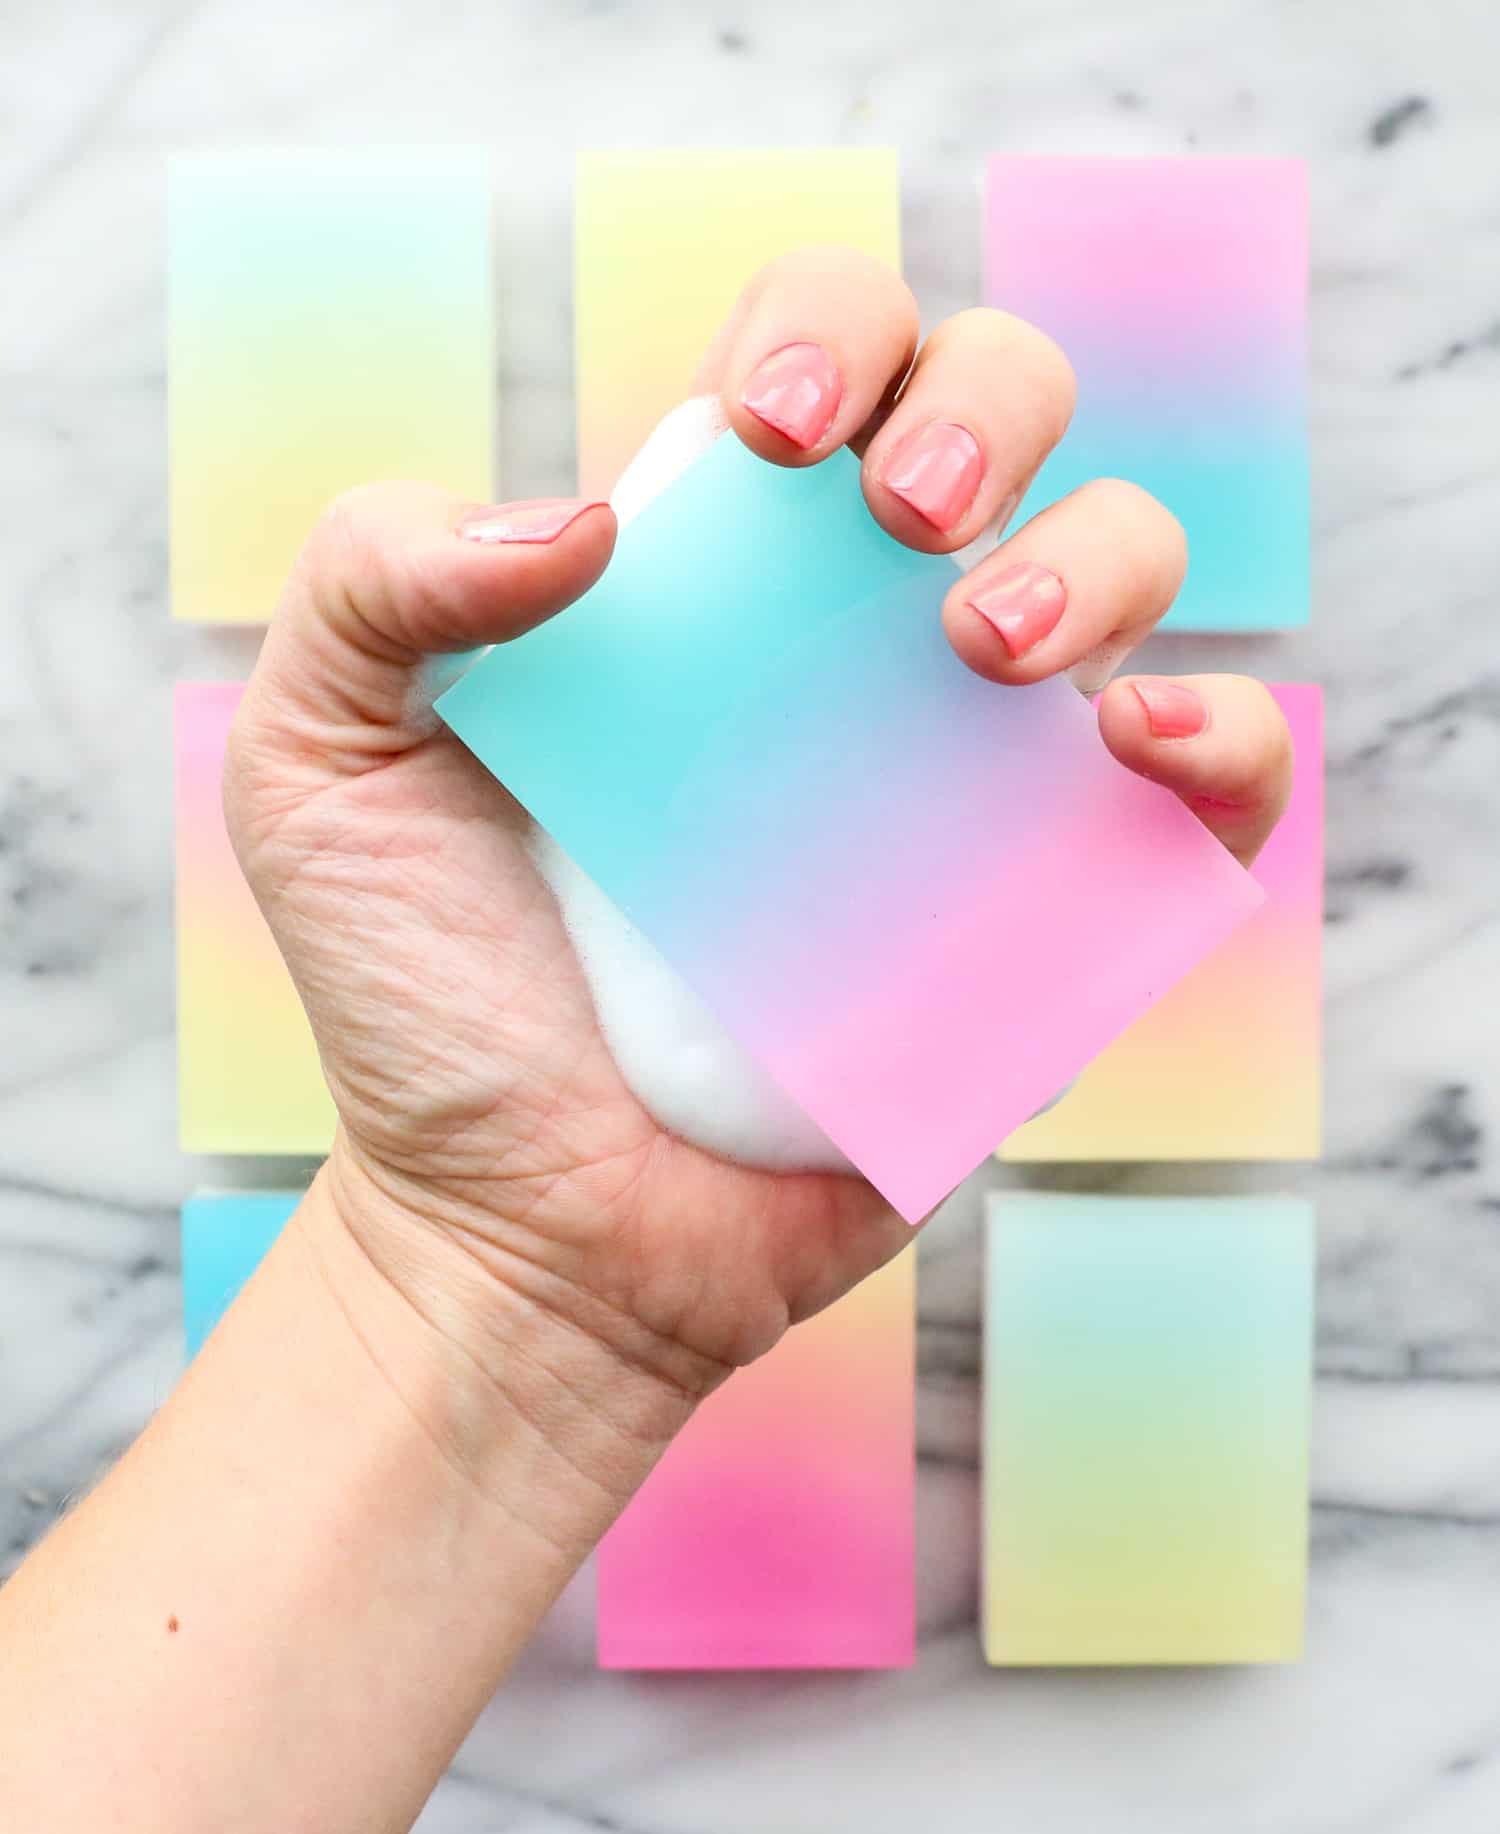
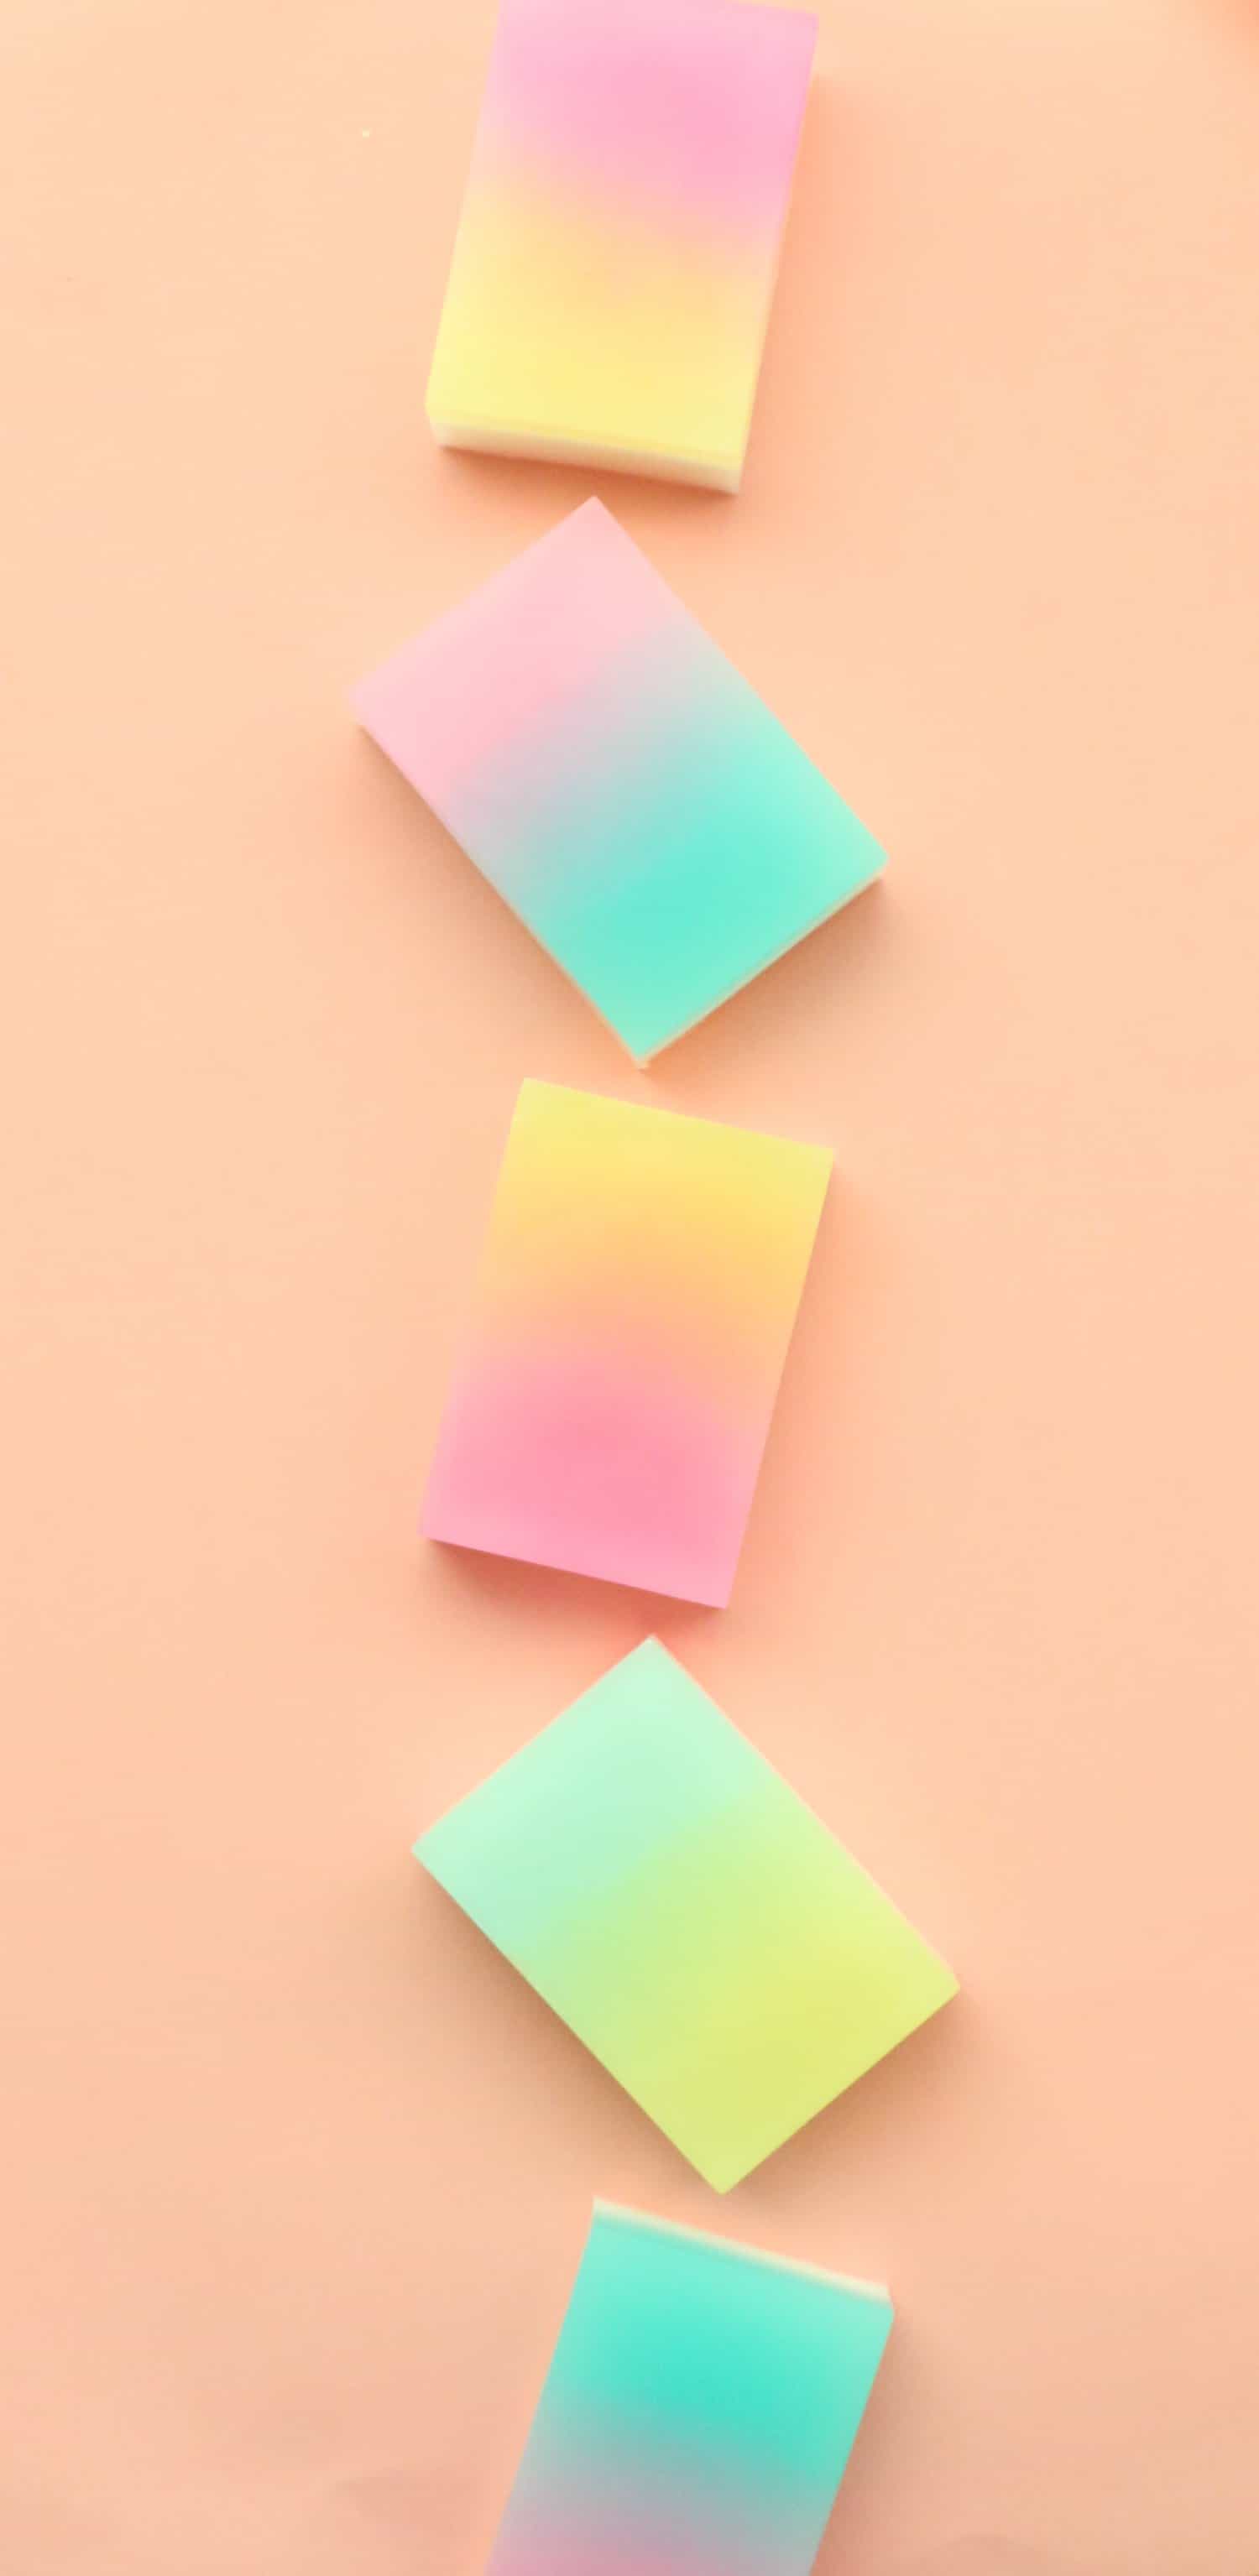
I, Kara, am a self diagnosed soap addict. But not just any soap. I love cute soap that I can DIY. While I have never tried my hand at cold process soap, the melt and pour variety is able to be manipulated into all sorts of cool shapes, colors, and designs. I have also been a bit obsessed with gradients of late, so it was only natural that I combine my two obsessions and create these DIY gradient soap bars. Not only do I love how these turned out (the colors seem so three dimensional, don’t they?), but they were also so much easier to make than they might look.
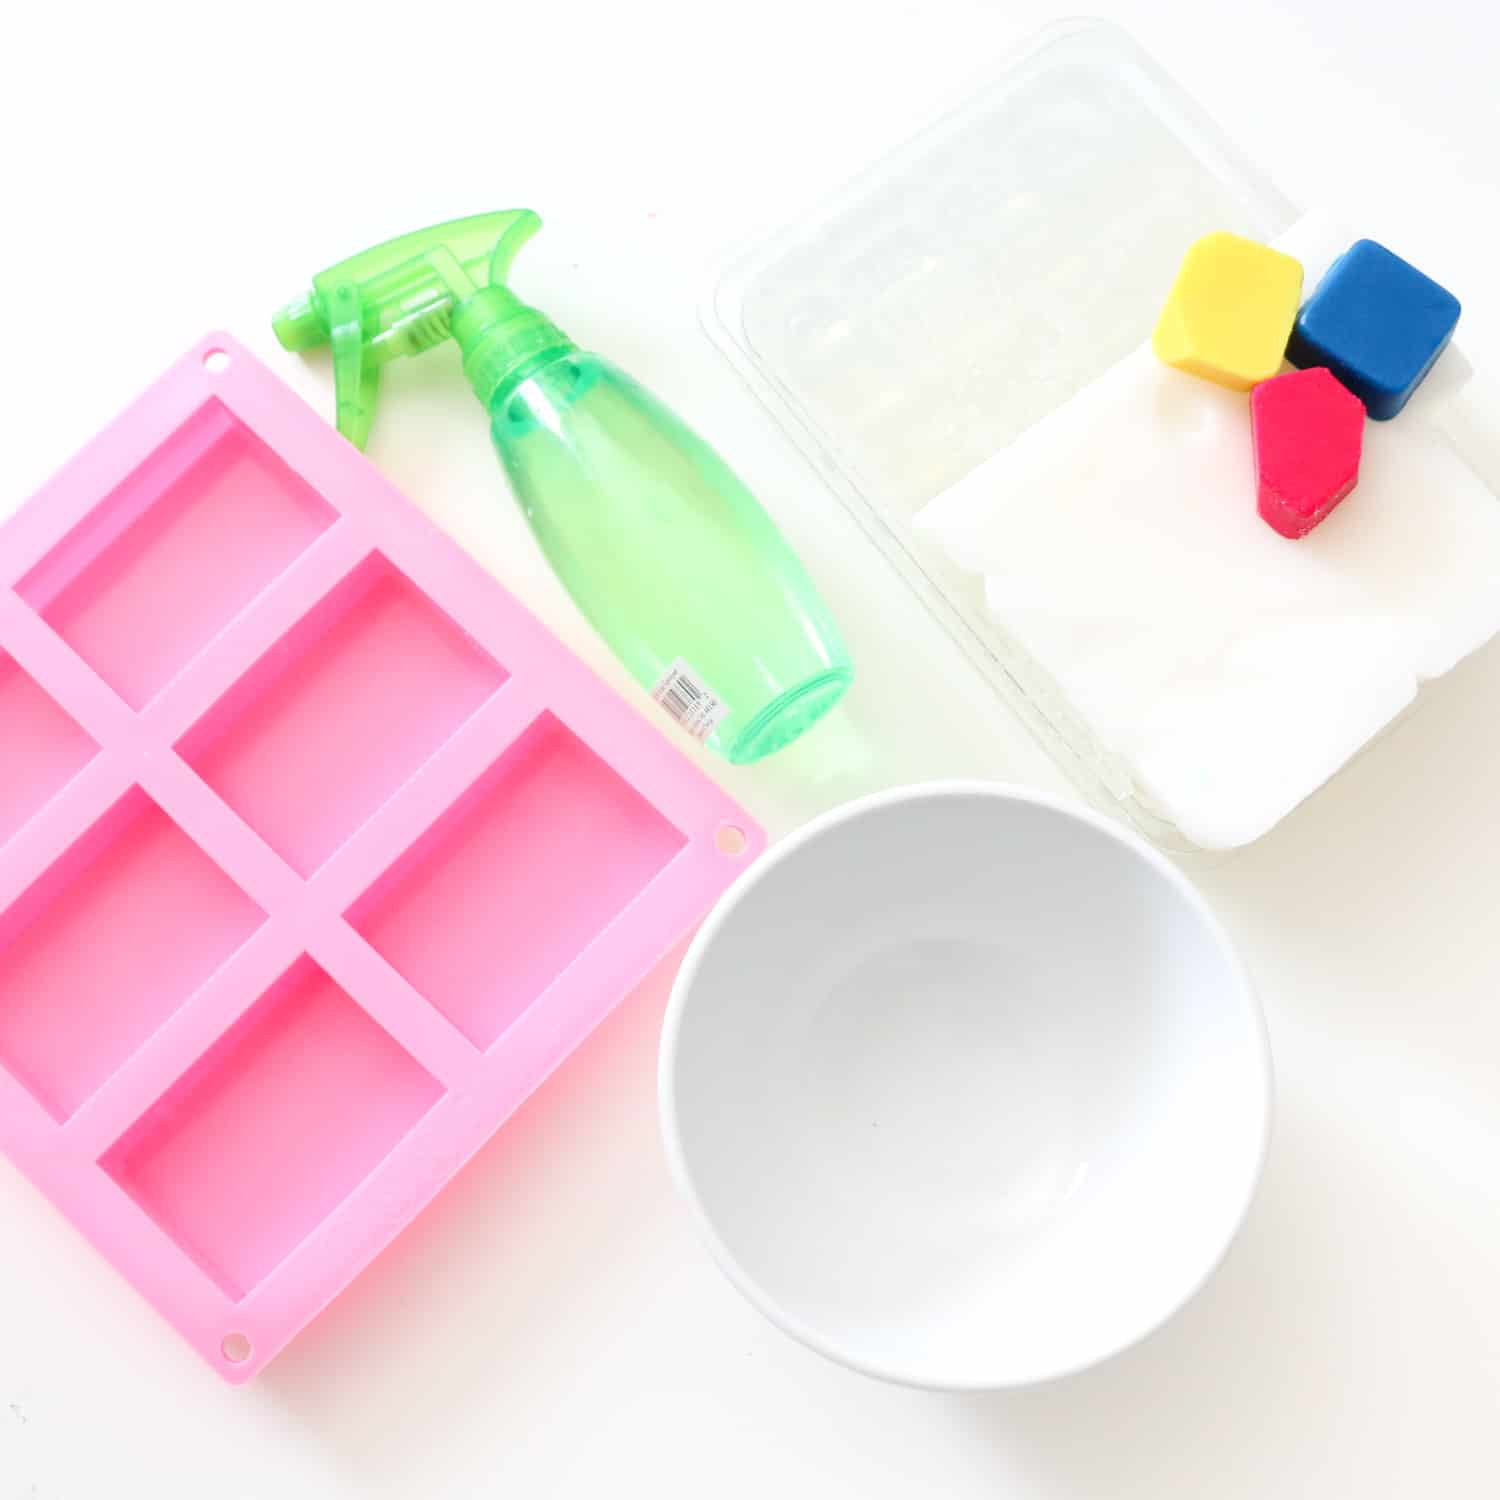
Supplies:
–clear melt and pour soap
–white melt and pour soap
–non-bleeding colorants (you will need at least 2 for the gradient effect)
–rectangular silicone soap mold
-fragrance oil
-spray bottle filled with rubbing alcohol
-microwave safe bowl
-spoon and knife
-slim book to use as a riser
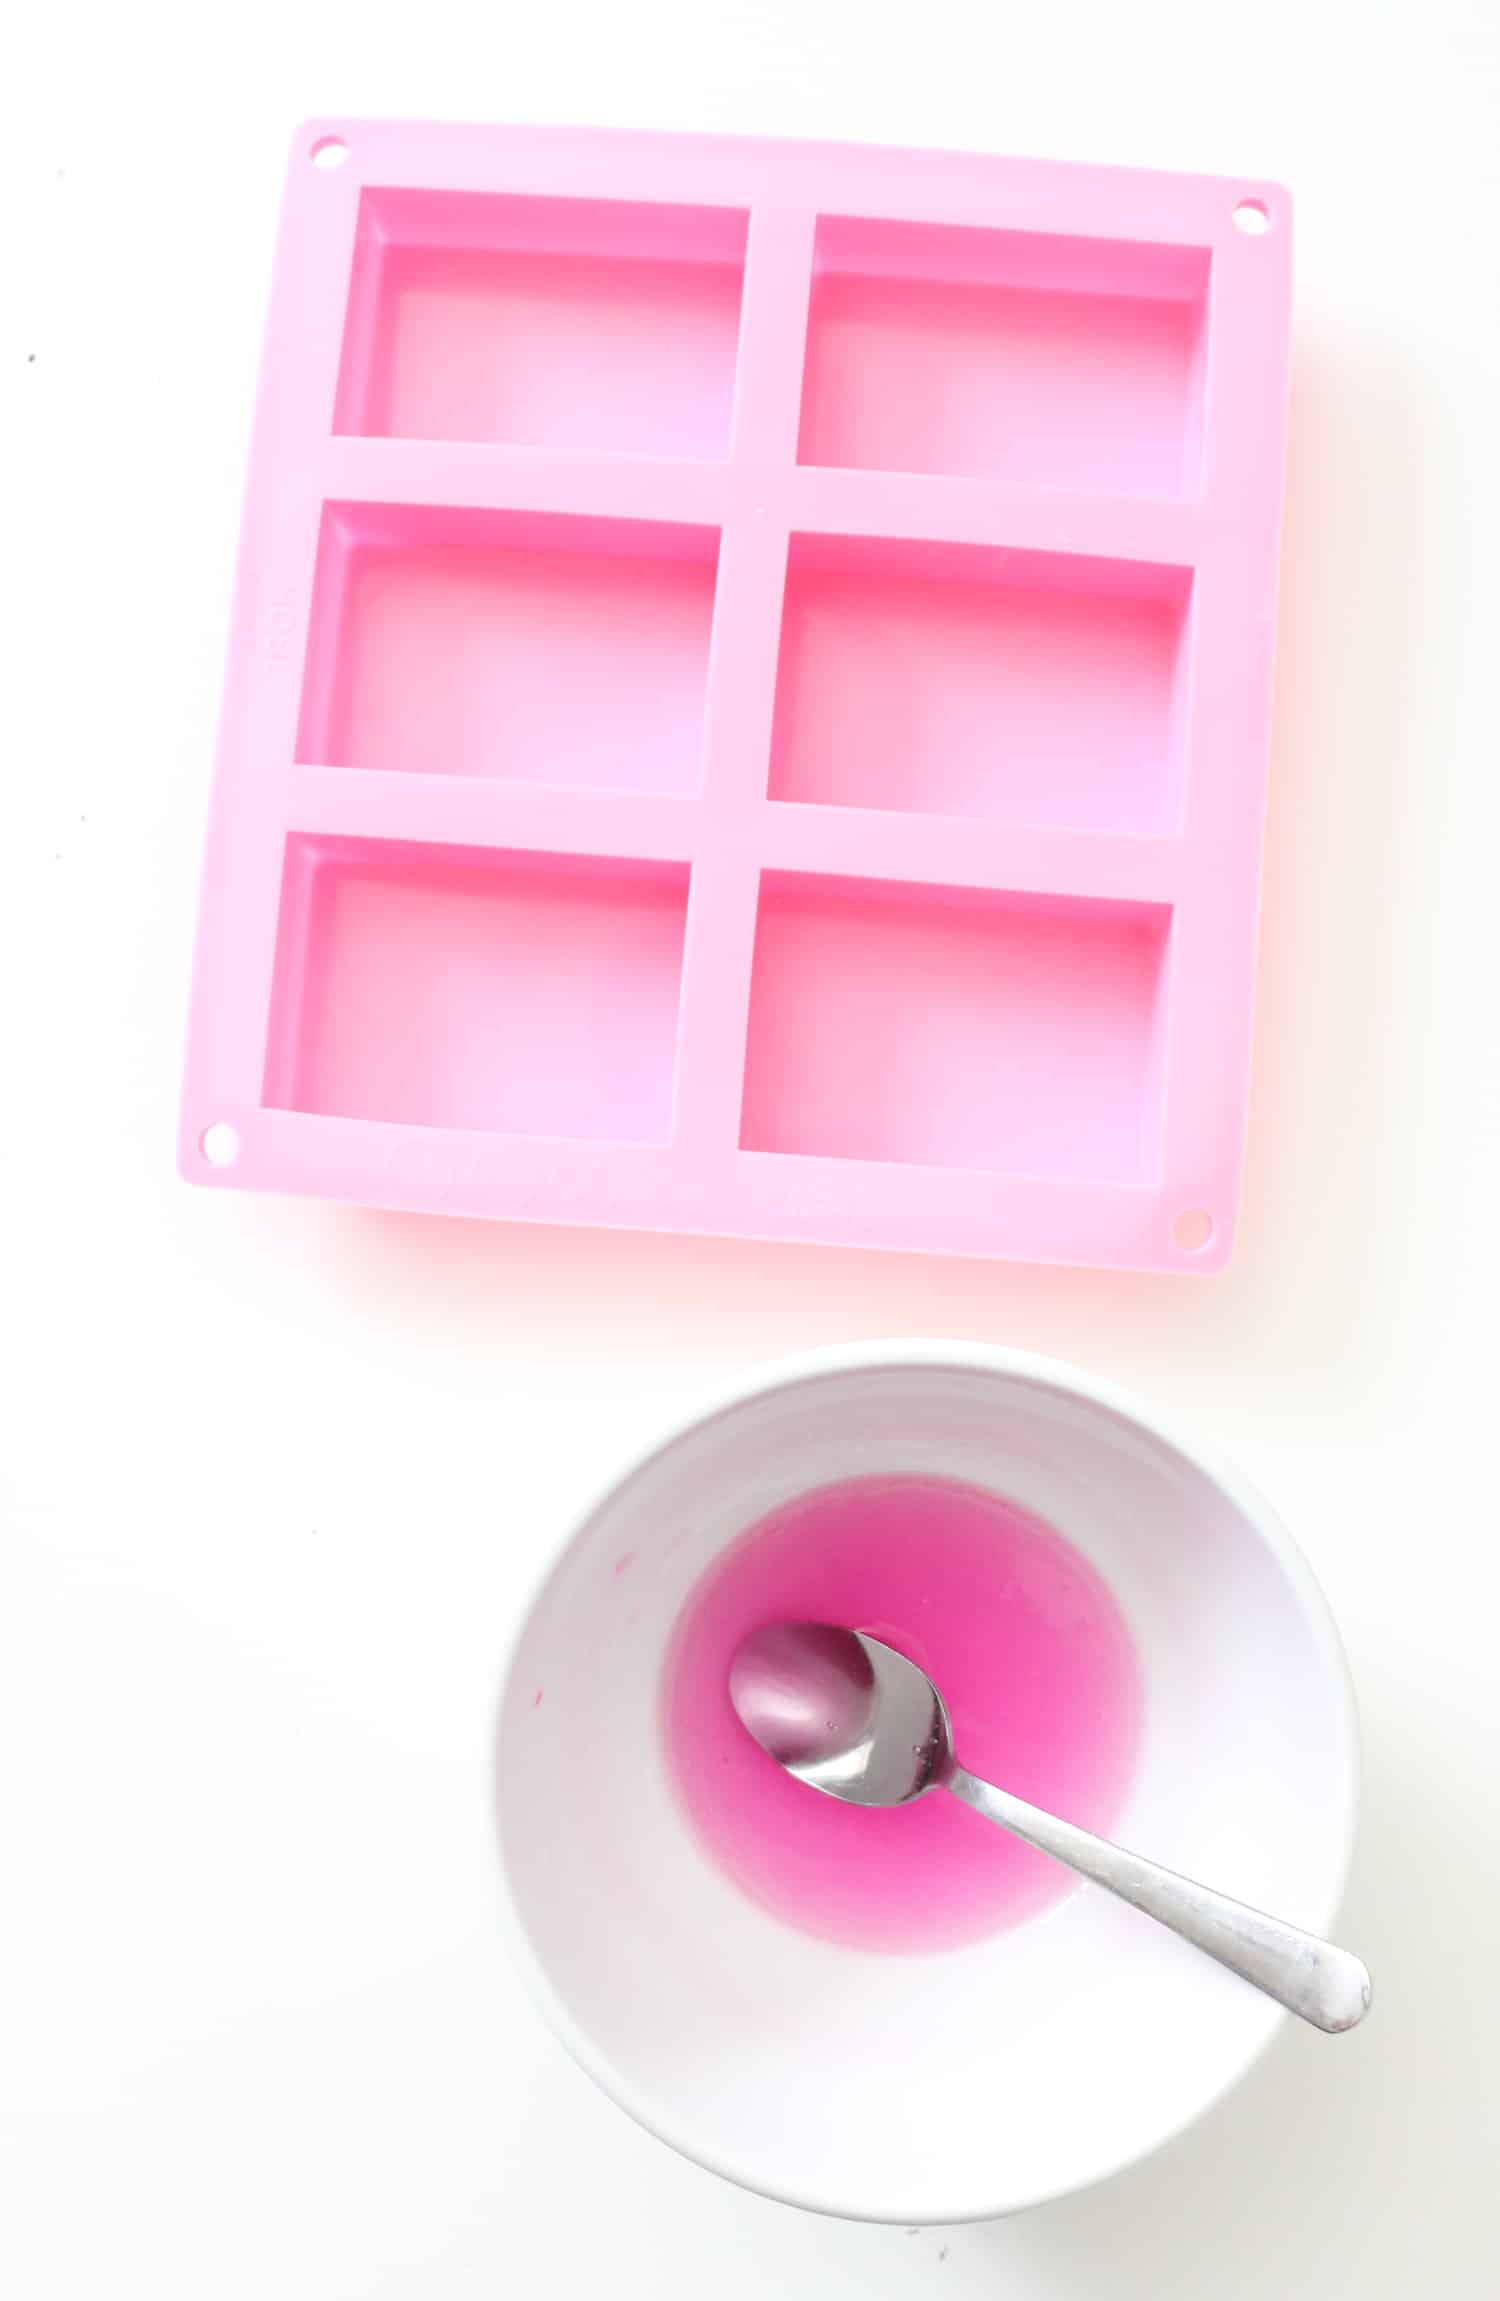
Step One: Cut up 1/2 cup of clear soap and melt it for 15-20 seconds in the microwave. Stir and microwave again if needed to just melt the soap but don’t let it boil. Add your colorant (I used a tiny sliver of a solid block colorant, but a few drops of liquid colorant also works), and stir to combine.
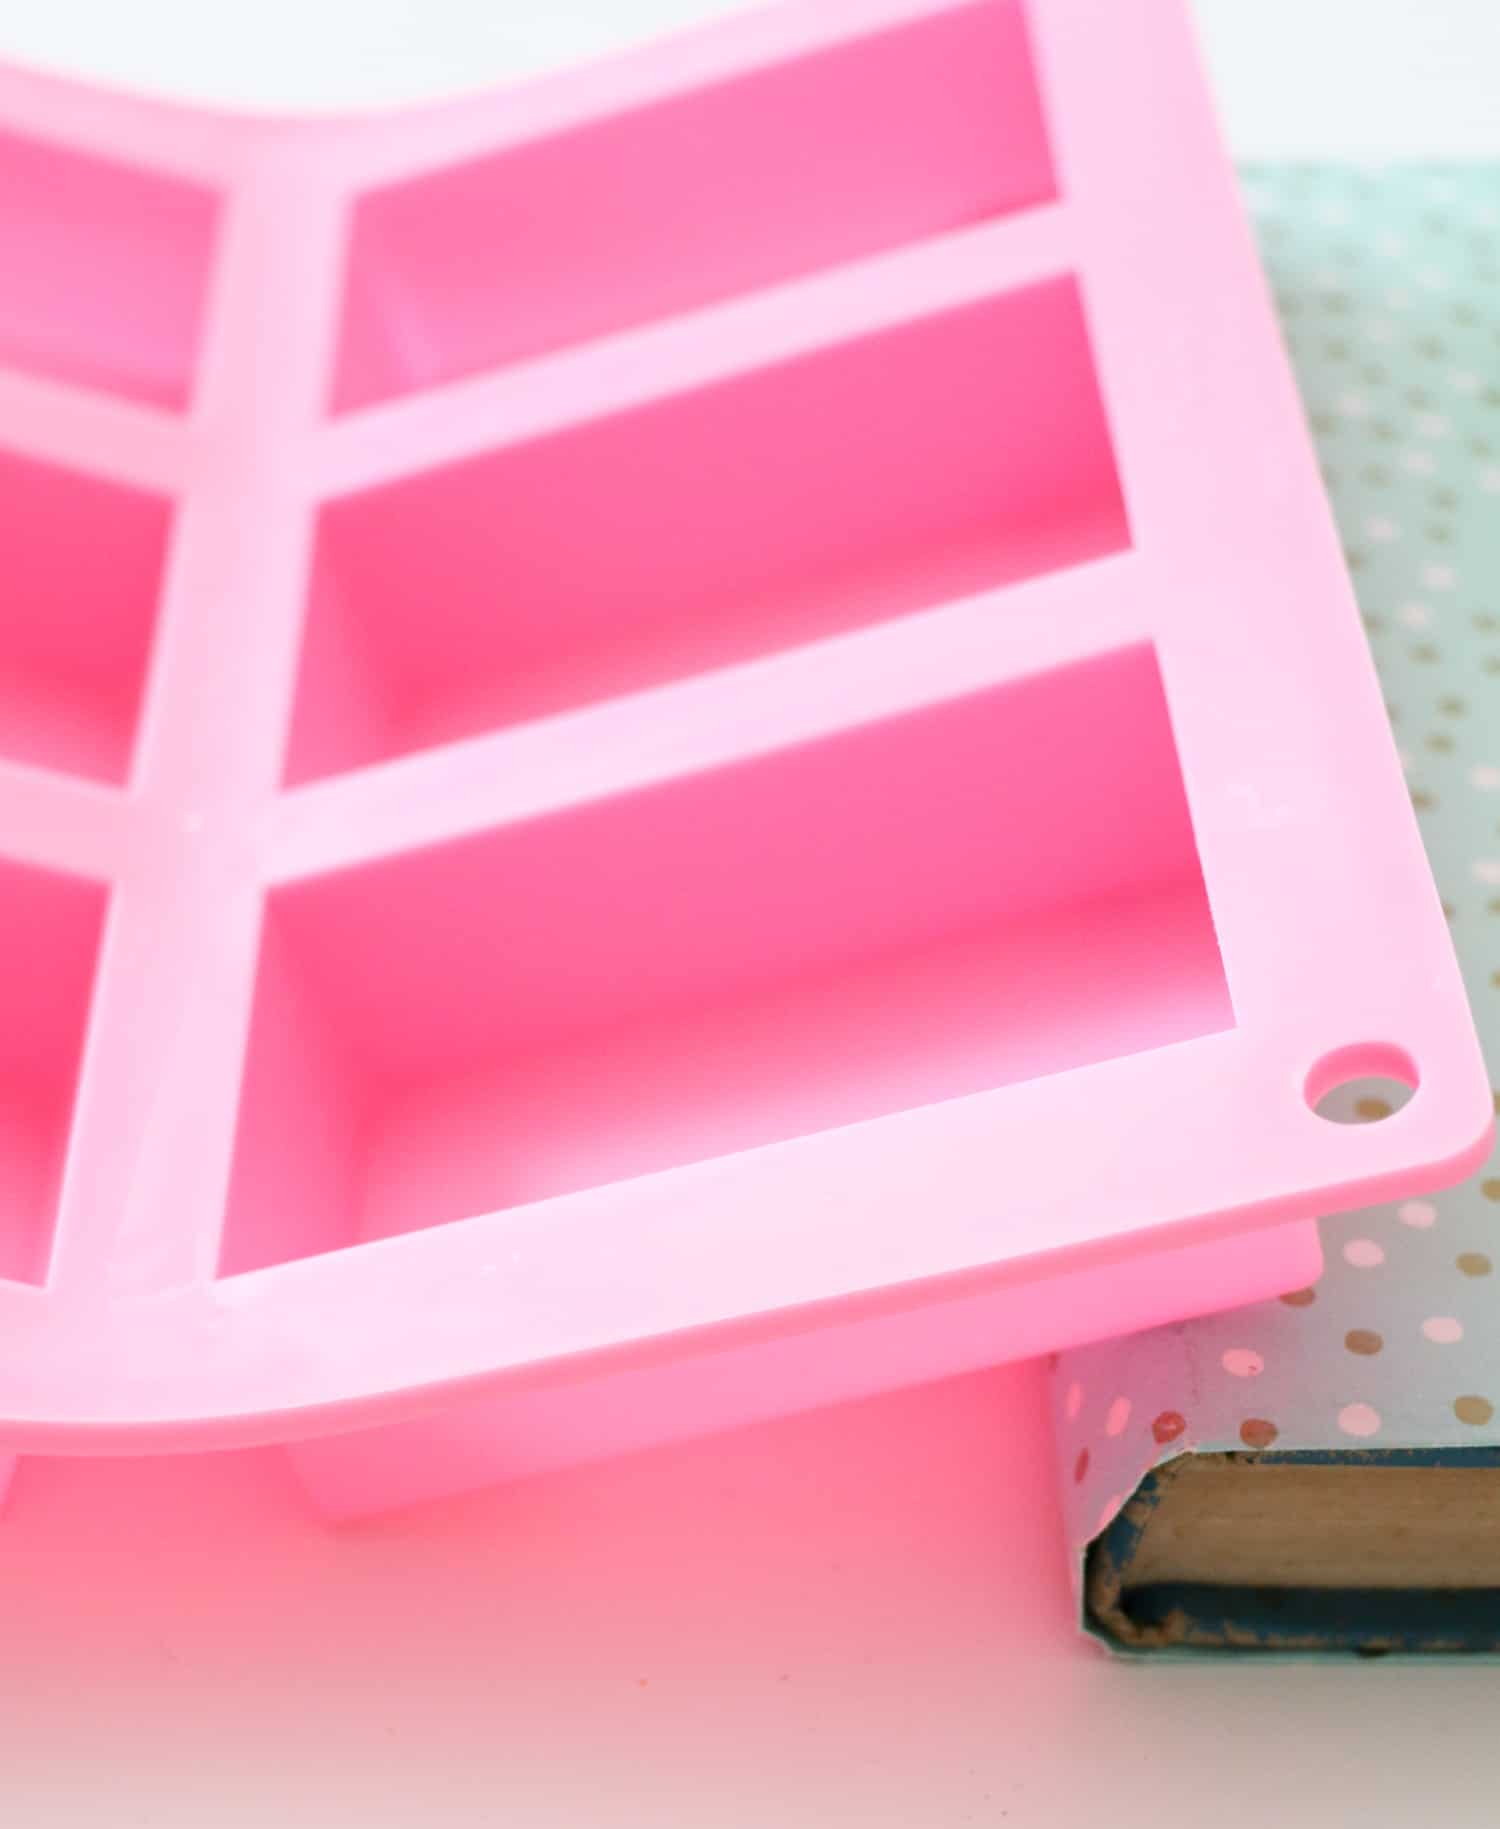
Step Two: Tip your mold up using a slim book on each end, and pour your soap into one side of each rectangle mold until it reaches about 3/4 of the way to the other side. Now spritz with the rubbing alcohol to get rid of any air bubbles and smooth out the soap. Repeat with the rest of your soap and mold cavities. Let the soap cool for 20 minutes.
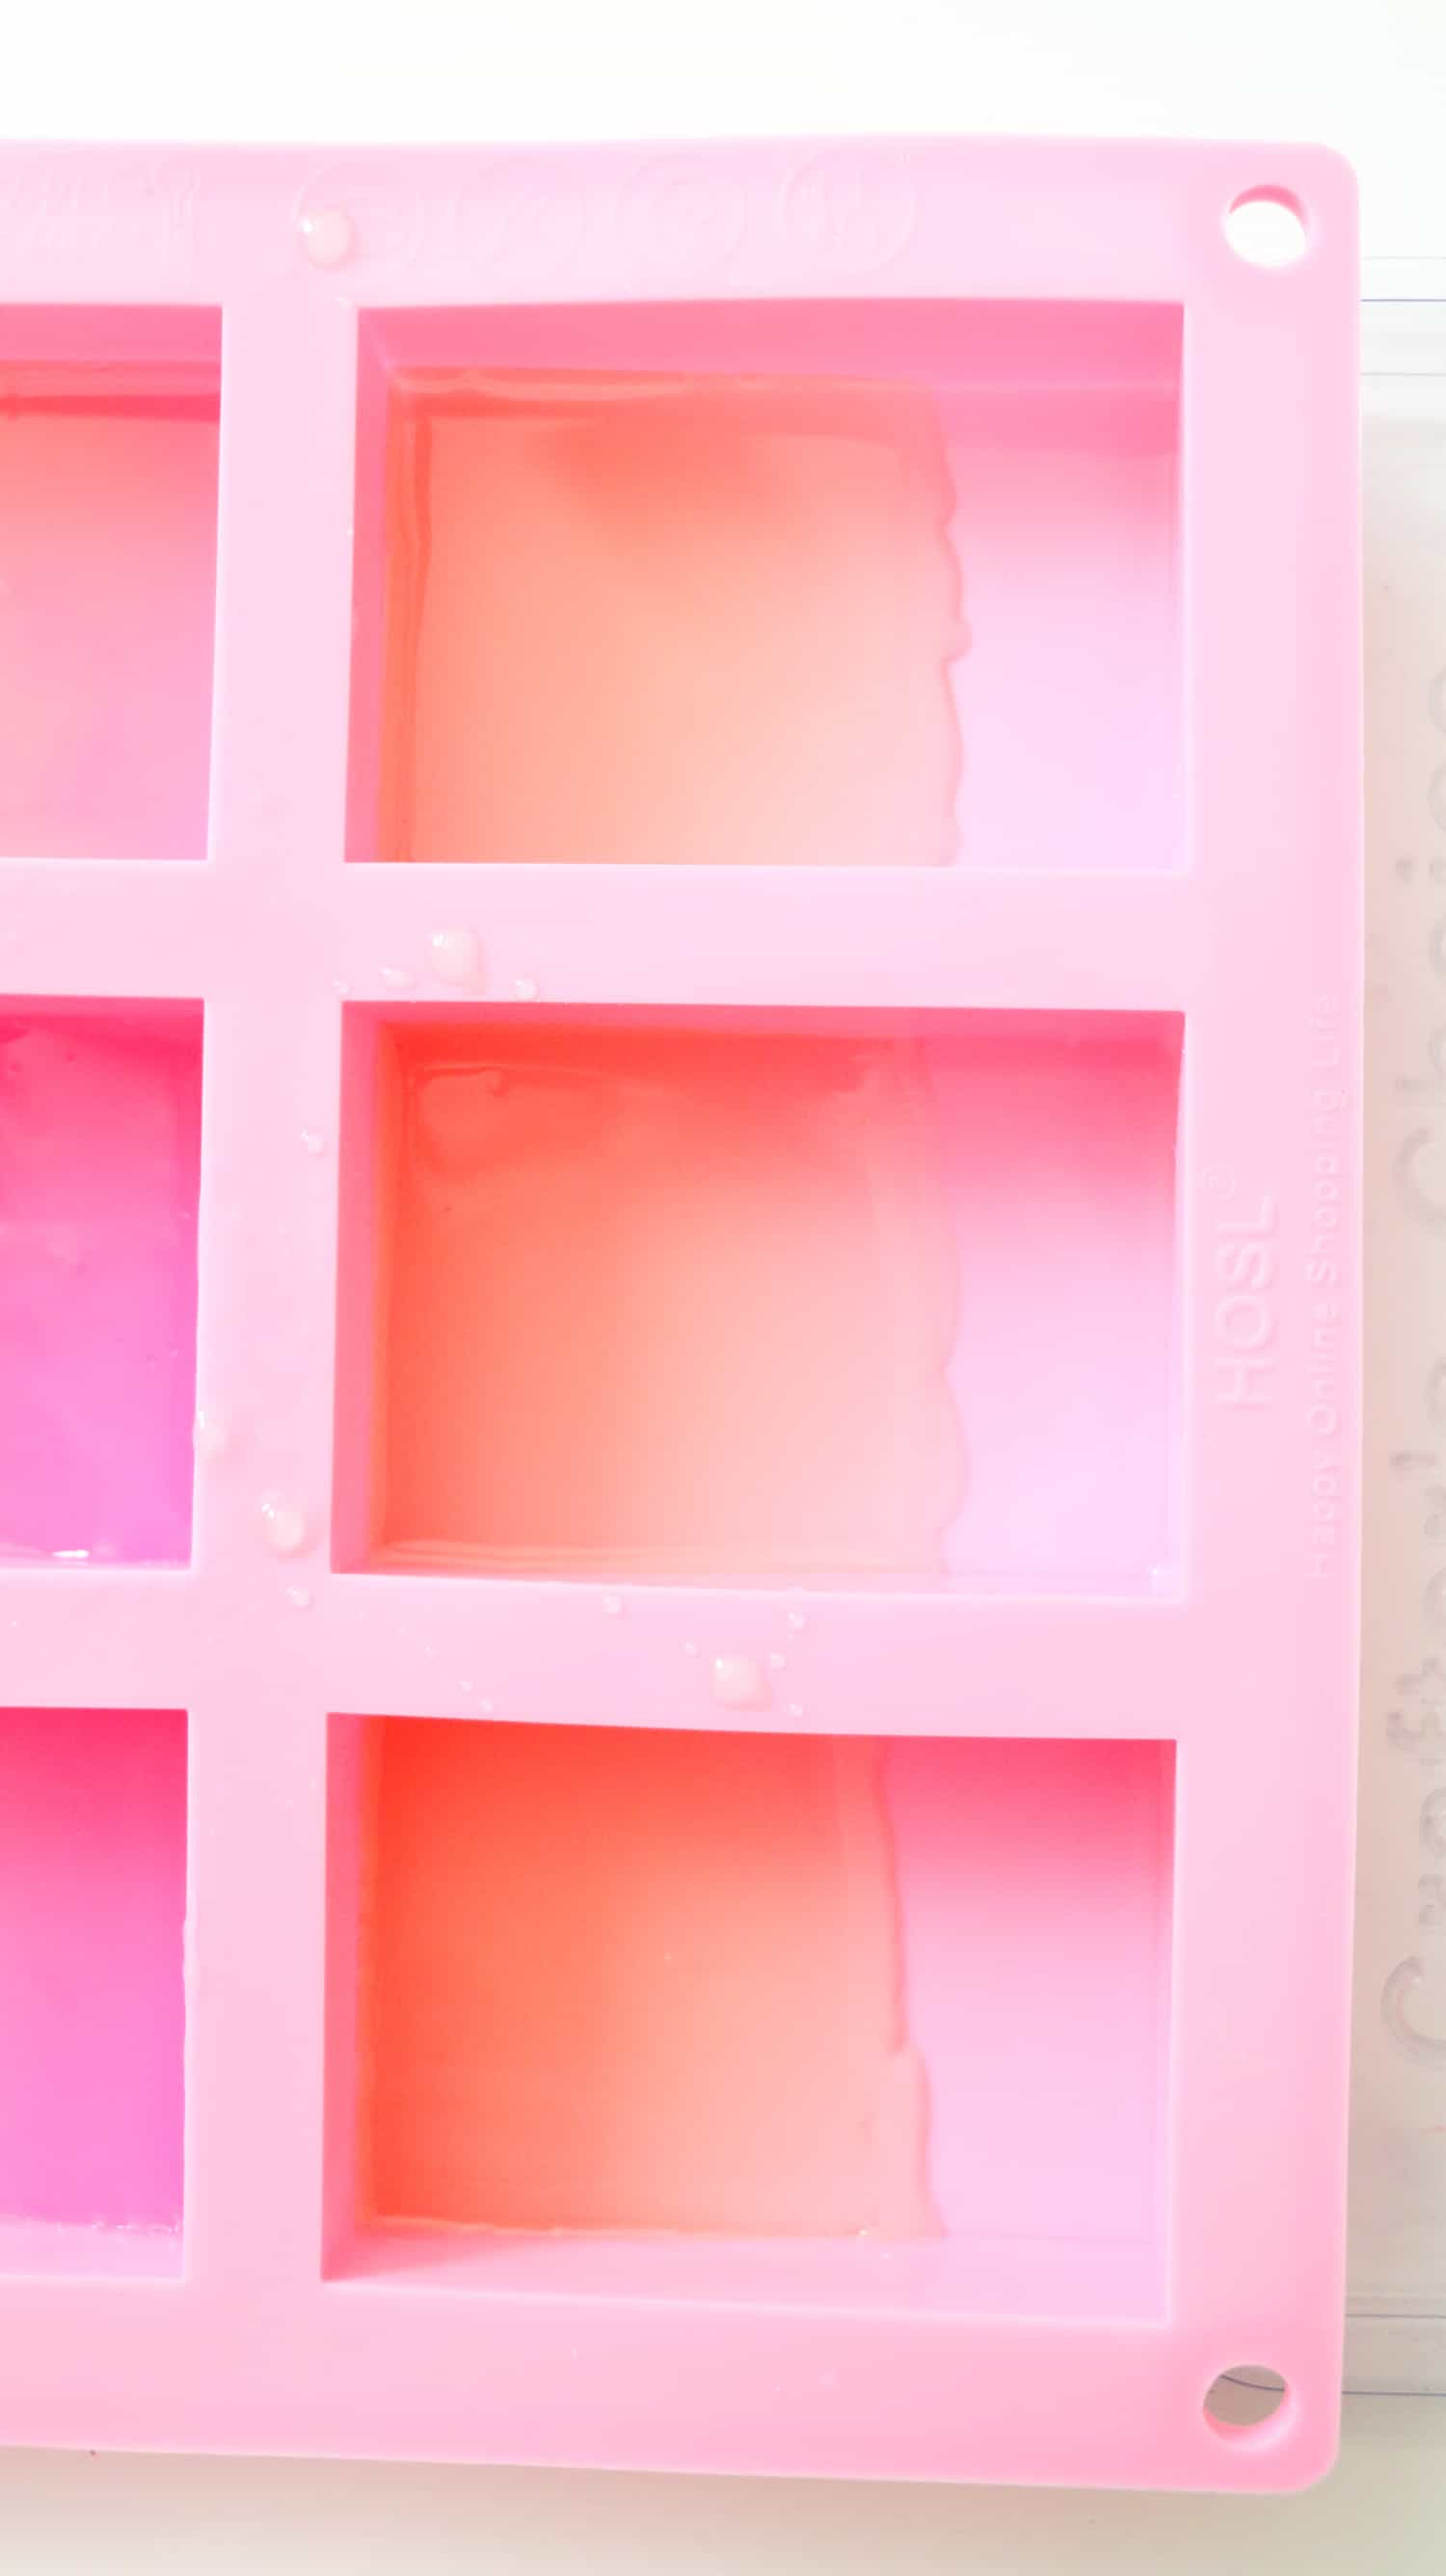
Step Three: Repeat the melting and coloring step with another 1/2 cup of clear soap and a new color. Remove the book riser from under the mold, spritz the soap with more rubbing alcohol (this ensures the soap layers will stick together), and pour in your next color on the opposite side of the first color until it comes about 3/4 of the way up on the first color.
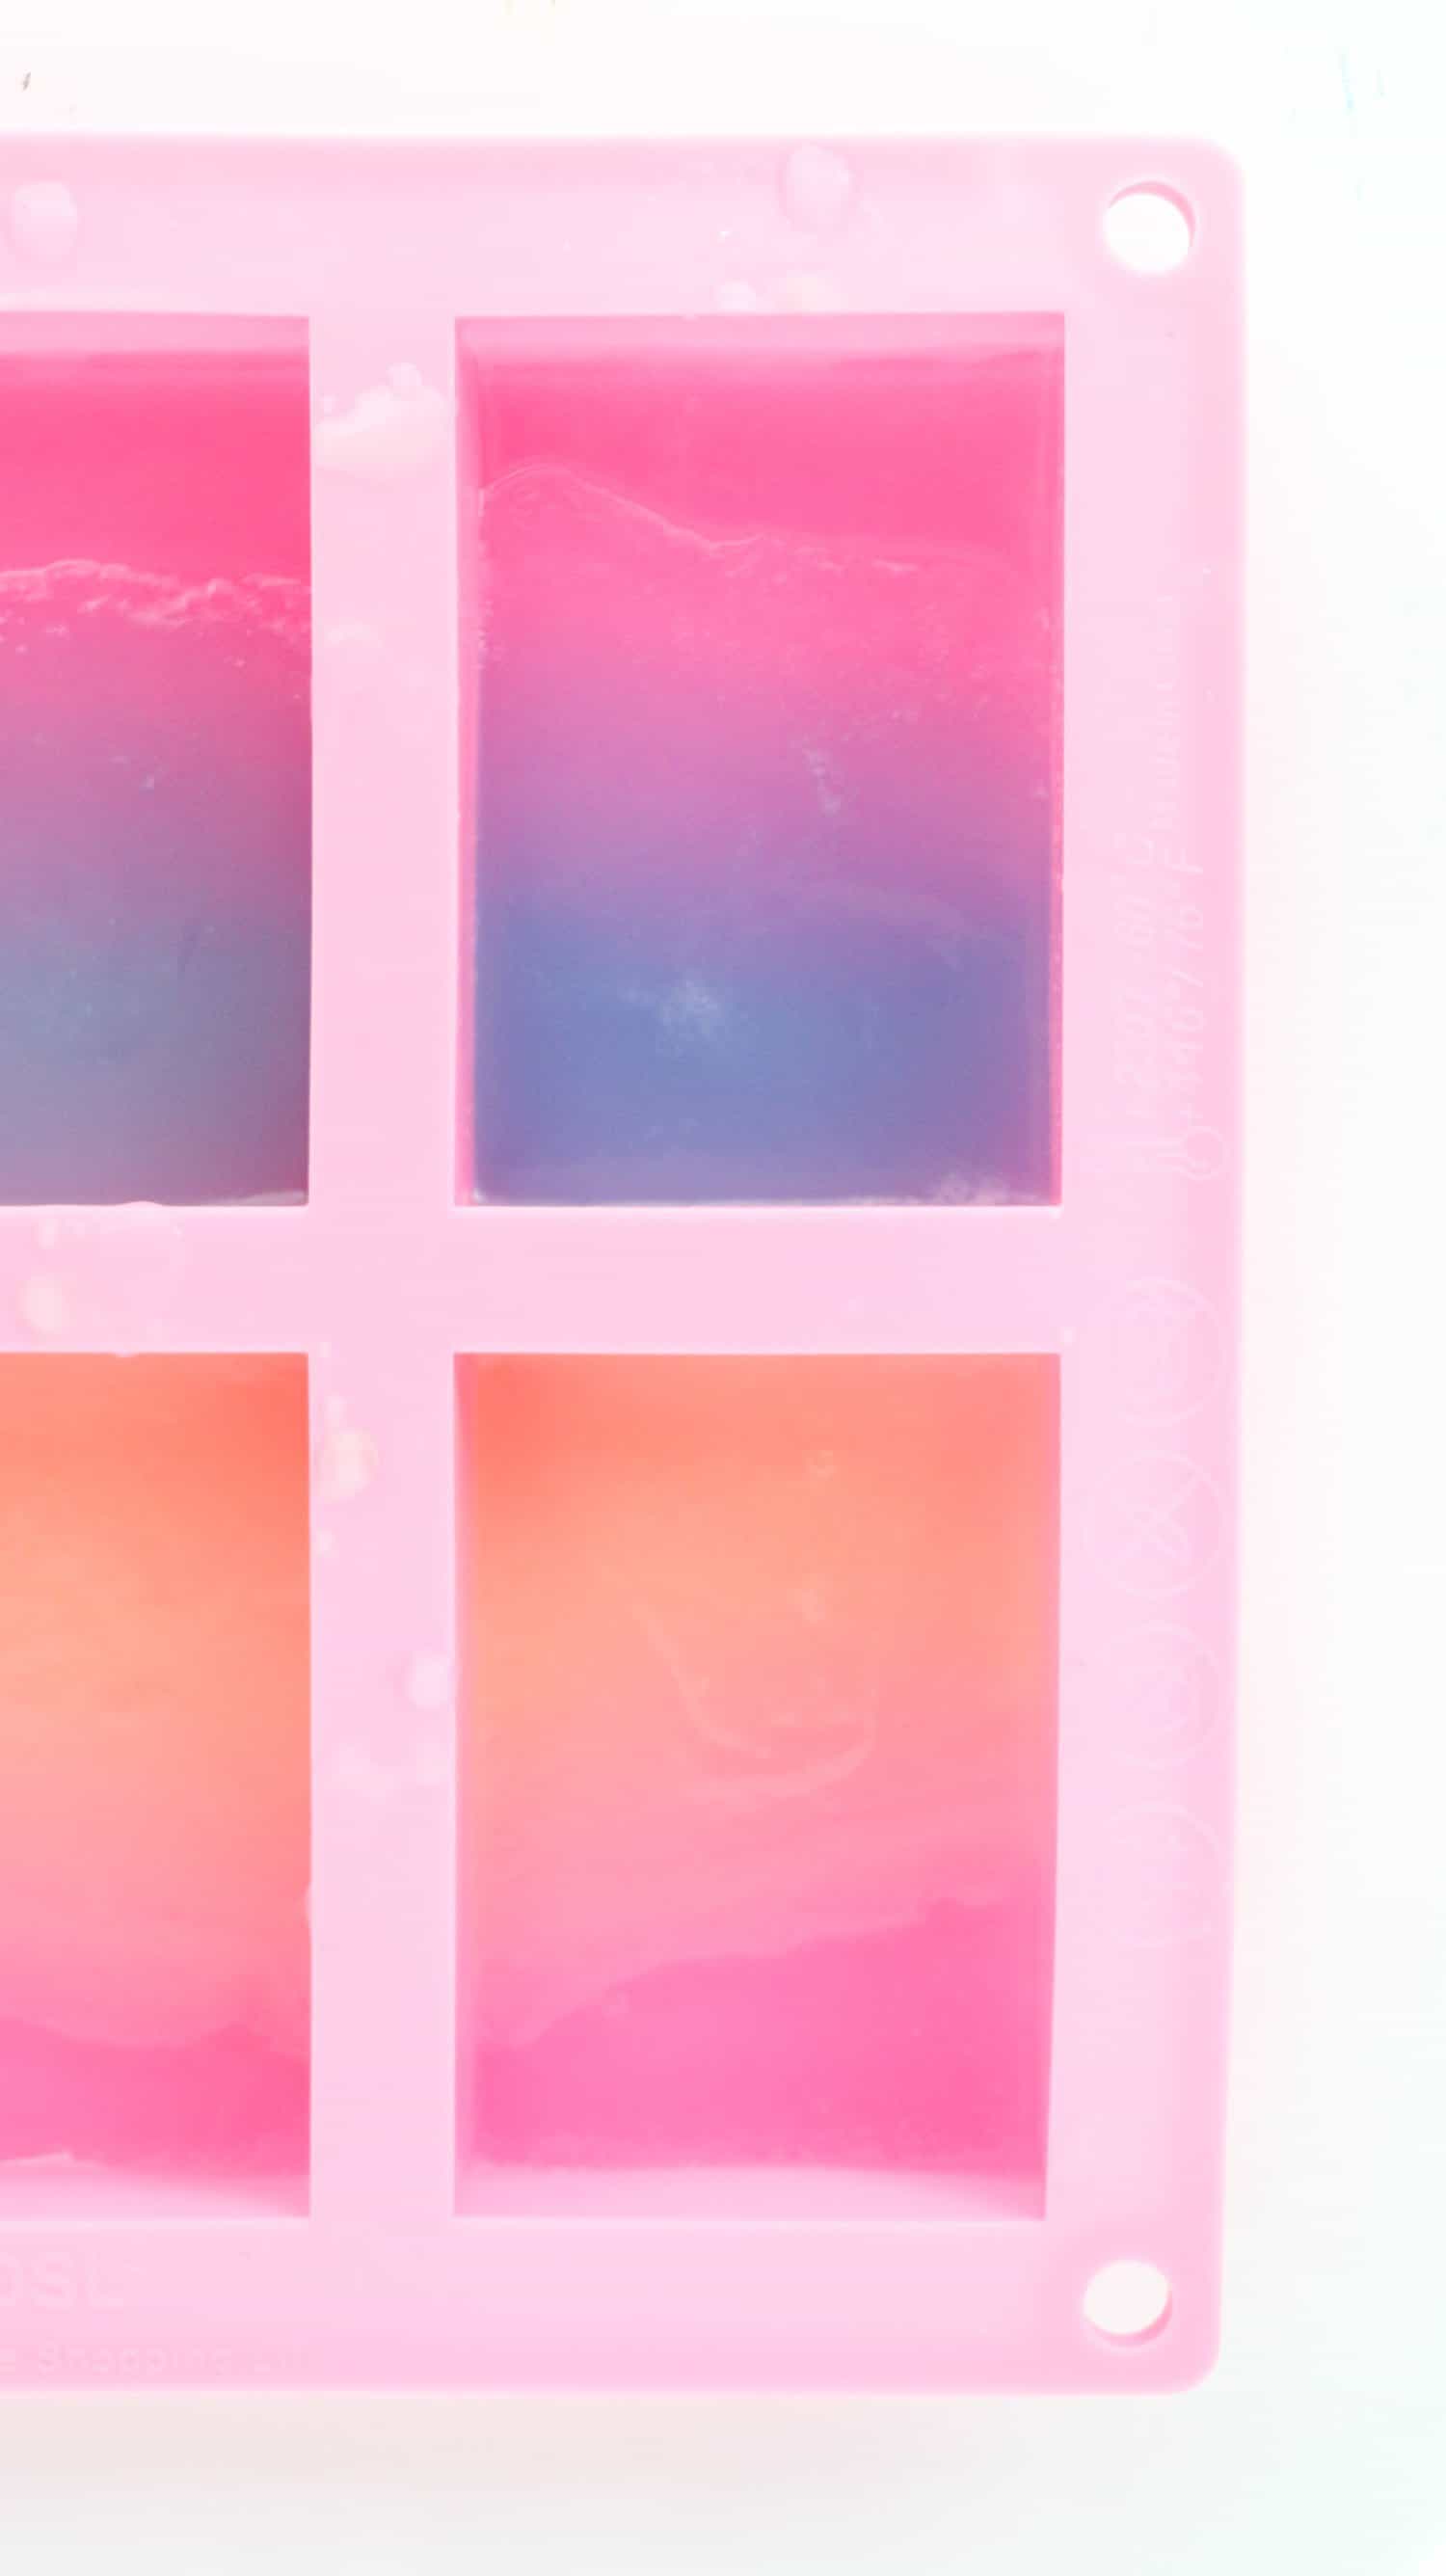
Step Four: Let your new layer of soap cool for 20 minutes. Once cool, cut up 3-4 cups of your white soap into 1″ chunks, and melt in the microwave in 20 second intervals until just melted. Stir to make sure all the pieces are melted, and then add in a few drops of your fragrance oil. Spritz the gradient soap in the mold with more rubbing alcohol and pour on your white soap until it reaches the top of the mold. Let this white soap cool over night or for at least a few hours.
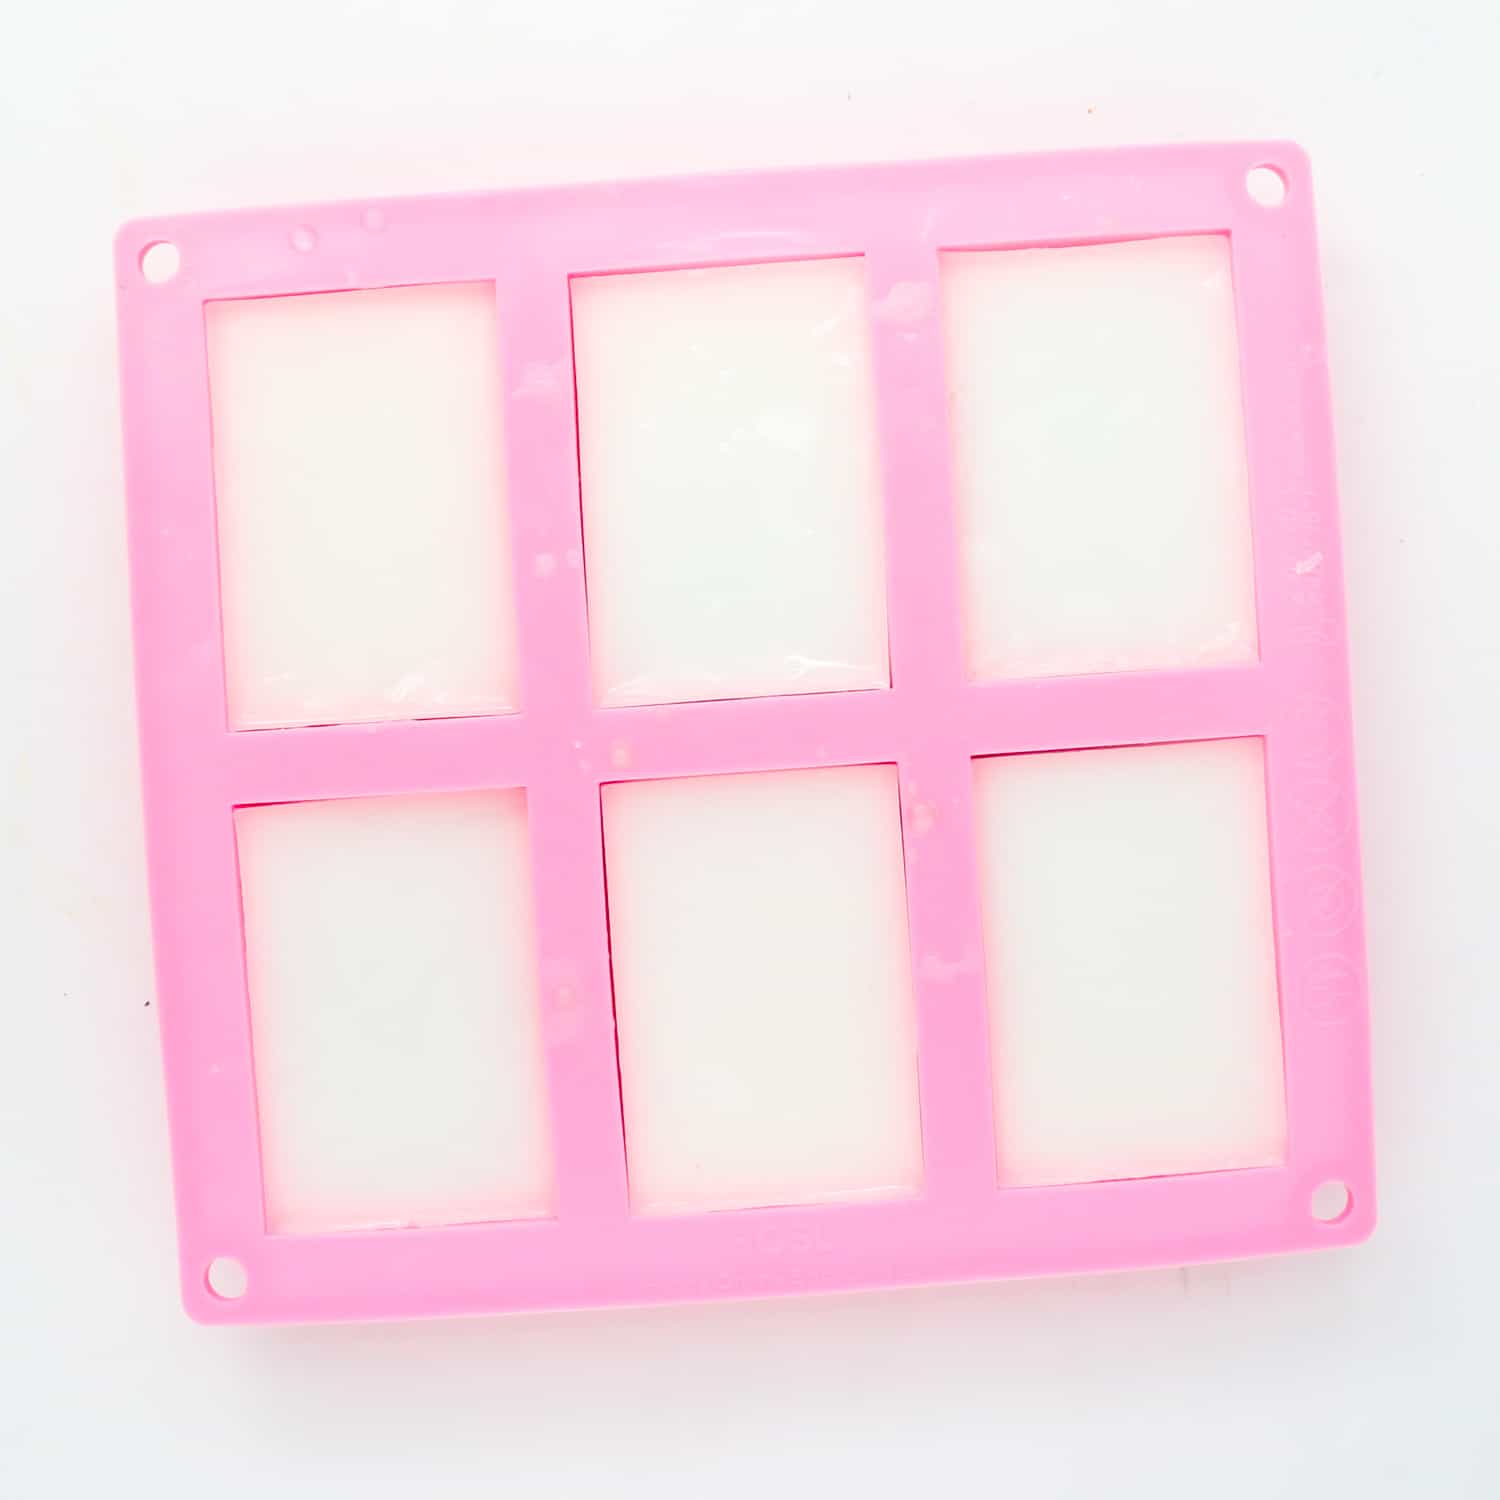
Step Five: It’s time to unmold your DIY gradient soap bars!
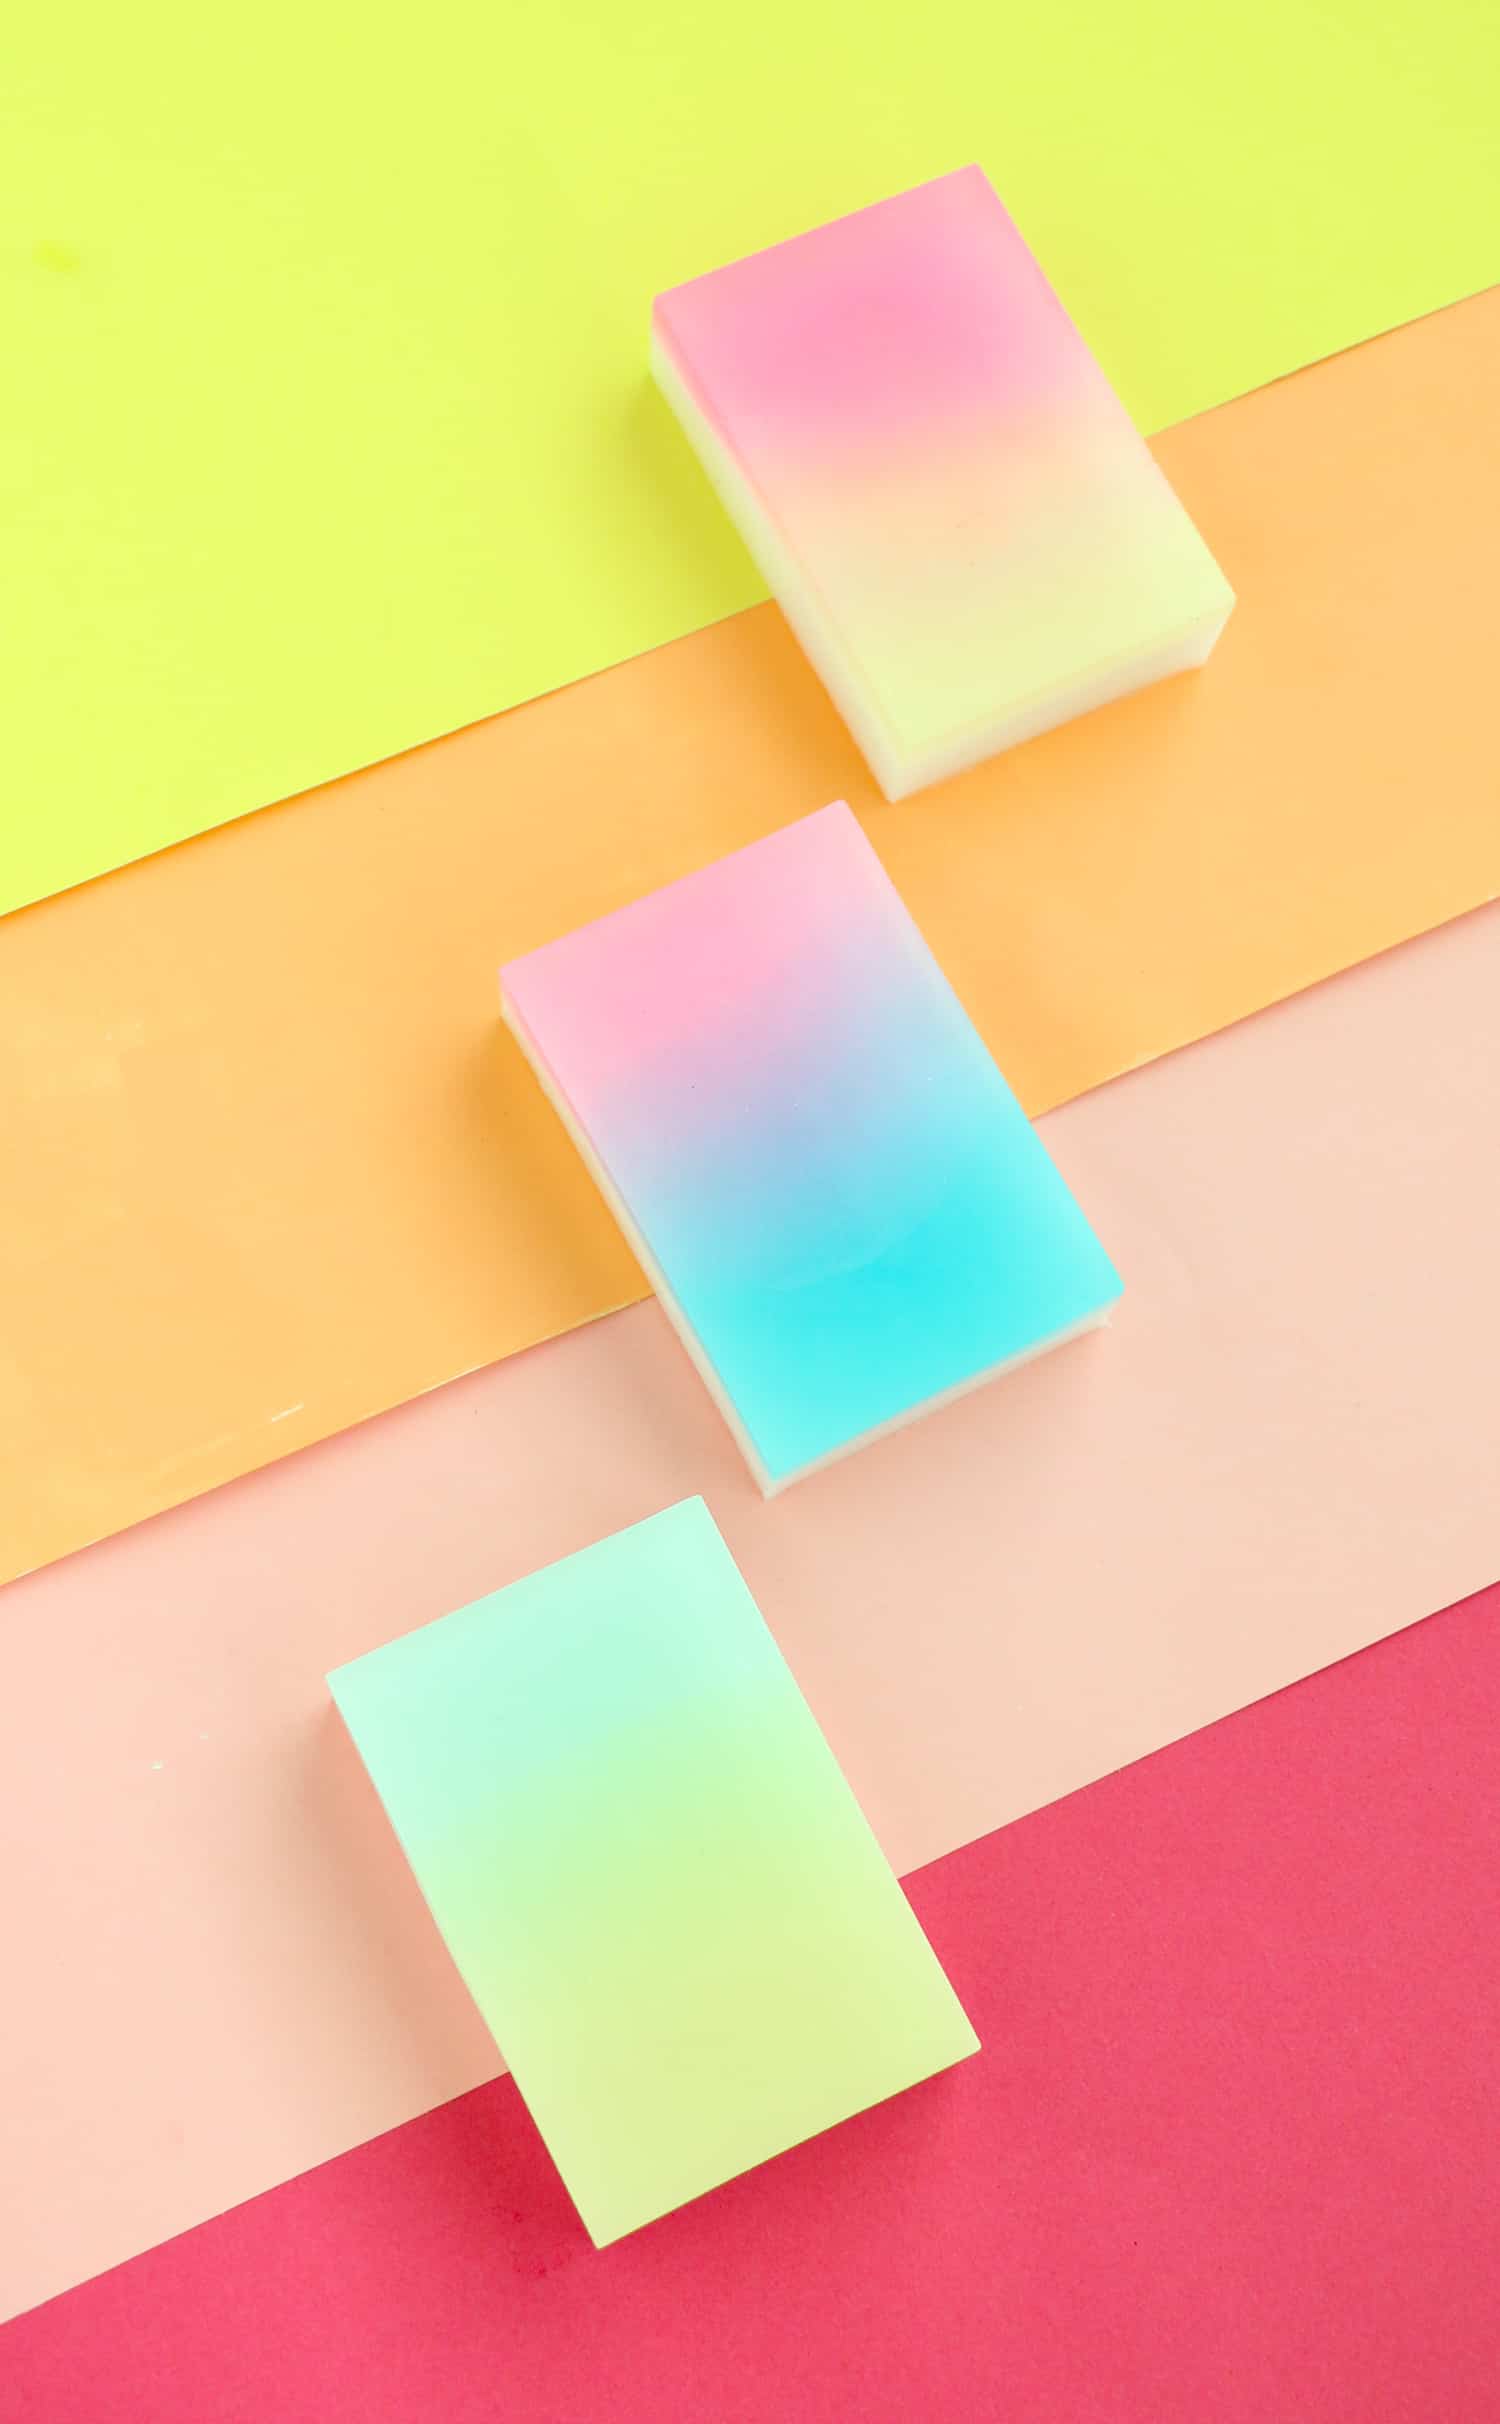
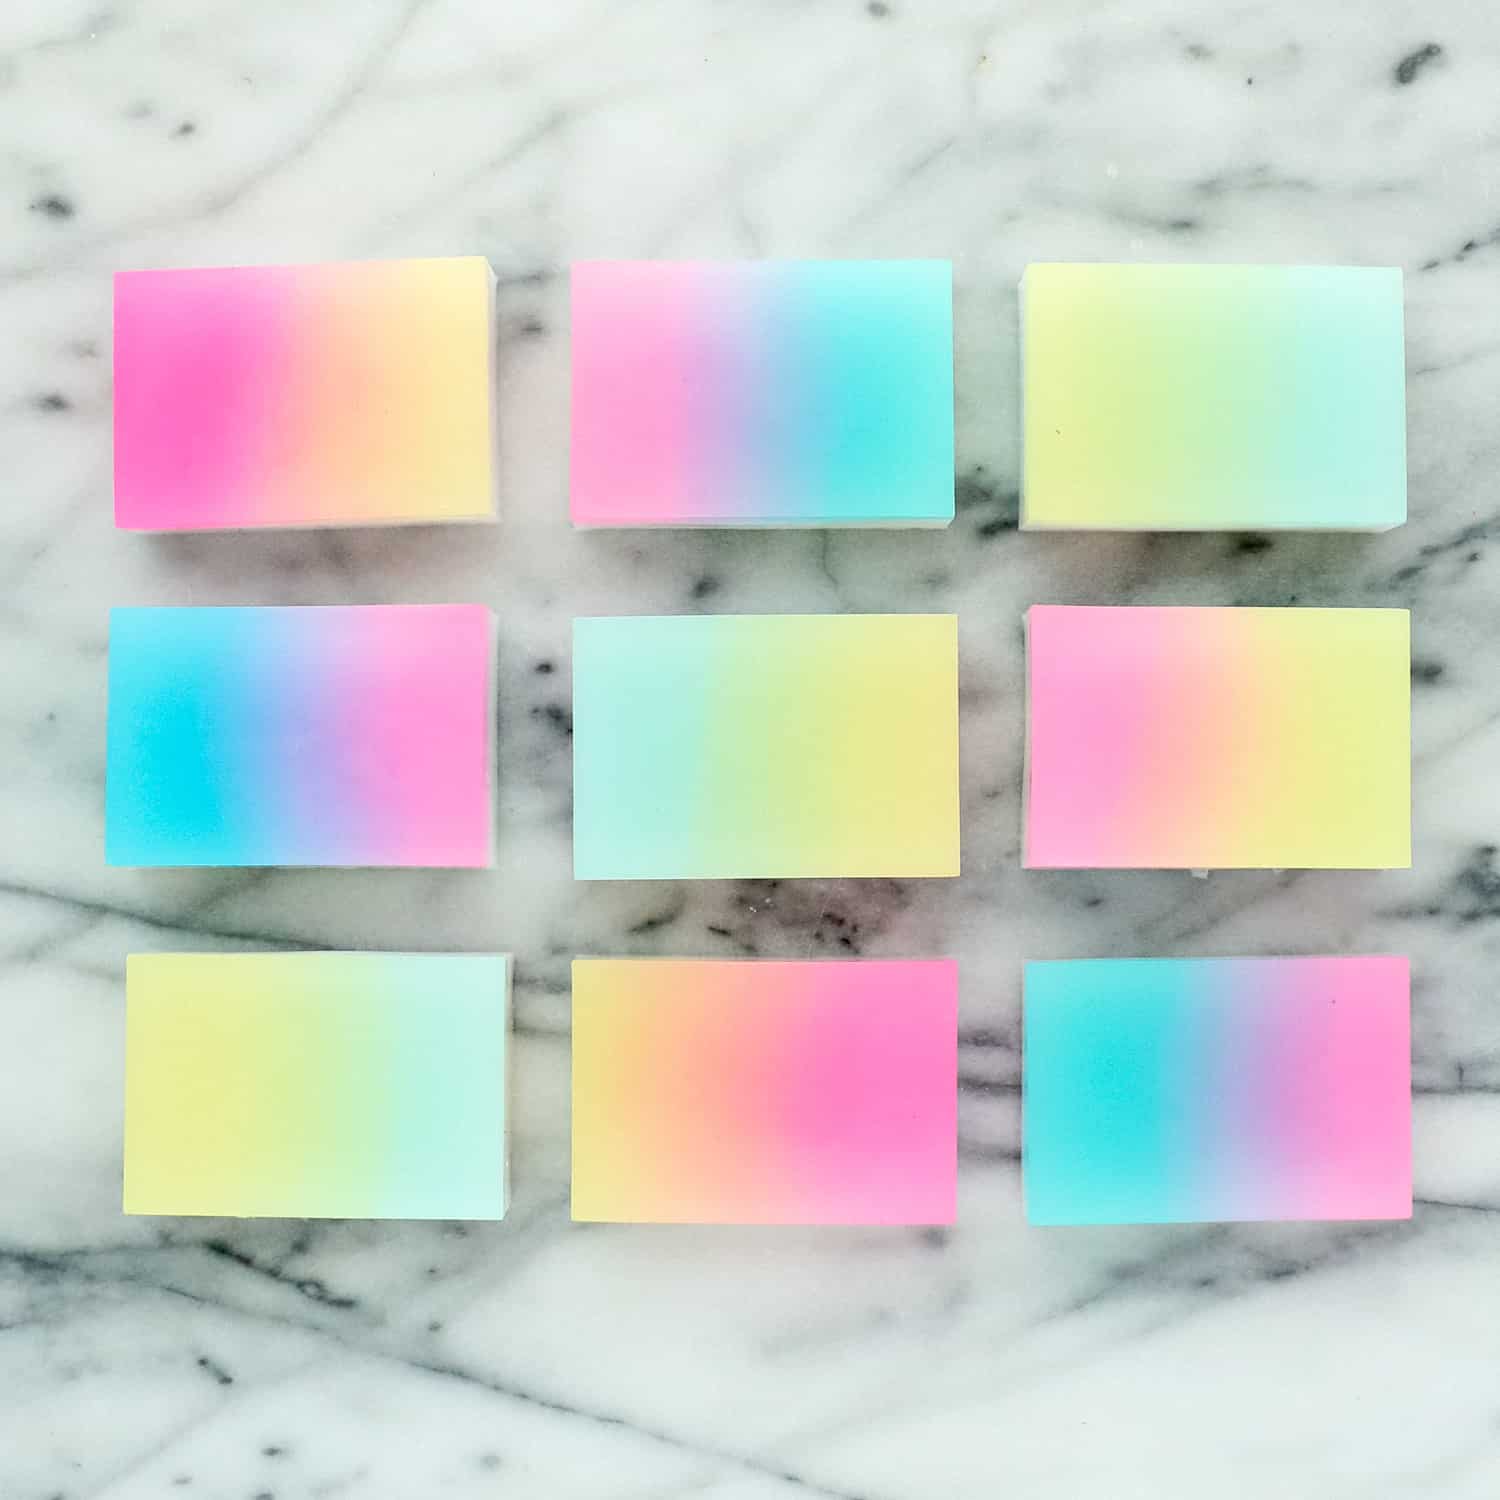
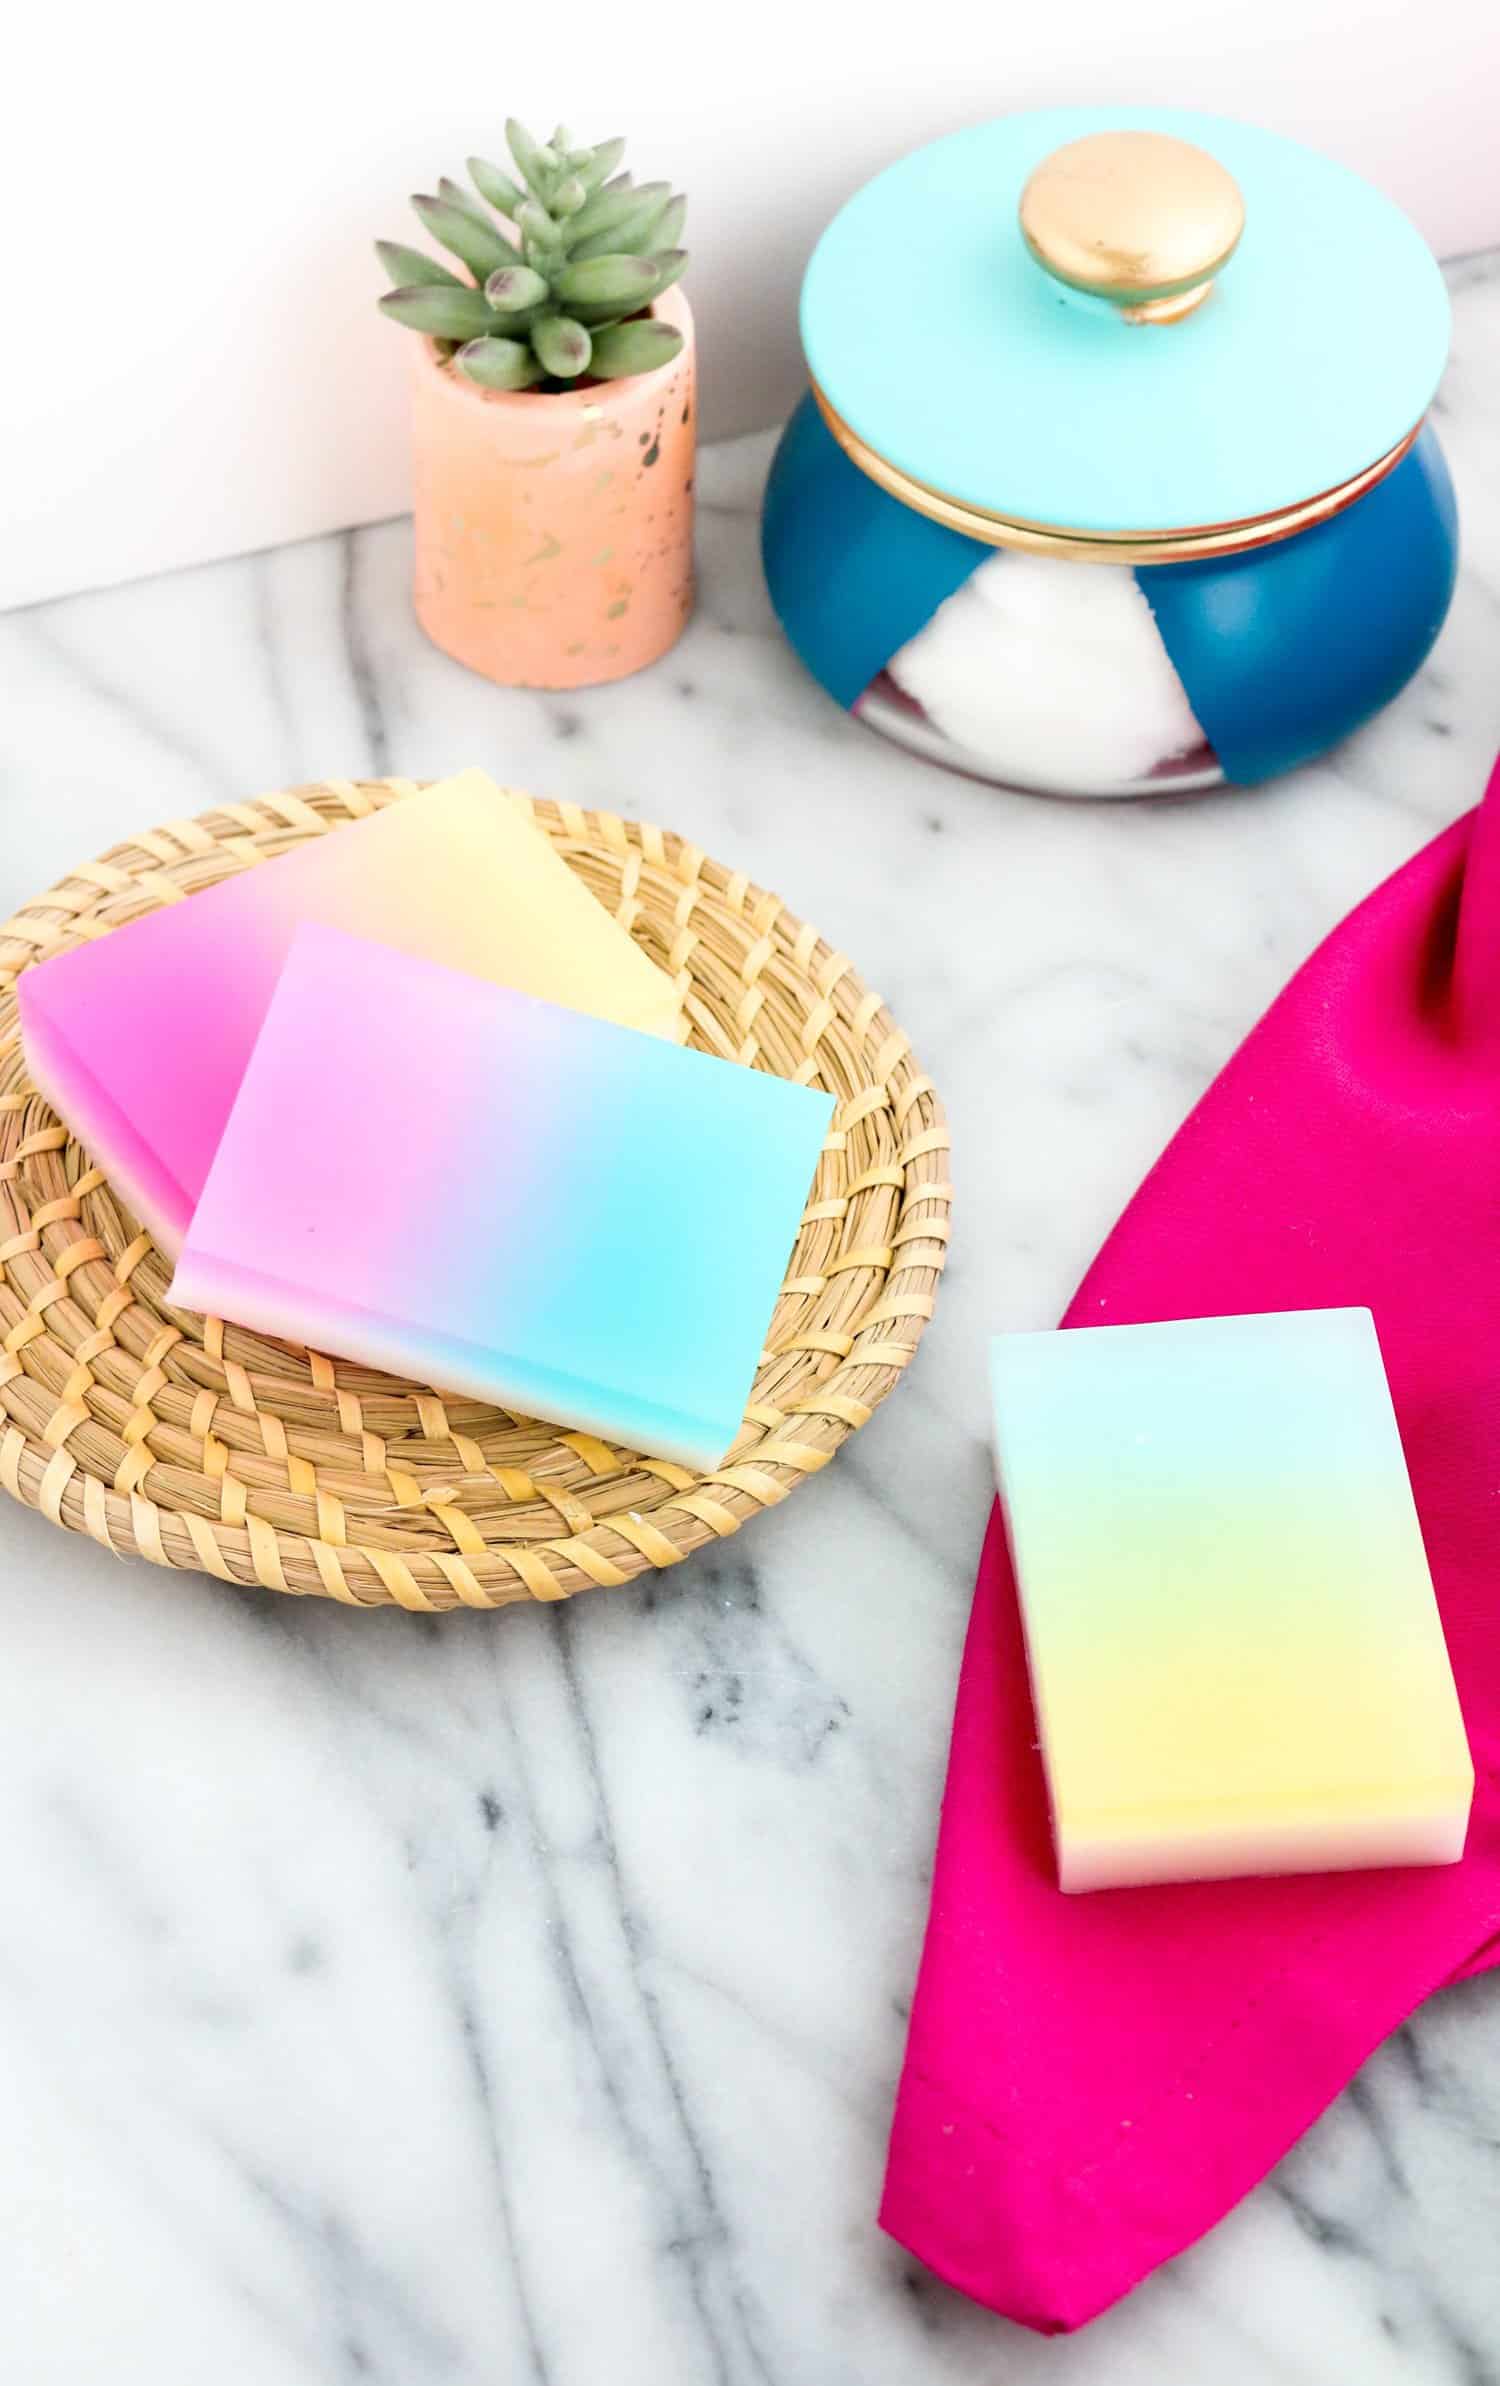
As you can see, I got a little carried away with the soap making, but I just had to try them in all the colors! I think the seafoam blue and pink version might be my favorite. What’s yours? And not to worry if you get carried away making tons of bars of soap because they make some of the easiest and best gifts ever! xo. Kara
Credits // Author and Photography: Kara Whitten. Photos edited with the NEW A Beautiful Mess Presets for Lightroom.
Save
Original article and pictures take abeautifulmess.com site
Комментариев нет:
Отправить комментарий