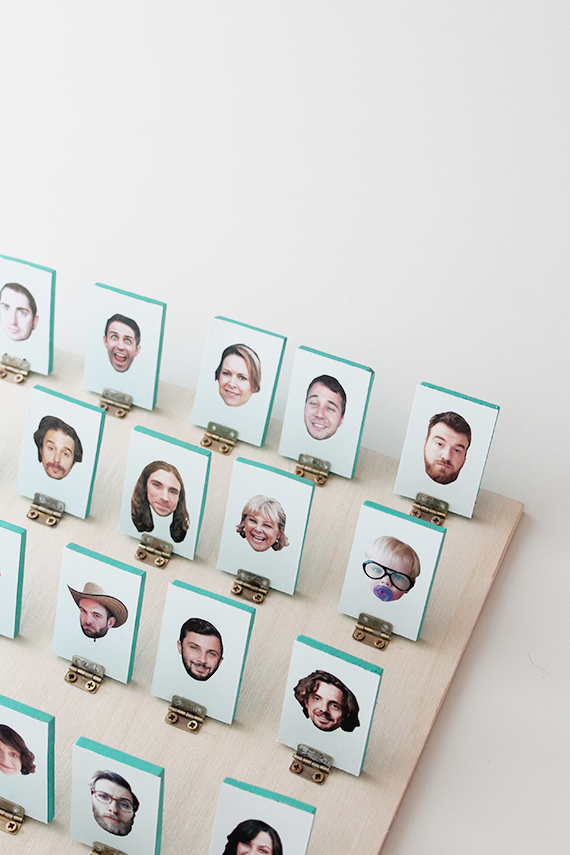
my brother and i have been into board games since we were little – and we still go hard with it. we do game night with friends and play games every chance we get. so i decided for his birthday last month we’d make him his own personalized guess who with all his friends and family and his longtime man crush sam rockwell.
there were A LOT of hiccups while making what seemed to be not so difficult. like one after another. but luckily, if you want to try doing it on your own, you can learn from our mistakes.
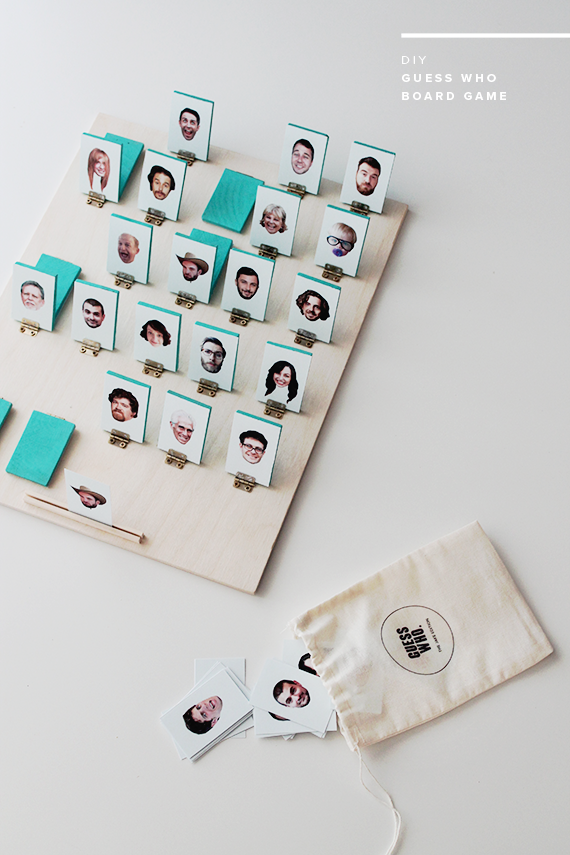
materials
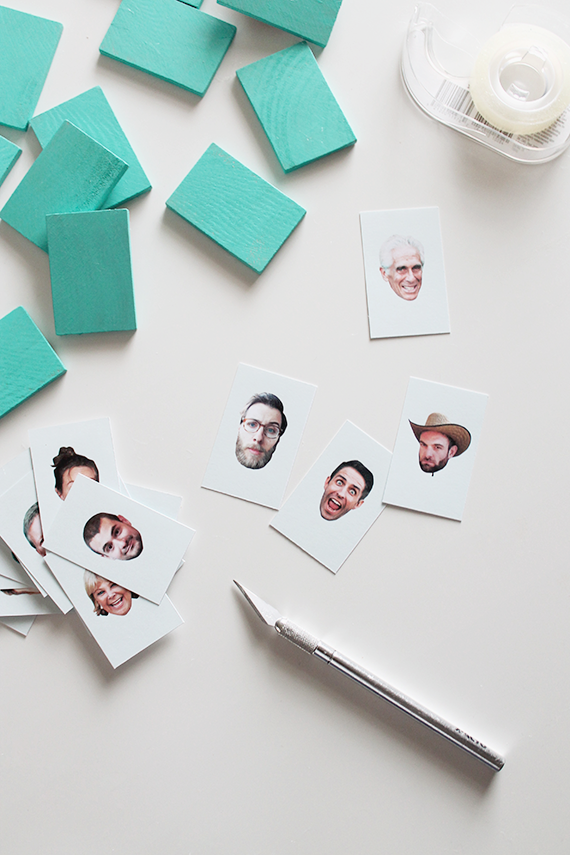
01. start out by choosing who you’ll include in the board. you’ll have to spend a couple hours tracking down decent photos of people from their facebook pages. in photoshop, cut out everyones heads and add a colored background if you like. make the photoshop file slightly larger than the pegs so that you can trim down once attached.
▲ i forgot to put the names on each card like in the actual game, because i admit i forgot to google what the game looked like until we had finished the whole project. oops. if you’d like to add the names, you probably should. we chose 25 people so there were 50 pieces altogether.
02. print out three copies of each face. the third is for the bag. trim down.
03. when the birch pieces showed up, i didn’t like the way they looked on the light board piece, so after trying a different couple stains, i decided to paint them all. i think it added a more fun look to the game — so if you agree, paint the back of 50 pieces.
04. attach the faces to the pegs, we were planning on using mod podge but didn’t want to risk messing up the print outs, so we used double stick tape instead. might not be the most permanent but it won’t be used everyday so i think it’s ok.
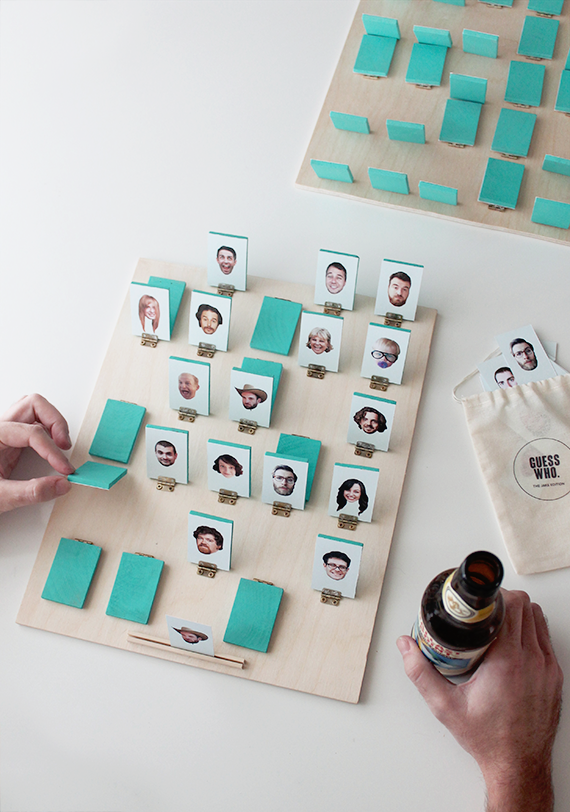
05. measure and line up all your pegs onto the board, and using an awl, make pilot holes where the hinges will go.
▲ speaking of hinges, the hinges proved to be the biggest pain in the ass of all. we didn’t have time to order them online because we came up with the idea so close to my brothers birthday, so we called about 25 stores to find them. we finally found them at my favorite craft store in studio city and bought everyone that they had in stock, but a bunch of them were wonky and stuck. i hate these hinges and hopefully will never use them again.
06. once we had screw a couple pieces in with their hinges, we noticed they didn’t line up well with the other rows, so we skipped screwing the hinges in on both sides and glued each hinge to the peg directly, then screwed each hinge into the board. it saved some time as well as our sanity.
07. cut your dowel down to four identical pieces. leaving a tiny bit of space between, glue two down to the front to hold your card.
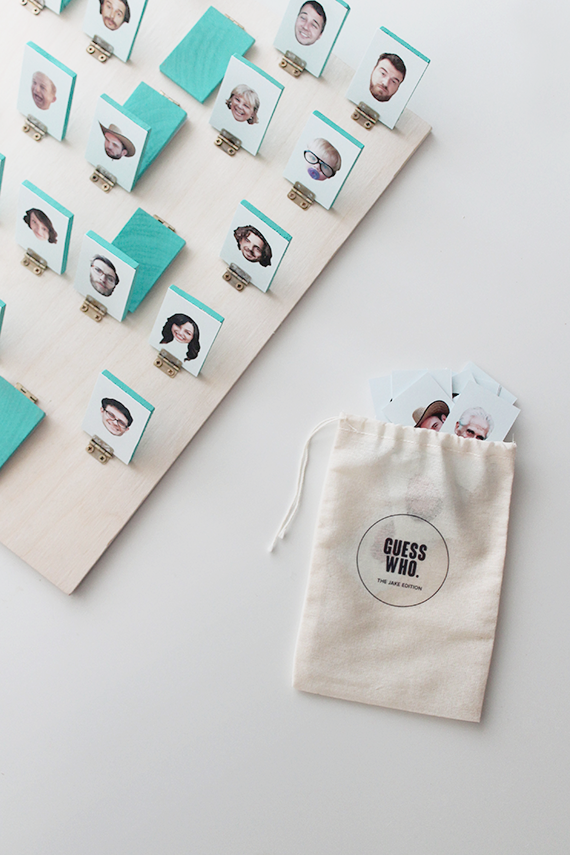
08. once you’ve peeled the super glue off your fingers for way too long, you can personalize your muslin bag. i made a simple design that i printed on iron on transfer paper, and filled the bag with the remaining cards.
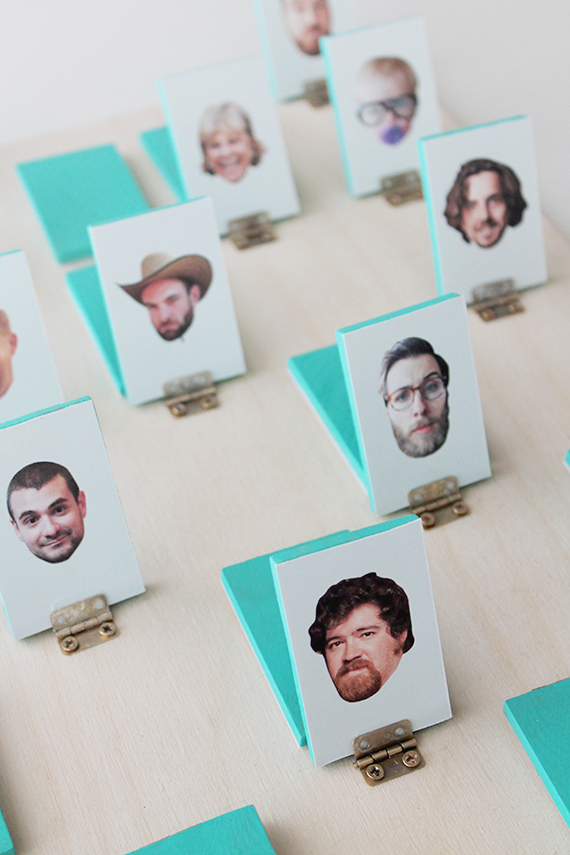
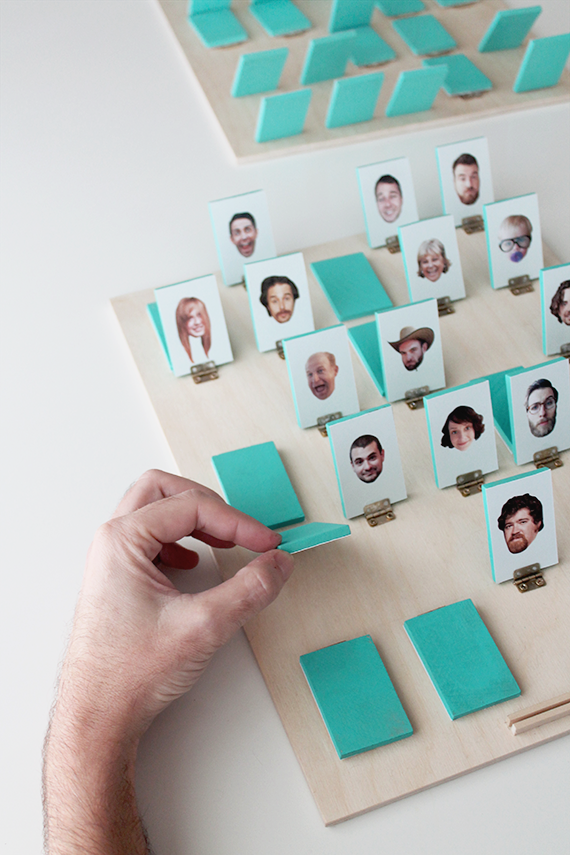
and now we never have to get my brother a nice gift again because we just trumped gift giving forever.
Original article and pictures take www.almostmakesperfect.com site
Комментариев нет:
Отправить комментарий